
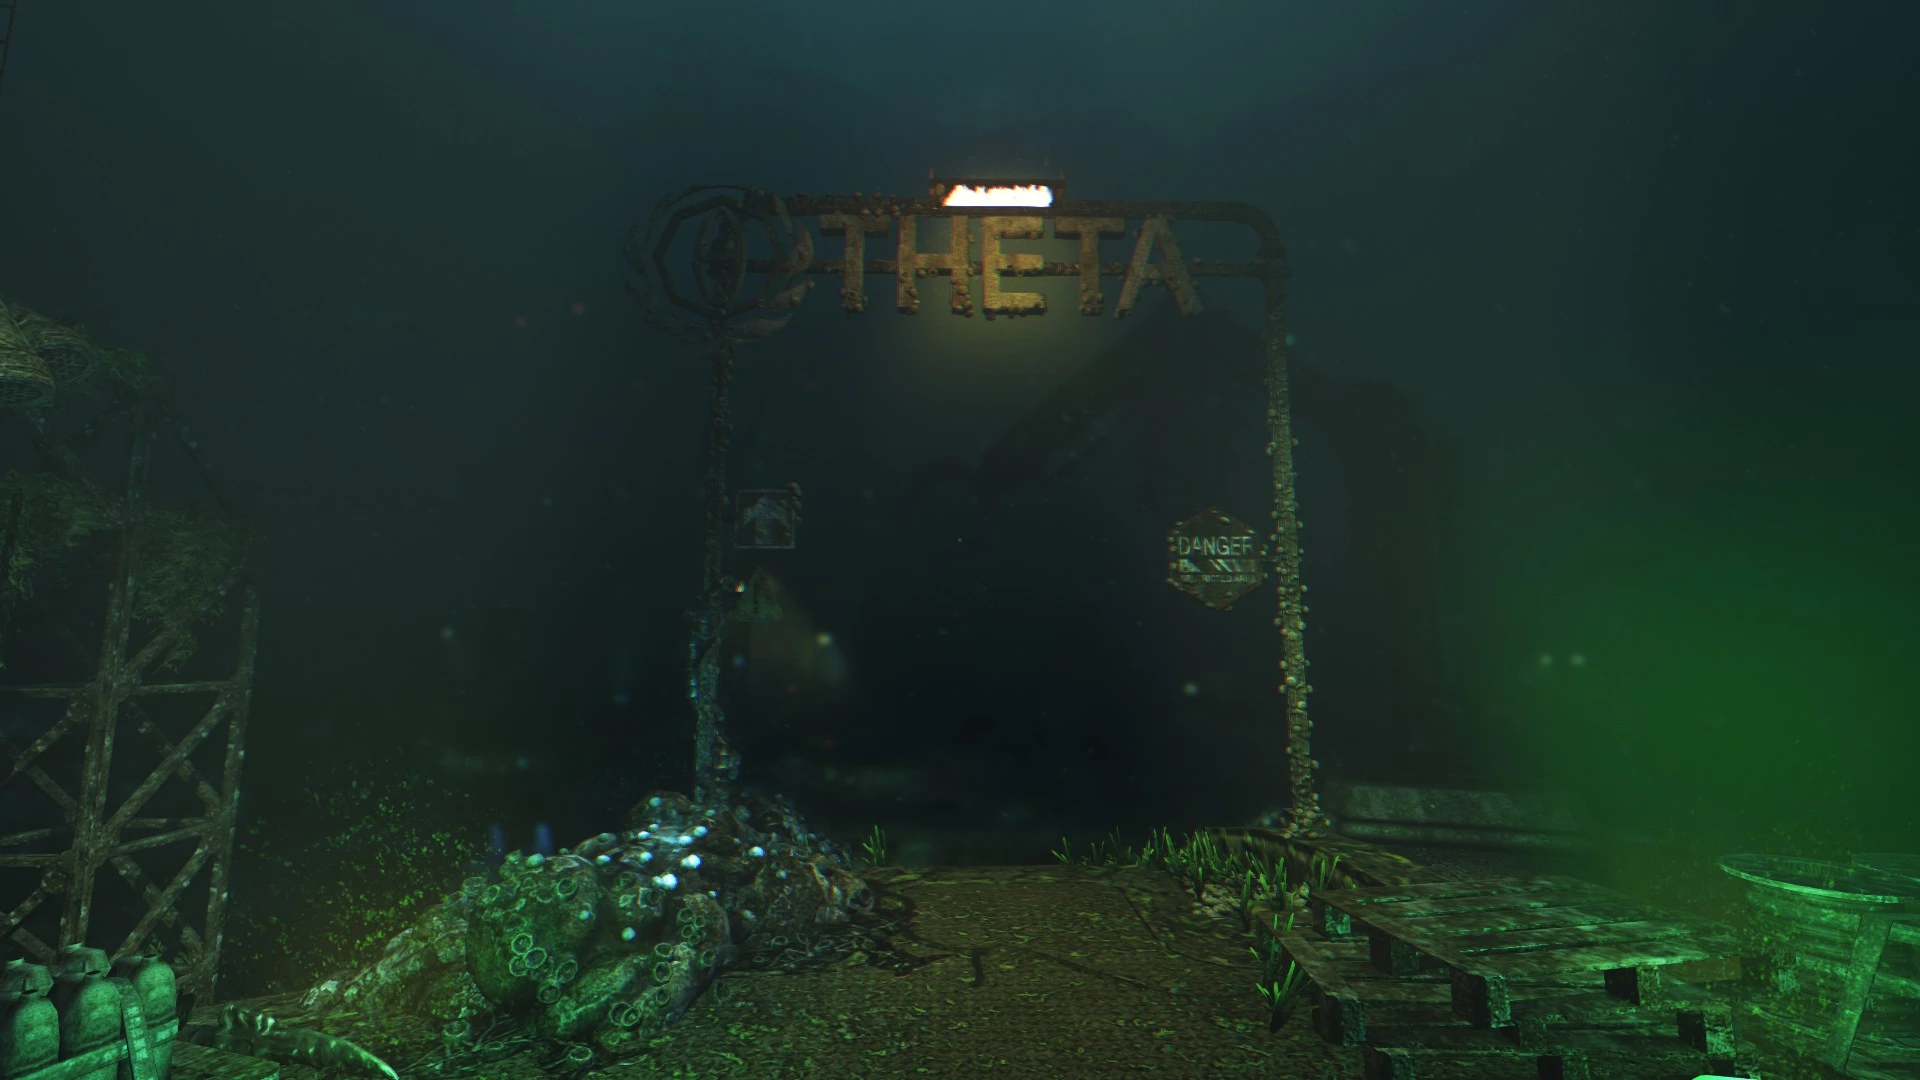
Outside Theta[]
View from zeppelin platform at Theta
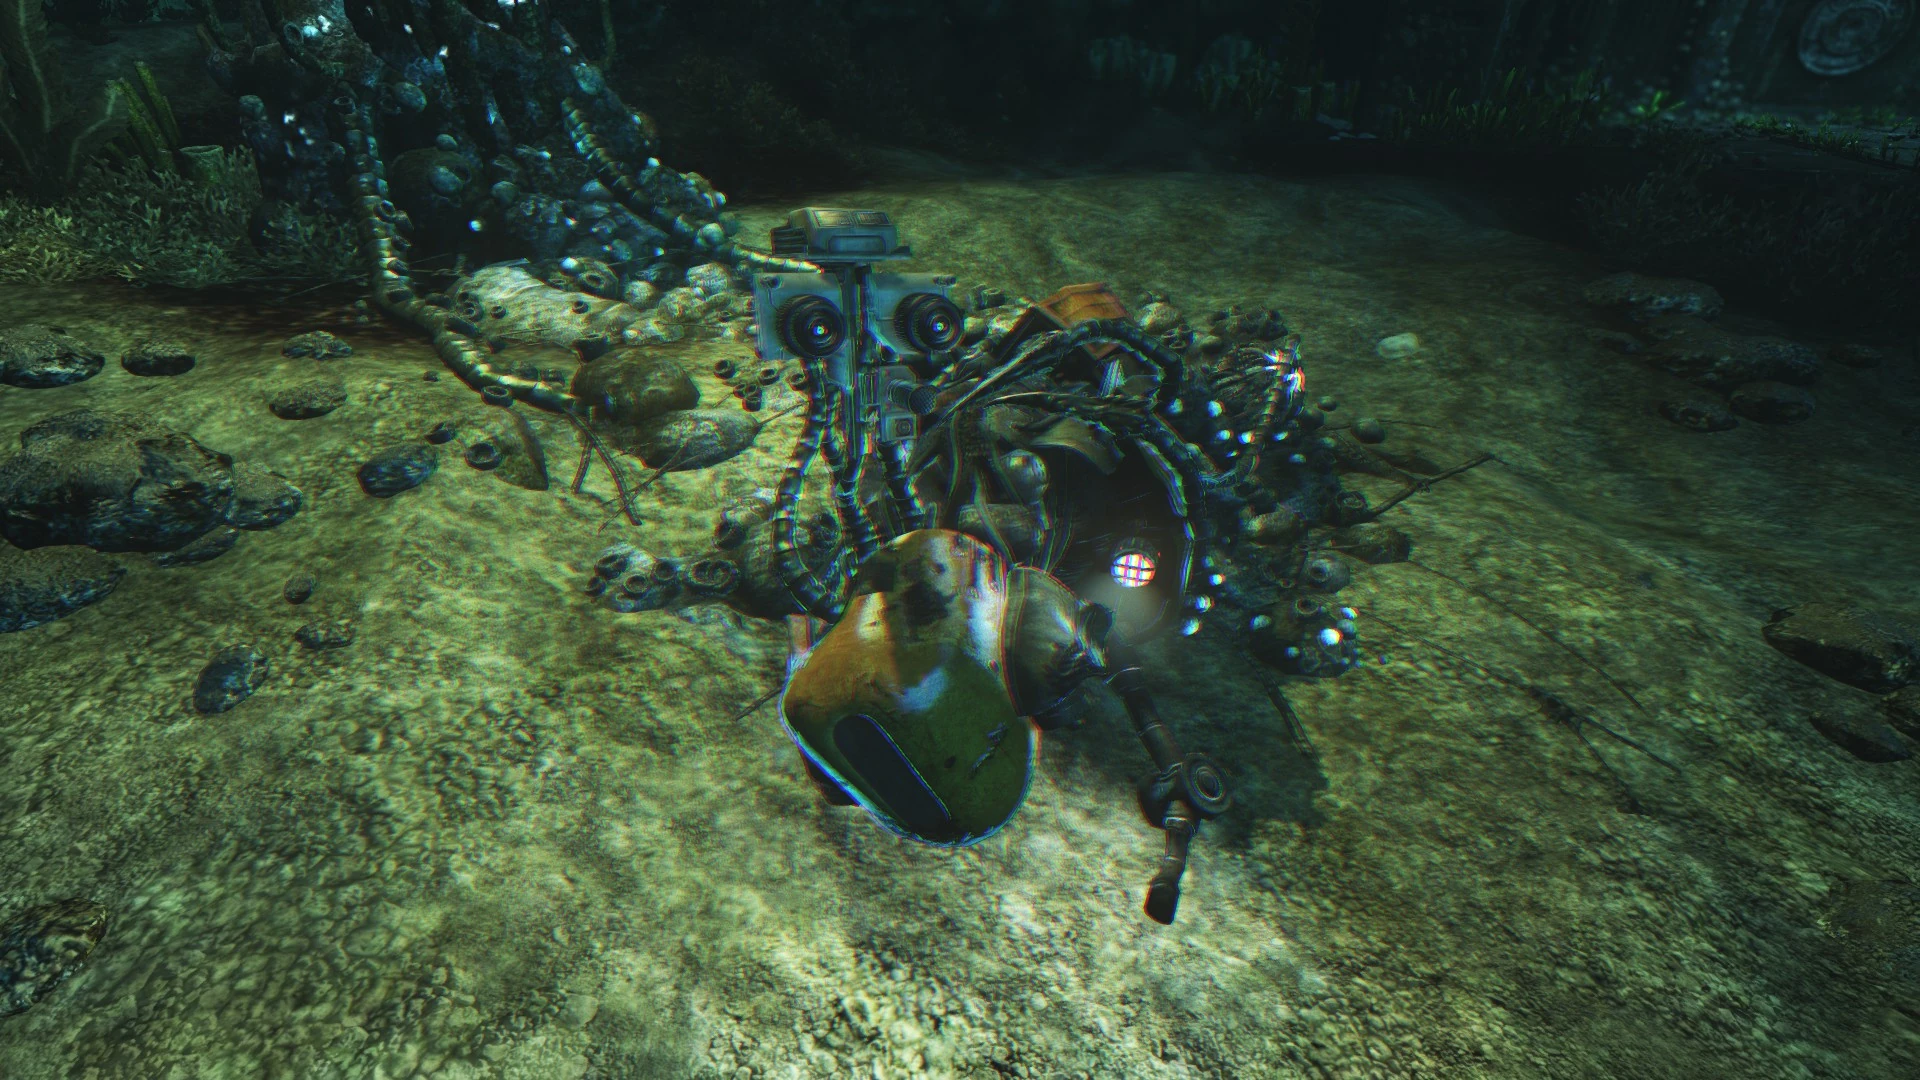
A talking robot trapped outside Theta
- Retrieve the omnitool when the Zeppelin stops outside Theta.
- Head down the ramp ahead. There is an intercom with an available data buffer ahead to the left.
- To the right from this intercom, across the tracks, there is a blinking red light next to another intercom with a data buffer. Walk over to it.
- Optionally:
- Turn around from this intercom and go to the right around the fence and onto the large metal tube on the other side, likely the outside of a shuttle tunnel.
- Follow the tube up to find a phone with a message that can be listened to.
- Return to the second intercom when done.
- Also optionally:
- Look past the second intercom on the right side. There is a pulsing blue light on an object laying on the ocean floor.
- Optionally cross the tracks and approach it.
- Optionally speak to the robot here. It can be spoken to several times.
- The cable can be optionally pulled from the node behind the robot. This has predictable results. The opportunity to do this is lost once inside Theta.
- Turn to the right and walk to an orange light to the right side of the large door.
- Open the panel labeled "Authorised Personnel".
- Turn the handle under the red light clockwise, pull it out, rotate it counterclockwise, and push it back in.
- Pull the lever just to the right.
- When the door is finally open, go inside and swipe the omnitool where indicated to the right of the inside door. The airlock will now cycle.
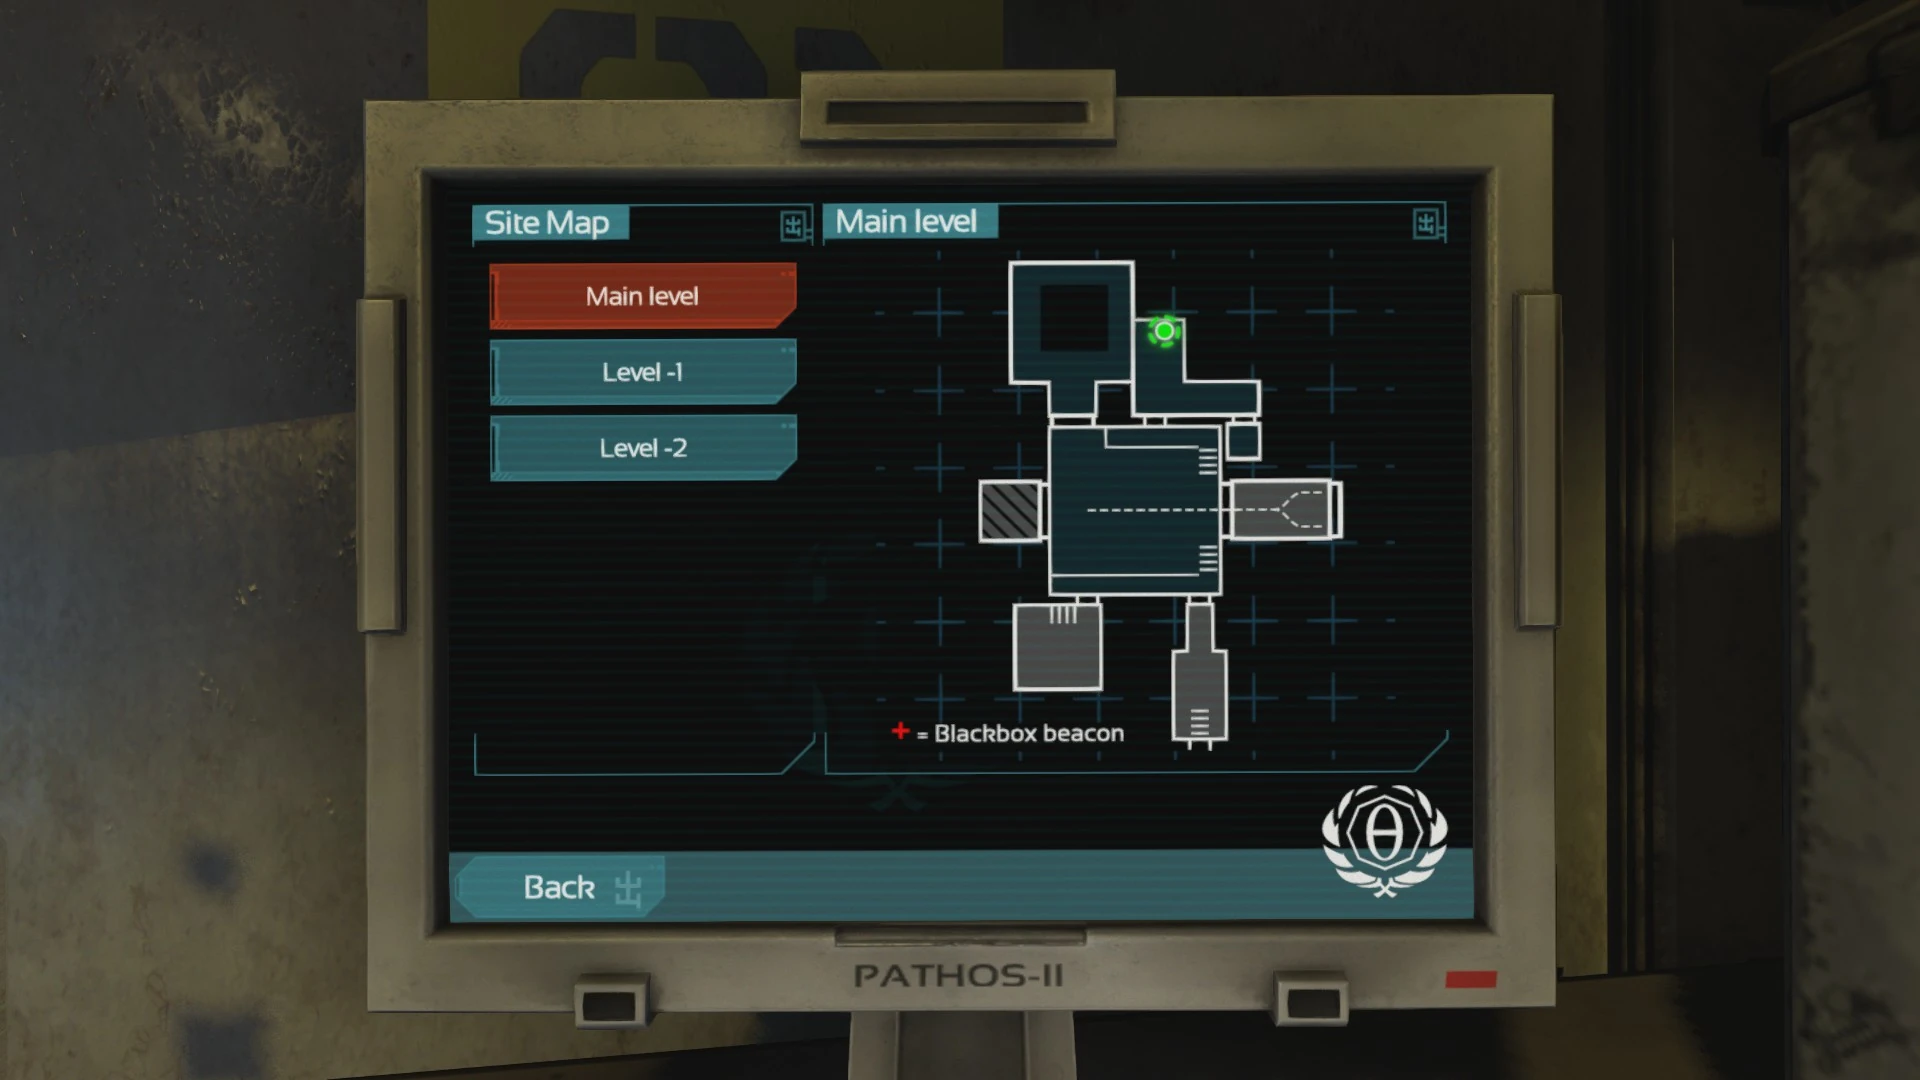
Loading area[]
The map of the main level
- Take the fire extinguisher to the left, keeping a hold of it, then go up the ramp to the right and throw the extinguisher at the cracked window ahead.
- Repeat until it breaks through the window.
- Jump through the window into the room.
- Head to the console to the left on the other side of the room beneath the large yellow light.
- Place the omnitool in the receptacle. Wait for the conservation to finish.
- The computer to the right can now be accessed, and it has maps of Theta. Checking the maps will initiate ongoing dialogue as well, even after leaving the computer.
- Head back to the loading bay, either through the now functioning door or through the window.
- Proceed down the ramp and up the ramp on the other side. The doors should unlock as you approach.
- Skip the first door for now. Head to the second and open it.
Server access[]

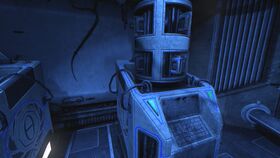
The monster at Theta

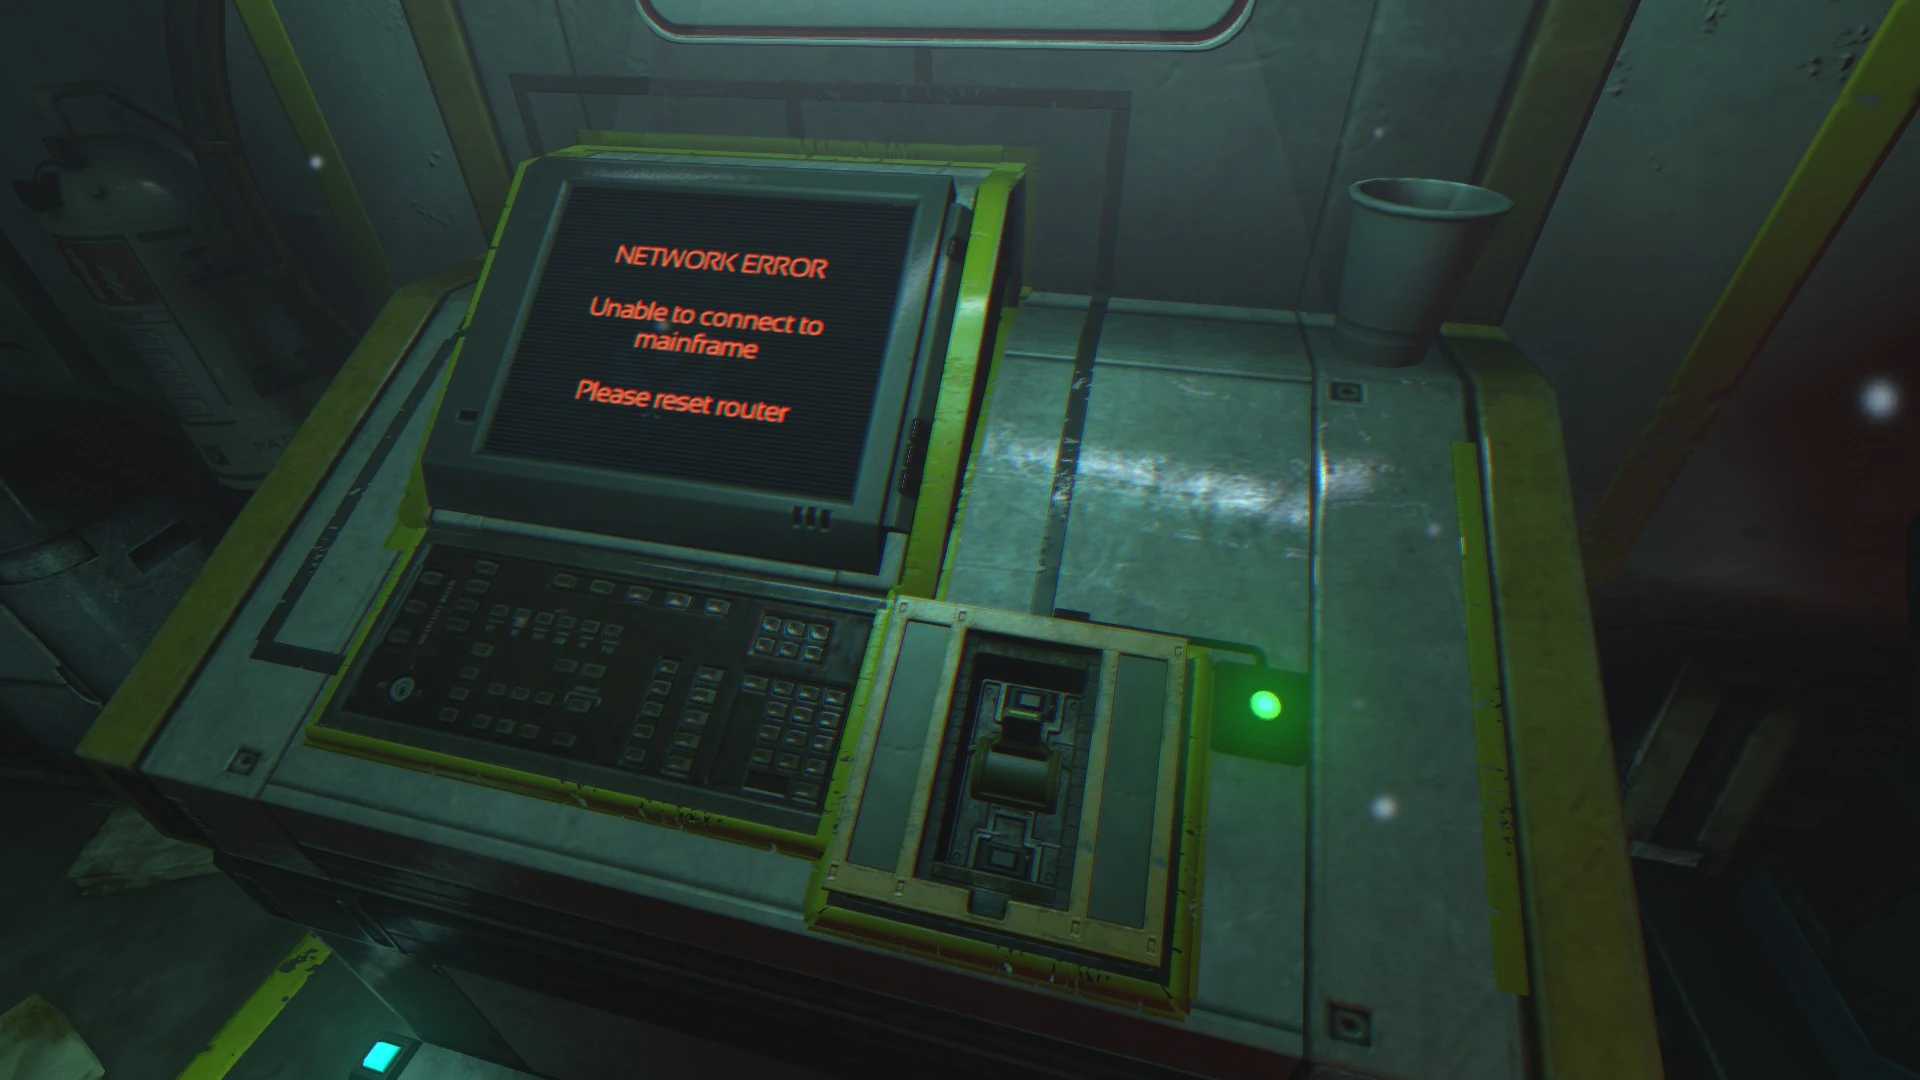
Resetting a router with a monster shambling around
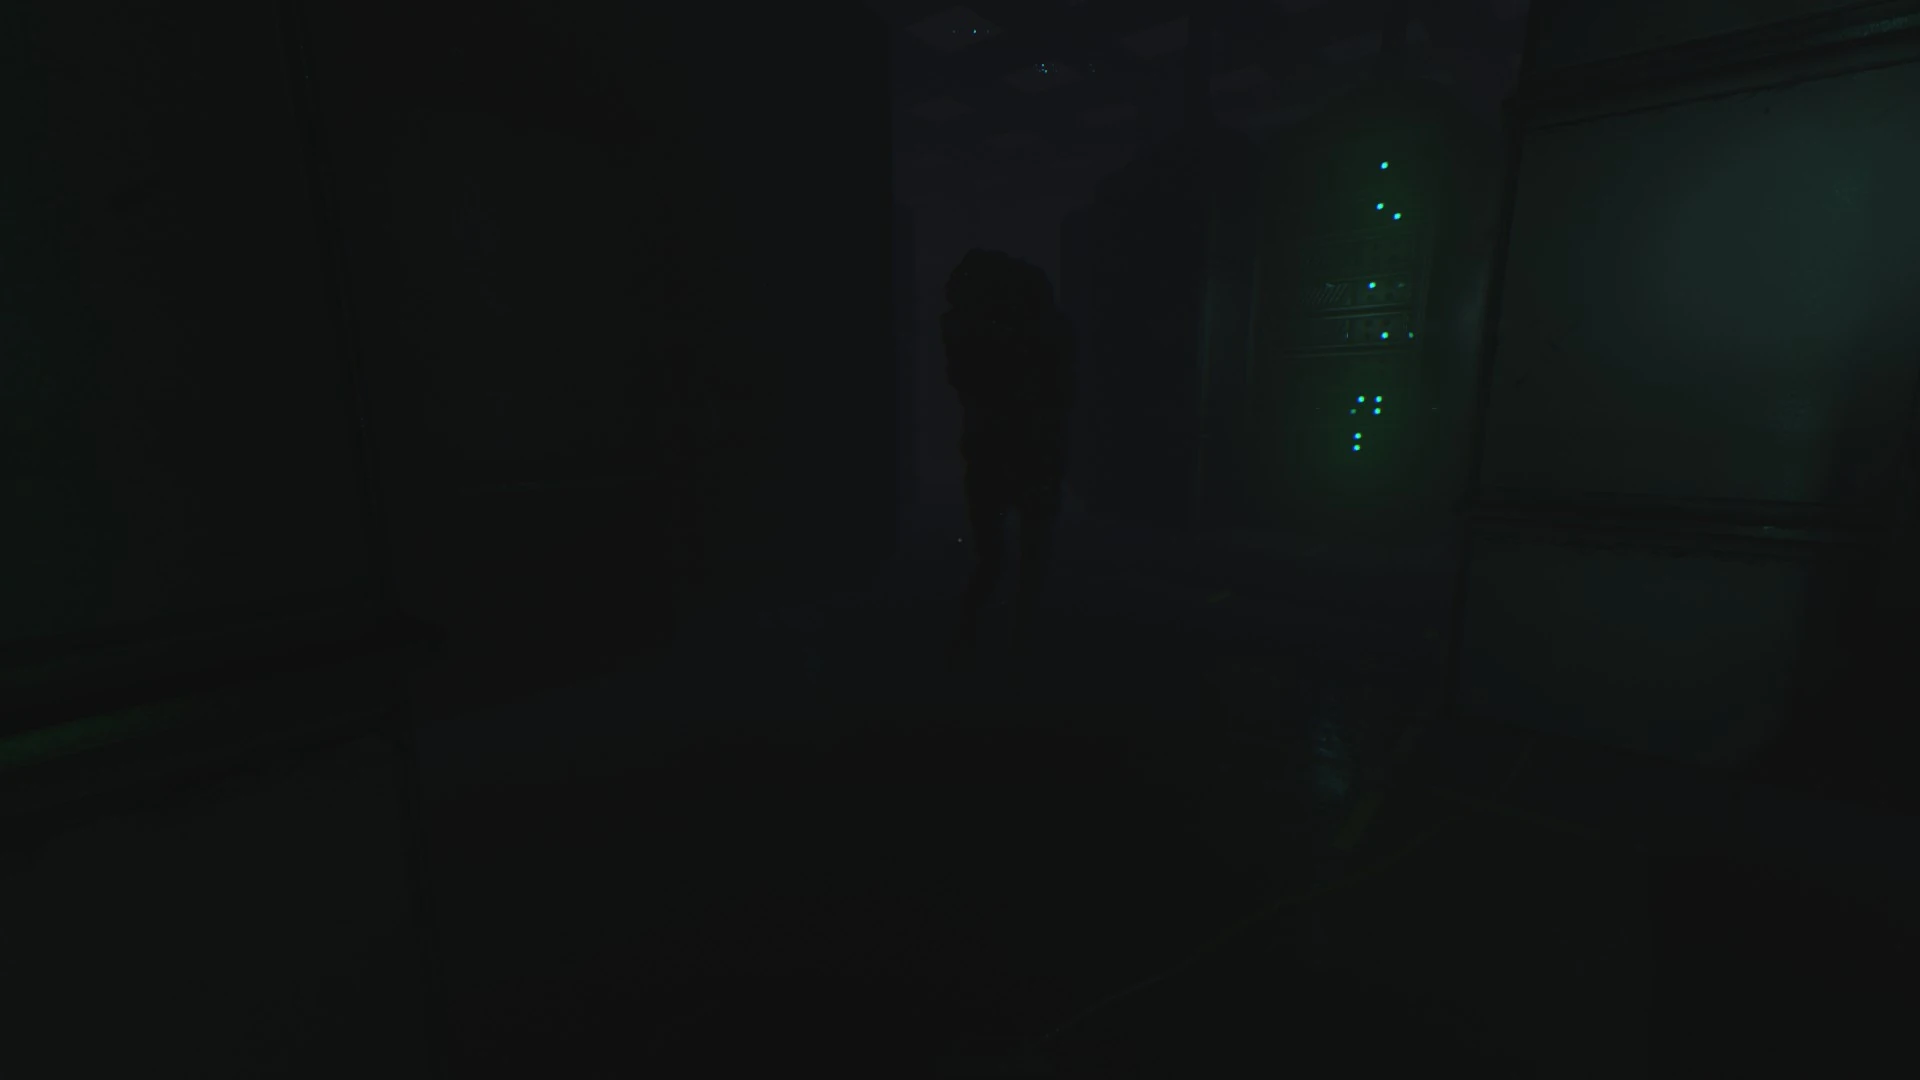
Warning: There is a new type of monster patrolling the rooms at the bottom of these stairs. Simon can survive one hit from the creature, but two hits appear to be fatal. It appears to have a lot trouble sensing Simon if he's crouching unless Simon is nearly within reach. If Simon is standing, it seems to notice him much easier and will charge him, though it sometimes wait a few moments before doing so.
If the creature does charge, there is still one hope to avoid a hit. Sprint back to the stairs and climb up from the broken section. The creature will be unable to follow and will eventually shamble away.
- Head to the bottom of the stairs. Staying crouched is highly recommended.
- Note that the two doors closest to the bottom of the staircase are dead ends with nothing interesting. The creature may also enter them, potentially leaving Simon with no escape.
- Open the only remaining door that is unlocked.
- Proceed all the way through this large room to the very back, trying to stay to the left as much as possible, as there is a dead end to the right that might serve as a trap.
- Turn right and move to the well-lit console. If it is clear, stand up and press the button.
- Flipping the switch will initiate a slow moving progress bar on the computer screen. When it is done, the switch must be flipped again within 45 seconds, or this will have to be repeated.
- It is very likely the creature will come to this area as the bar charges, so flip and switch and crouch.
- Use the pillar for cover if needed, moving around cautiously as the creature moves. When it is safe, go back to the console, stand back up, and flip the switch again to confirm if there is still time.
- When this is done, stay crouched and proceed out of the room and back up the stairs to loading area.
Back in the loading area[]
- Open the first door and proceed down the corridor into the open area. The lights will come on automatically.
- There is a healing node to the right. Use it if desired, then continue on to the intersection up the ramp.
- Head down the left corridor. Remove the pneumatic seal, open the door, and enter the room ahead.
- Head to the right room first, marked "03 Research" on the floor next to the door. There is a light switch under the door button just inside to the right.
Research room[]

An intact neurograph memory chip
- On the table to the right, open the case labeled "Simulation Assets". Retrieve the chip from inside.
- Continue on into the next room. Use the green buttons to rotate the storage cylinders around until a non-blackened memory chip is found. Take this chip.
- The exact location of the memory chip is random. It is white with a blue stripe unlike the others.
- Return to the previous room.
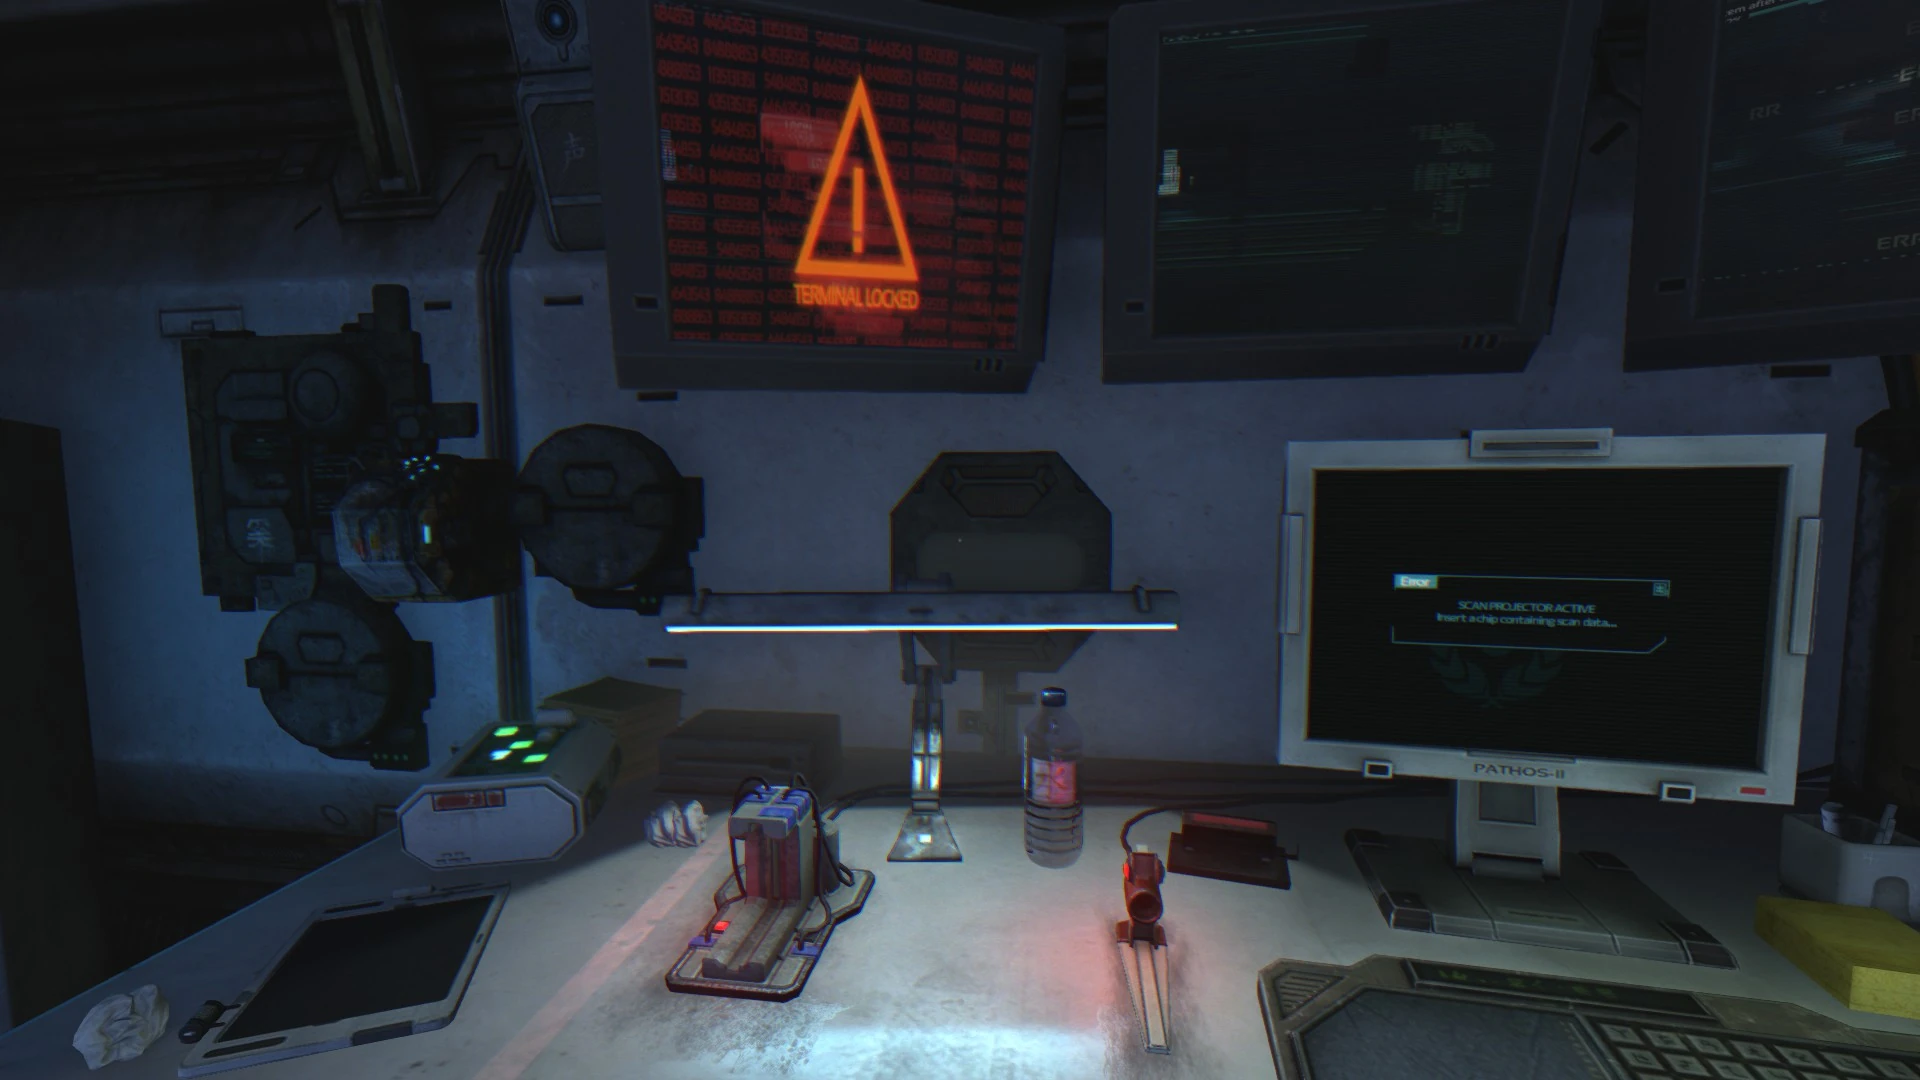
Remote control room[]
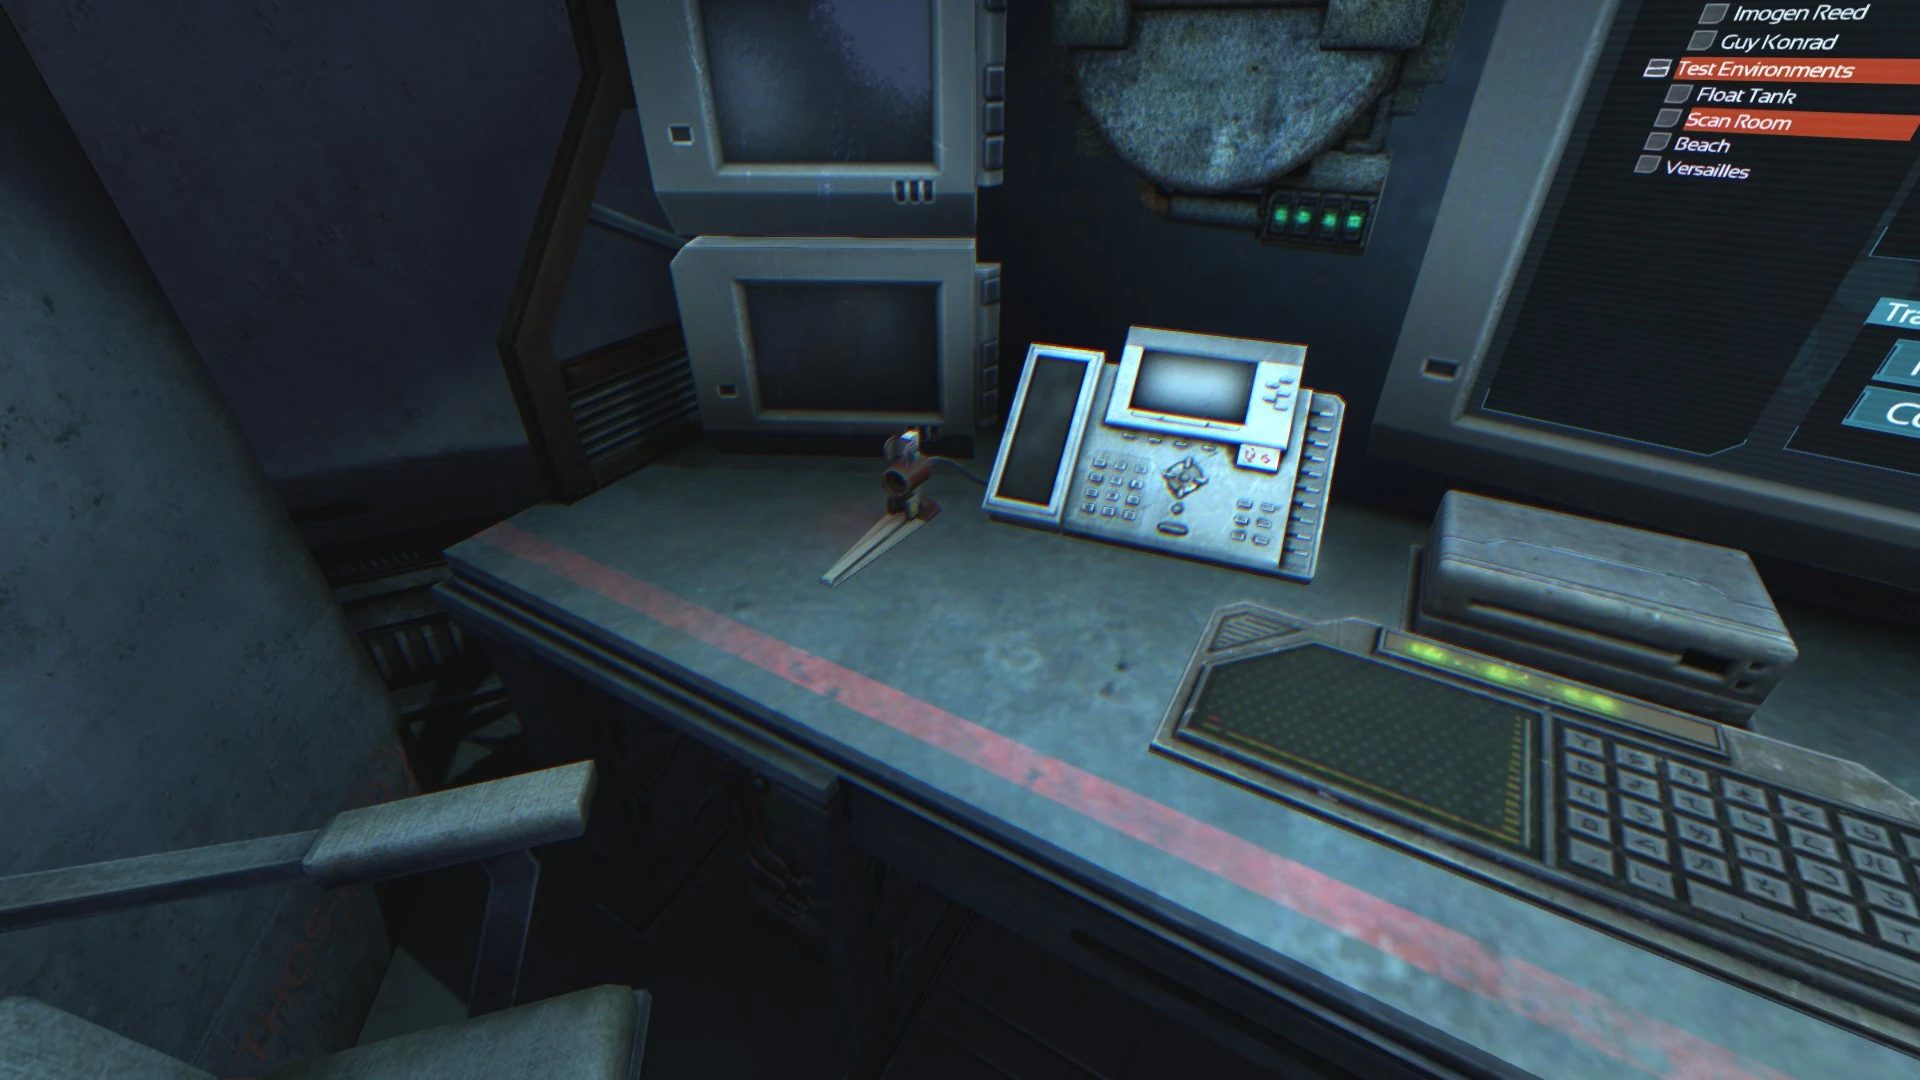
The chip reader in the remote control room
- Now proceed to the room across from this one, marked "01 Remote Control". There is a light button to the right just inside under the door button.
- There is an intercom to the left with a data buffer.
- Optionally, head into the room at the right for a computer with interesting information.
- Viewing each is recommended before pressing "Erase Data" on any of them, since that button does exactly what it says.
- The "Jarrett" option has audio recordings available.
- Before erasing any data, it's best to leave the computer momentarily and listen to the brief conservation that follows.
- Erasing data is completely optional. Erasing the "Jarrett" data will trigger an additional conversation when Simon leaves the computer.
- In the scan room, go to computer next to the robot. Put a chip in the chip reader next to the phone.
- Select "Scan Room" under "Test Environments" and then "Copy to Chip".
- Leave the computer and retrieve the chip.
Back to the research room[]

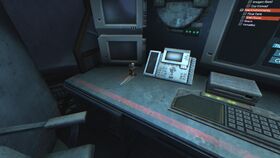
The two chip readers in the research room
- Return to the research room.
- Head to the computer at the desk across the room.
- Put a chip in both chip readers to the left of the keyboard.
- Now, at the computer just to the left of the chip readers, press the "OK" button, wait, press the "OK" button again, and wait for the menu to appear.
- Choose "WAN, Brandon" and then choose "Upload".
- Choose "Scan Room" for the environment and then "Run".
- Wait for the simulation to end.
- Leave the research room. Head back into the corridor and down the ramps to the intersection.
- Take a right, open the door, and go into the room ahead.
Theta living area[]

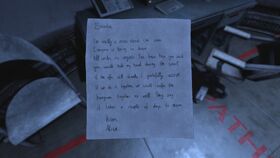
Alice's letter to Brandon
Note: The lights in this room will flicker each time the room is entered before finally failing completely.
- Optionally, visit the bathrooms to the left, though the only interesting thing to do here is to use one of the mirrors to see Simon Jarrett's current appearance.
- The stairs are blocked, so continue to the right to a corridor containing doors to personal quarters.
- Head to the second door on the left. The lock will be overridden as Simon approaches.
- Go inside. There is a light switch beneath the door control just inside to the right.
- Listen to the data buffer on the intercom to the right.
- On the opposite side of the room, open the left desk drawer and read the letter.
- Many of the other quarters can be optionally explored as well. It is safe to remove the seals.
- There is a healing node inside Martin Fisher's quarters, the last door on the left.
- Once done, return the research room.
Once again in the research room[]

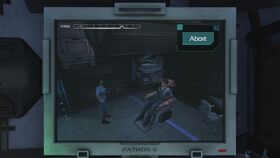
Simulation of Brandon Wan with Alice
- Go back to the computer across the room.
- Make sure "Scan Room" and "Alice" are selected, and then press "Run".
- After the simulation, there is a choice to "Erase Data" or "Shut Down". It is also possible to just walk away.
- Return to the loading area.
Once again in the loading area[]
The console for launching the DUNBAT
- Head to the ramp on the other side of the room and through the door, or window, there.
- Note that after the next step, the doors into the research area, living quarters, and server access will be locked.
- Head to console where the omnitool is plugged in. Retrieve it after the conversation.
- Exit this room. Go to the omnitool reader beneath the "02" on the wall to the right.
- Swipe the omnitool there. Go inside when the door opens.
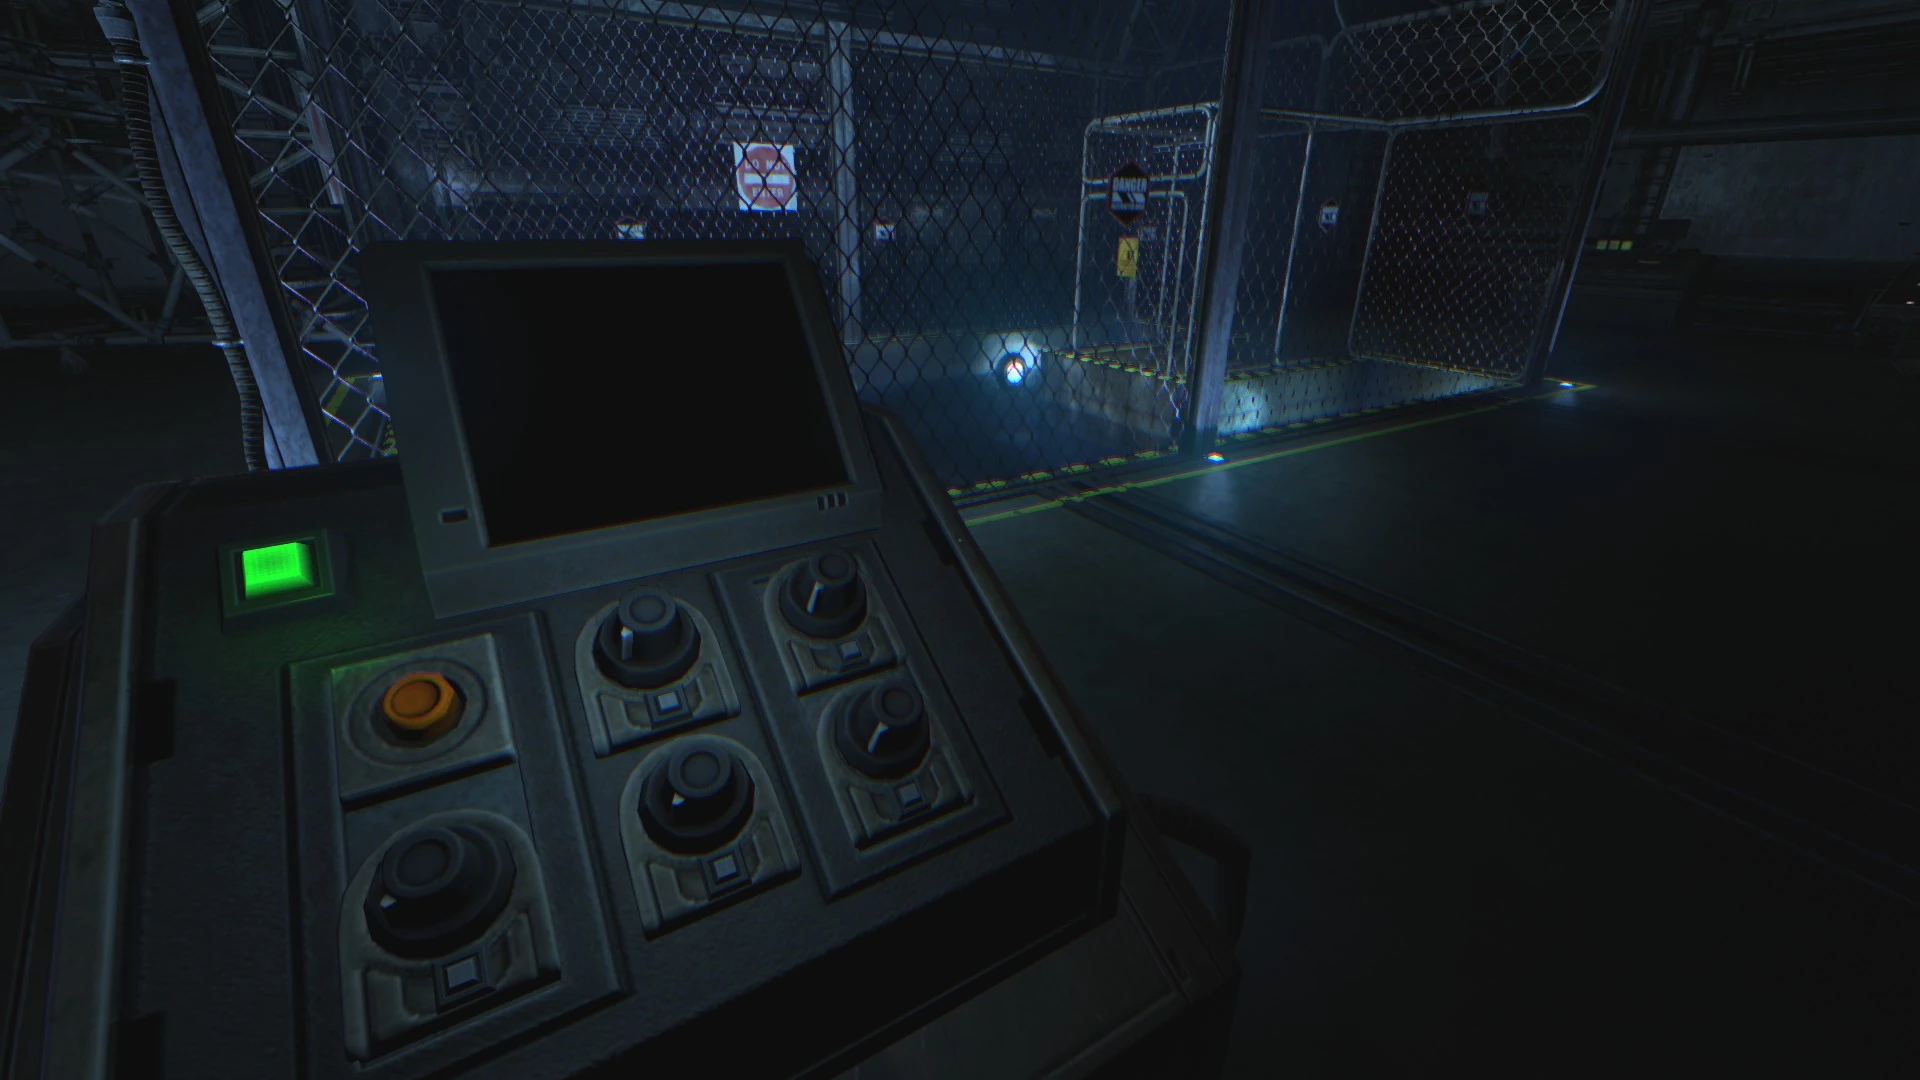
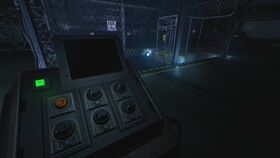
Launch area[]
- Go the control pedestal to the right of the fenced-off area.
- Pick up the cable to the right and plug it into the port on the right side of the control pedestal.
- Press the orange button.
- Turn any four of the knobs. It doesn't matter which ones or which order.
| Game walkthrough |
|---|
|
Theta (first part)
|