
Omicron exterior[]
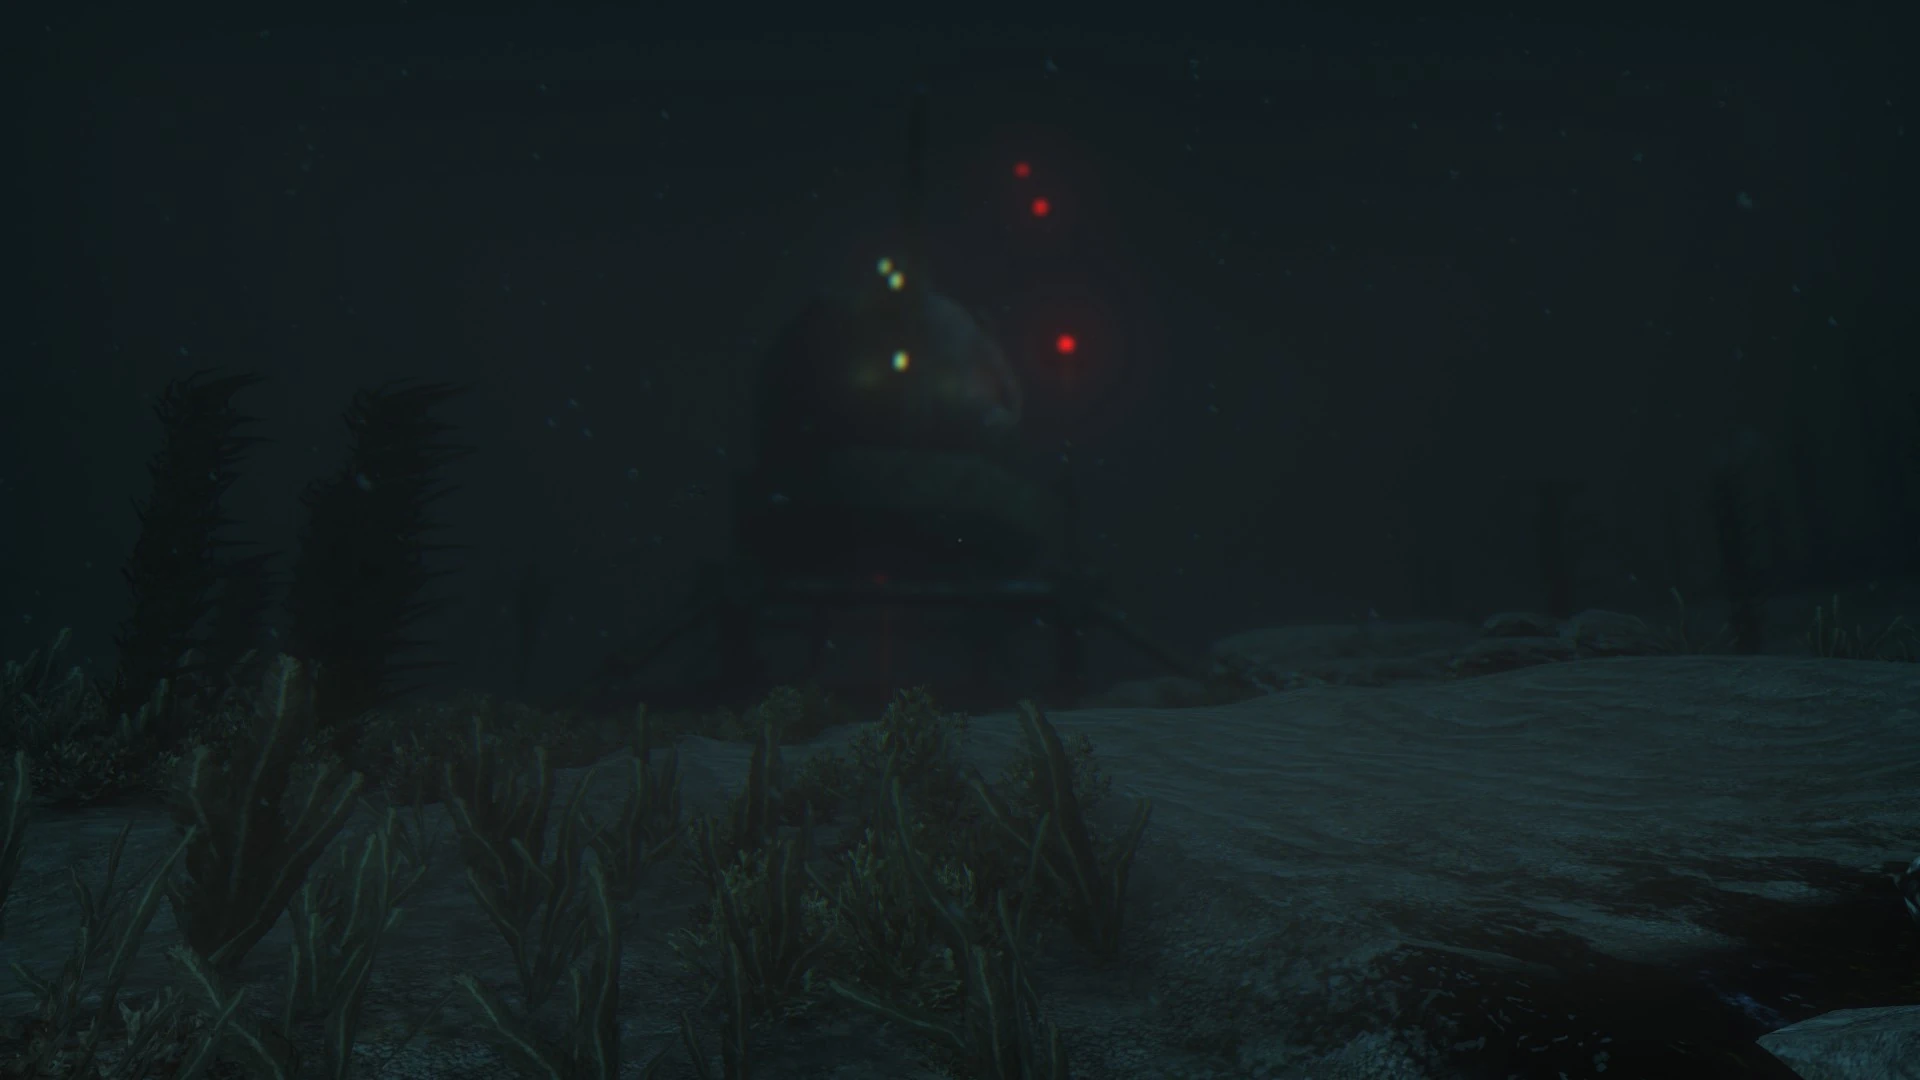
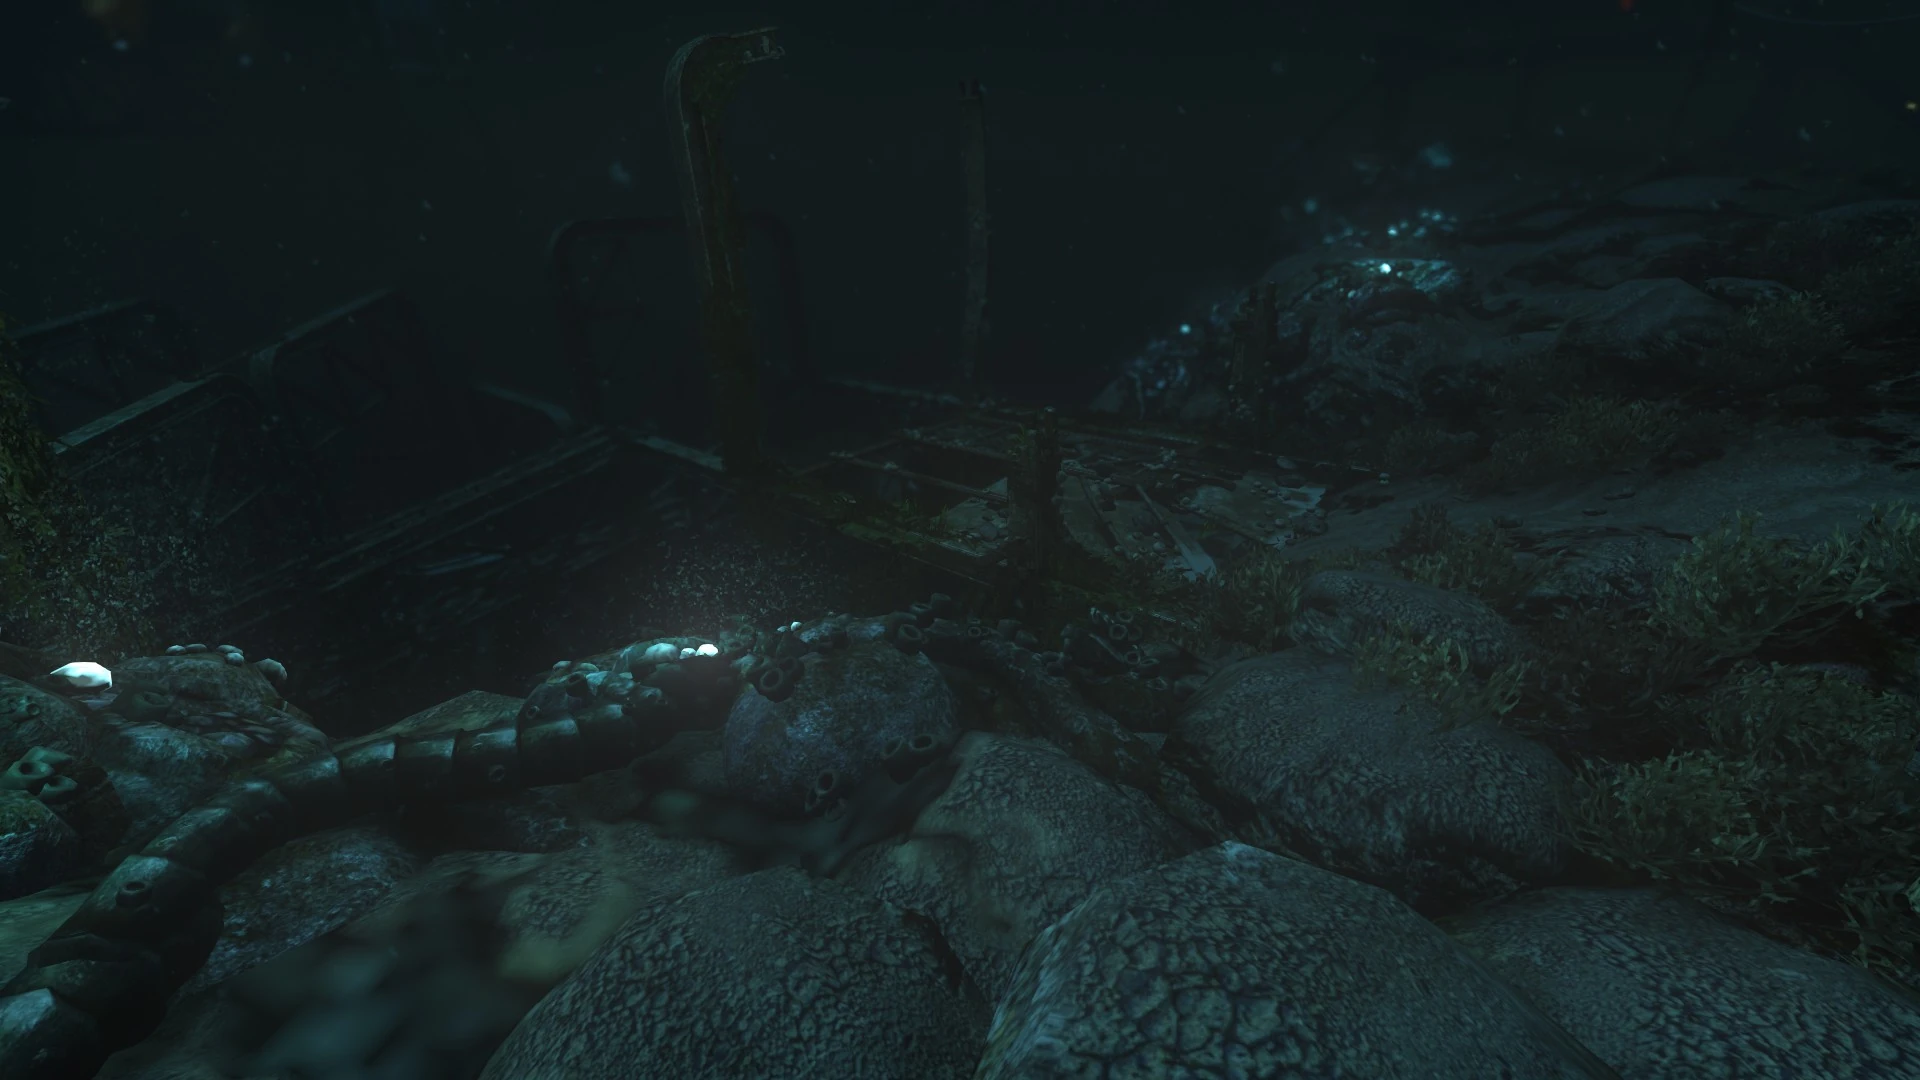
The structure outside Omicron
- Optionally listen to the message from the body to the right.
- Follow the path ahead past the white light. Continue following it until it turns to the left, at which point keep going straight ahead until a structure with yellow and red lights is visible ahead to the left.
- Go to the structure.
- Optionally listen to a message from the body near one of the support struts.
- Climb the ladder underneath.
Inside the structure[]
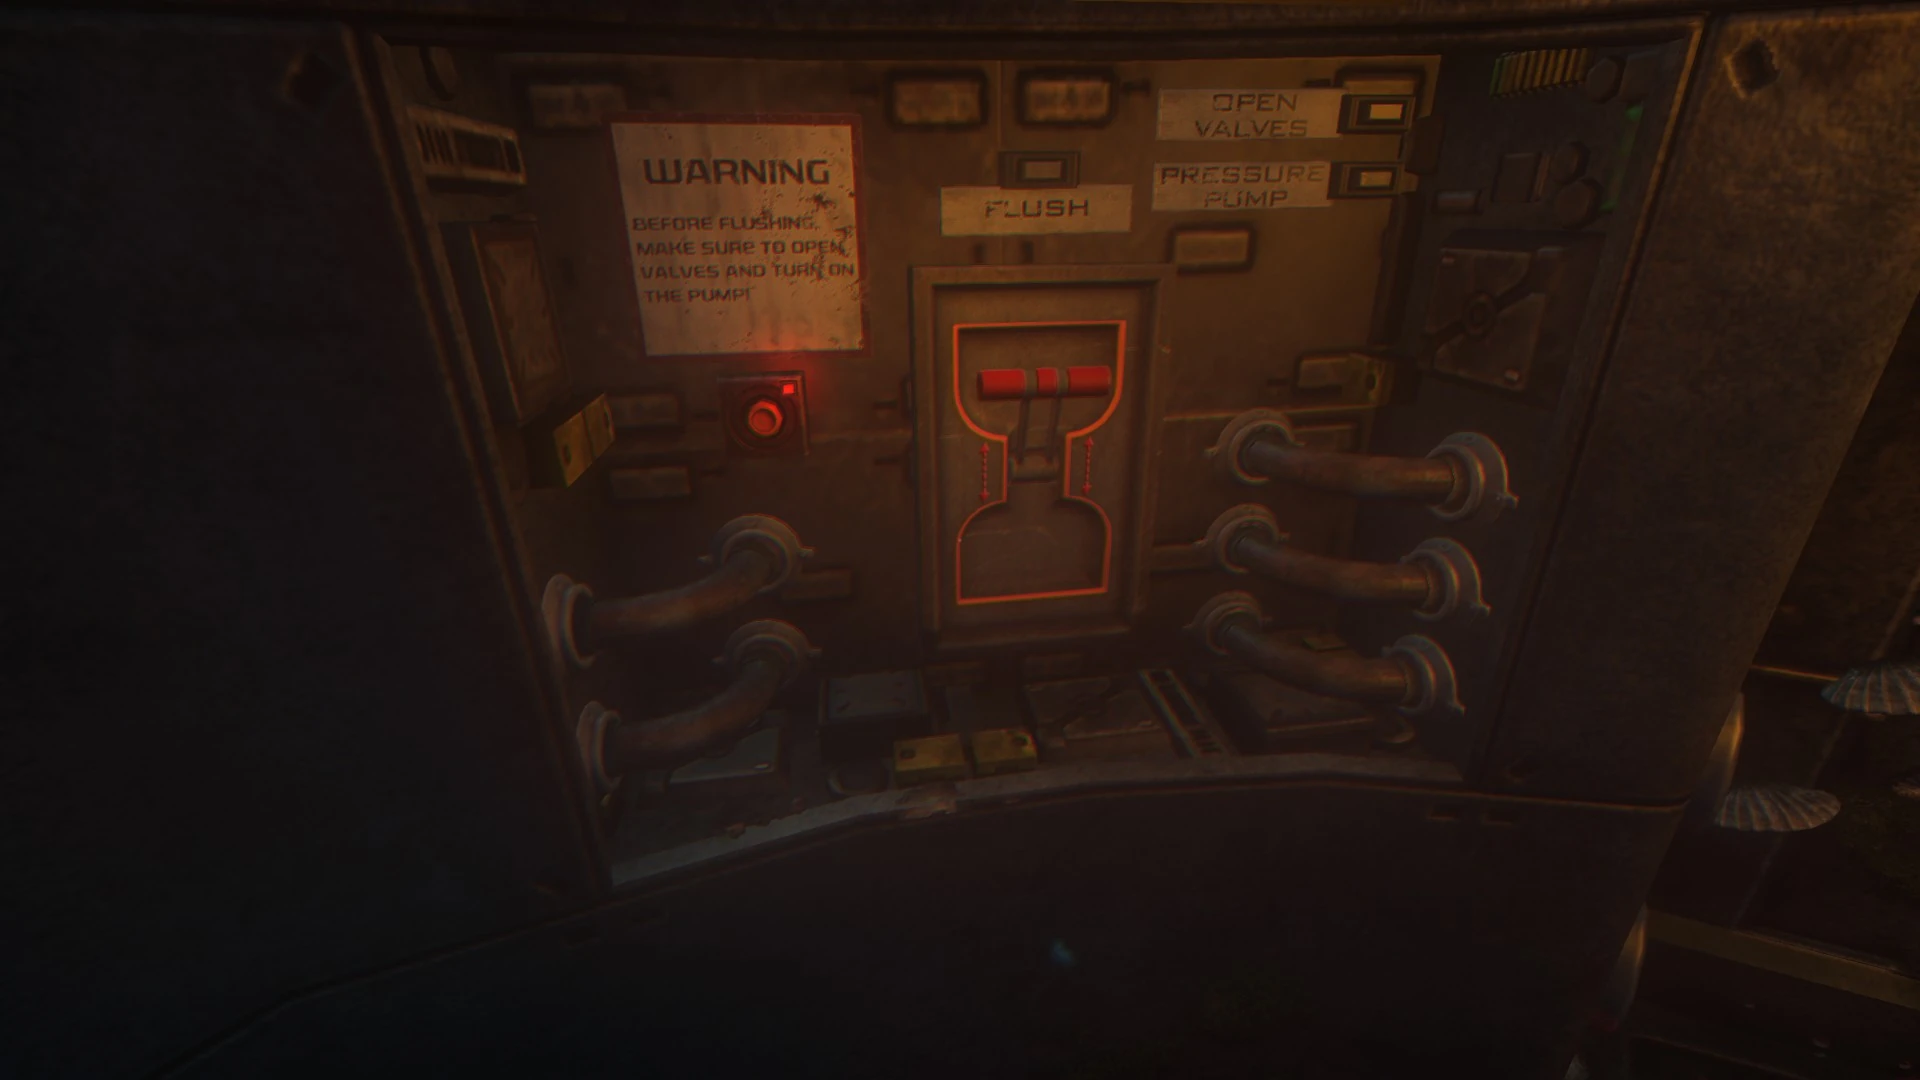
The inside of the manual override panel
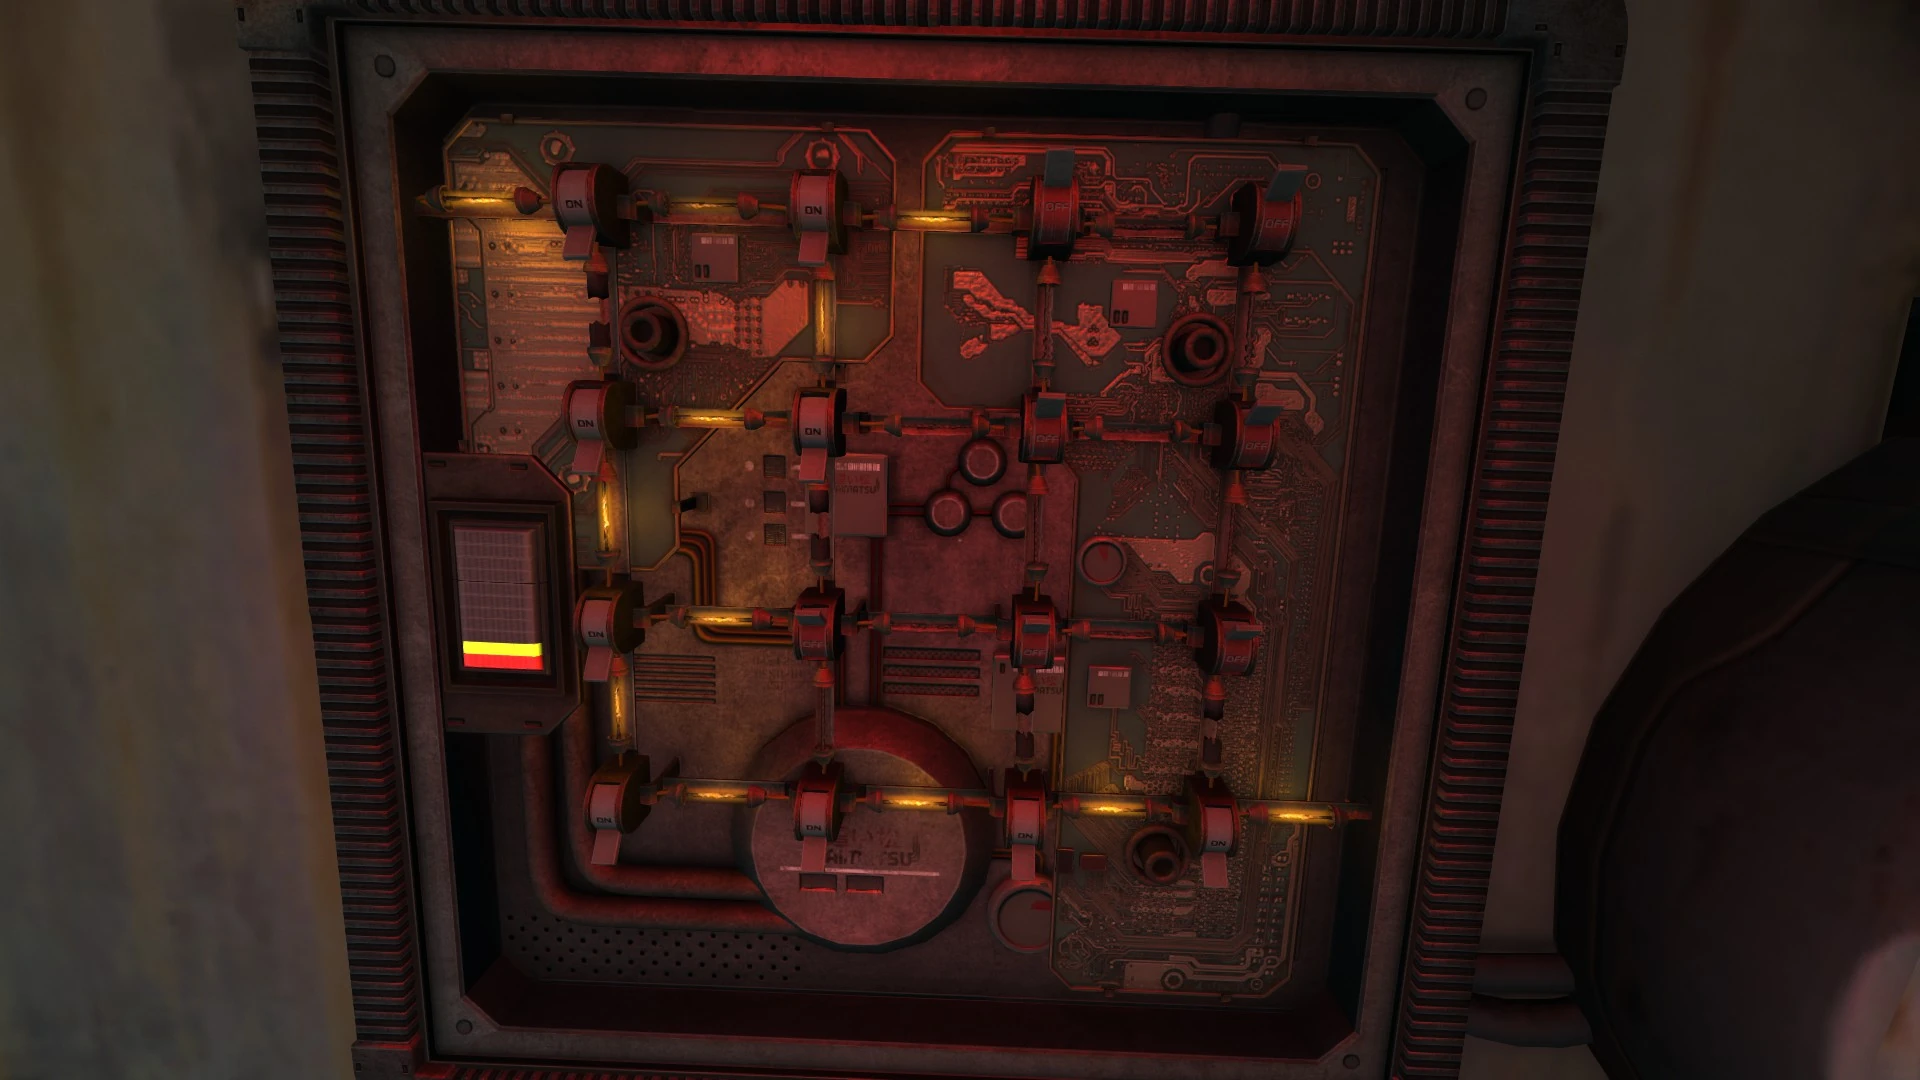
Power correctly routed through the fuse box
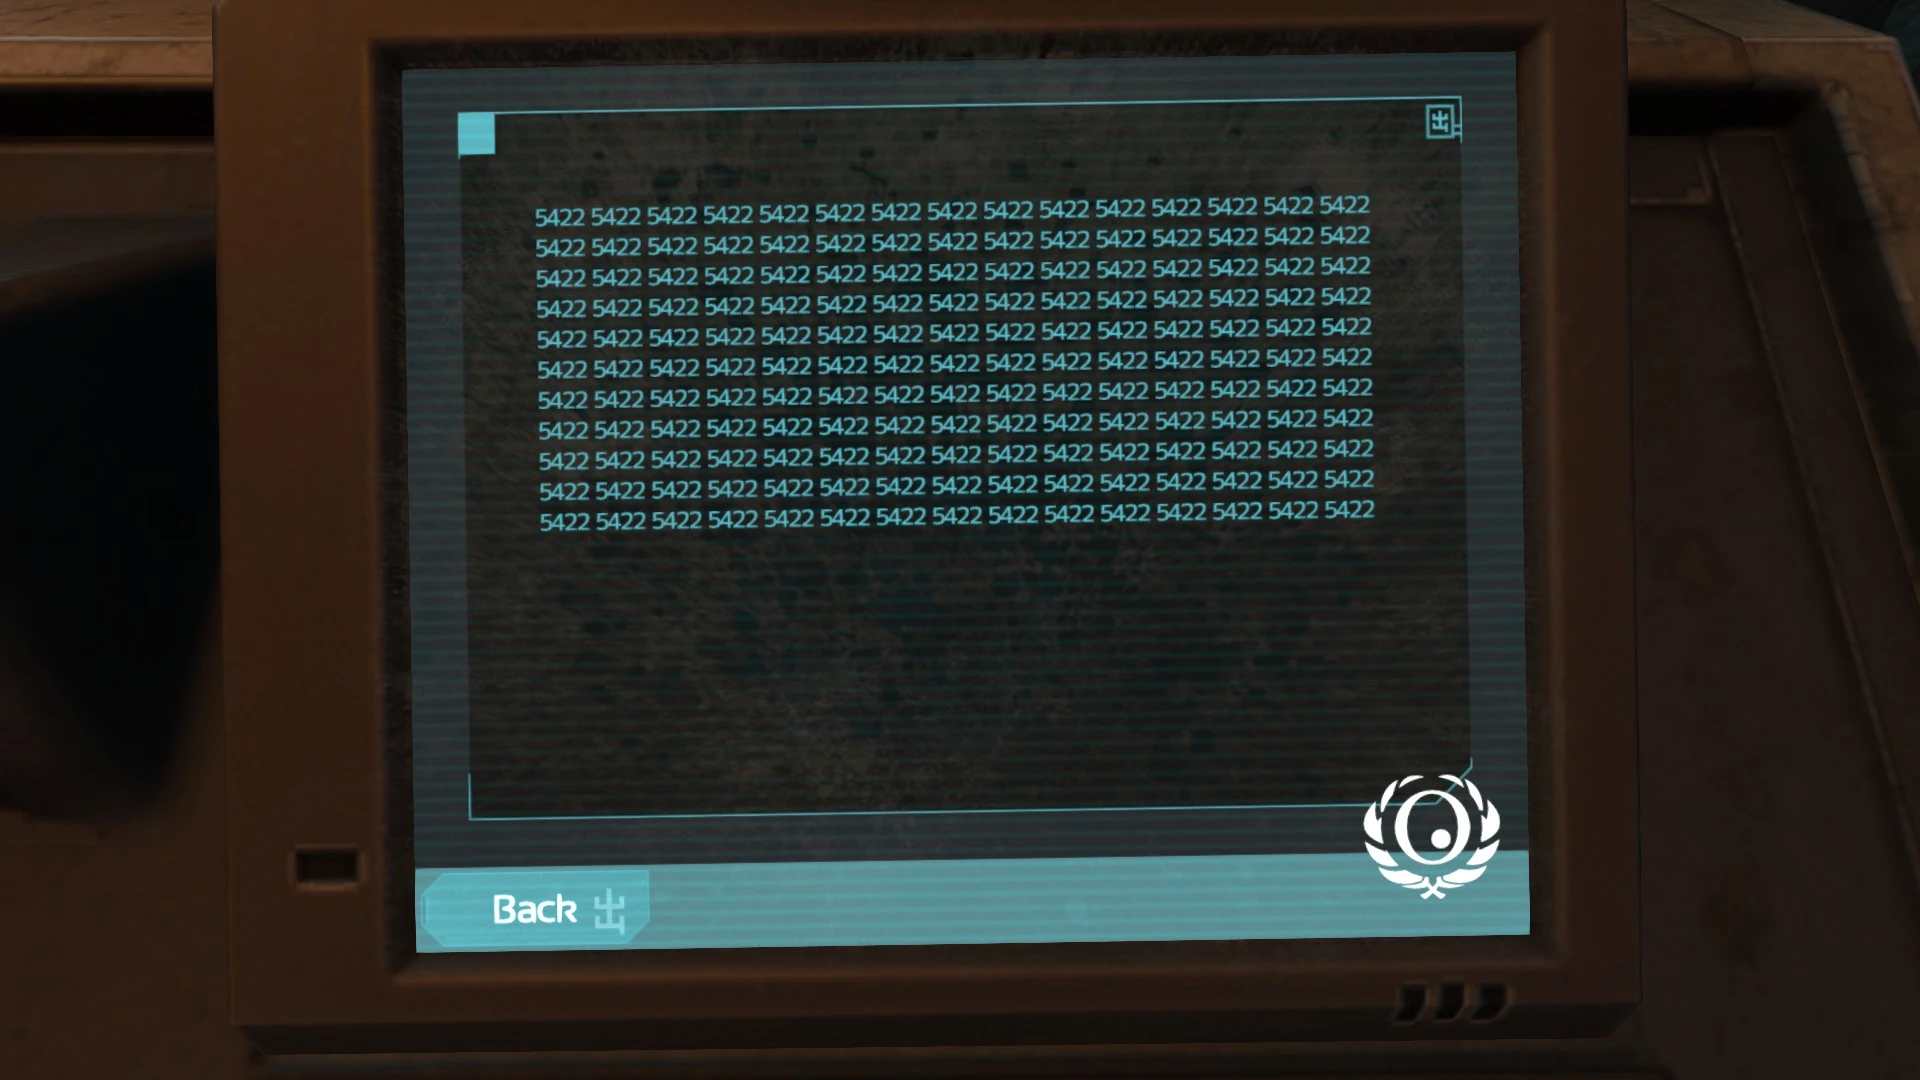
Quarantine code for Omicron
- Remove the panel underneath the "MANUAL OVERRIDE" sign.
- Press the red button on the left side.
- Open the two valves to the right of the panel.
- To the right of those, pull the lever to activate the pressure pump.
- Return to the manual override panel and pull the "FLUSH" lever.
- Climb the ladder to the next level.
- Optionally try to listen to a message from the dead body.
- Optionally use the healing node.
- Place the omnitool in the receptacle.
- After the conversation, turn around. Go to the panel beneath the red light and pull off the cover.
- This puzzle requires activating switches so that power flows from the upper left to the lower right, but there are complications:
- Each time a switch is thrown, the bar on the left decreases by 1. If the bar is depleted before power is fully routed, all the switches will be reset to off.
- Some of the fuses will blow when power is directed to them.
- One valid solution is:
- Flip the second switch in the top row.
- Flip the second switch in the second row.
- Flip the first switch in the second row.
- Flip the first switch in the third row.
- Now, from left to right, flip all switches in the bottom row.
- Turn around from the panel. The terminal to the right just contains information right now.
- Go to the terminal next to the omnitool receptacle.
- Optionally select "Radio Buffer" and listen to the file.
- Select "Omicron" and then "QUARANTINED".
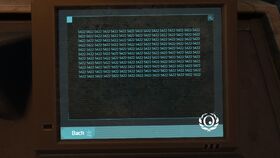
- After the conversation, go to the other terminal. It should be glitching. As you approach, a new button with gibberish text. Press this button.
- A four-digit code should appear on the screen several times. Head back to the other terminal, select "Omicron", "QUARANTINED", and use the code.
- Retrieve the omnitool.
- Climb down the ladder and swipe the omnitool where indicated.
- Wait for the room to flood, then climb out.
Back to Omicron exterior[]

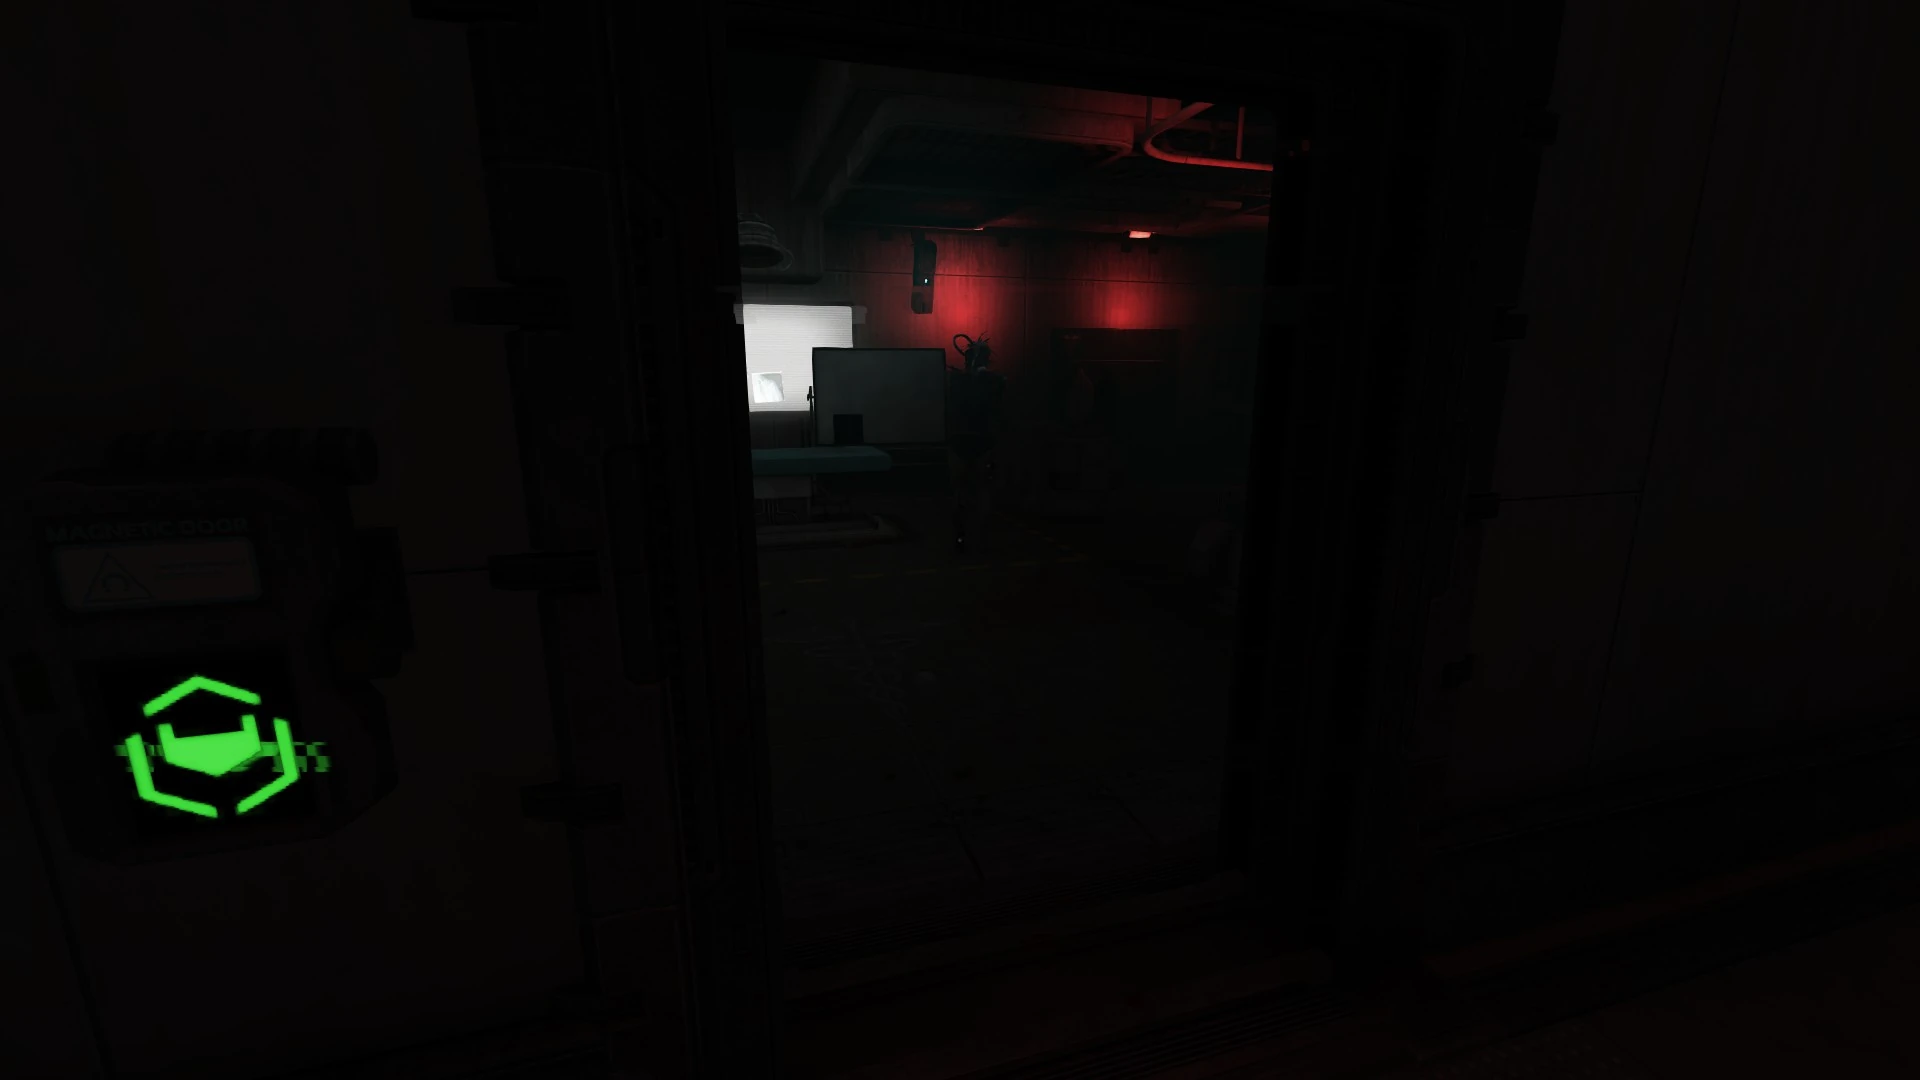
The way to the secondary entrace
- Turn all the way around from the ladder and take a few steps. Omicron should be visible from here.
- The robot outside may cause vision distortion in its presence, but it is non-hostile. It can be followed to Omicron, or simply follow the path there.
- Optionally listen to the message from the dead body.
- Optionally hit the button to open the door to Omicron, go into the airlock, and swipe the omnitool where indicated. The inner airlock door will malfunction.
- From the door button, go right to some metal scaffolding heading out over the ridge to the left.
- Carefully proceed along the scaffolding, crouching where necessary, to two ladders going down.
- Climb down the left ladder to the door below.
- Press the button and enter the airlock, swiping the omnitool where indicated.
To the dive room[]
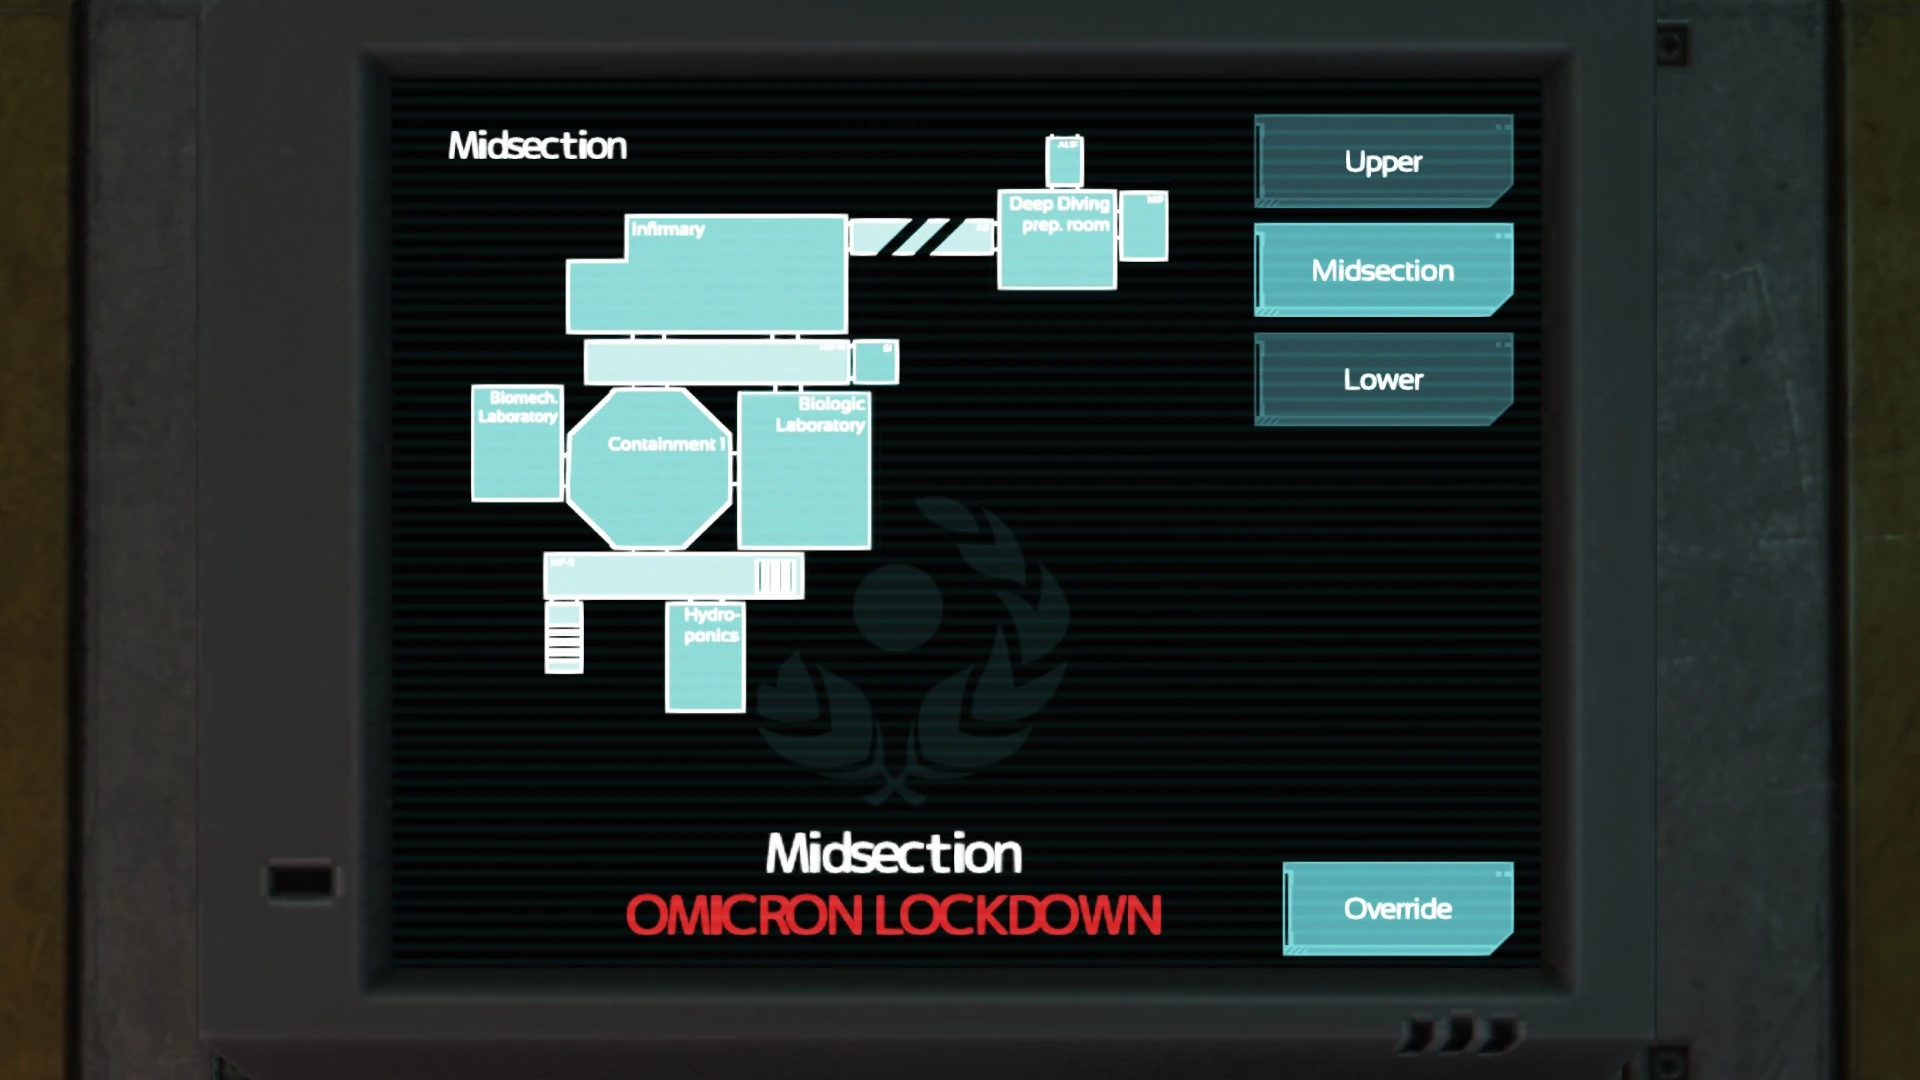
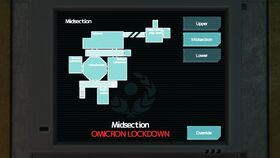
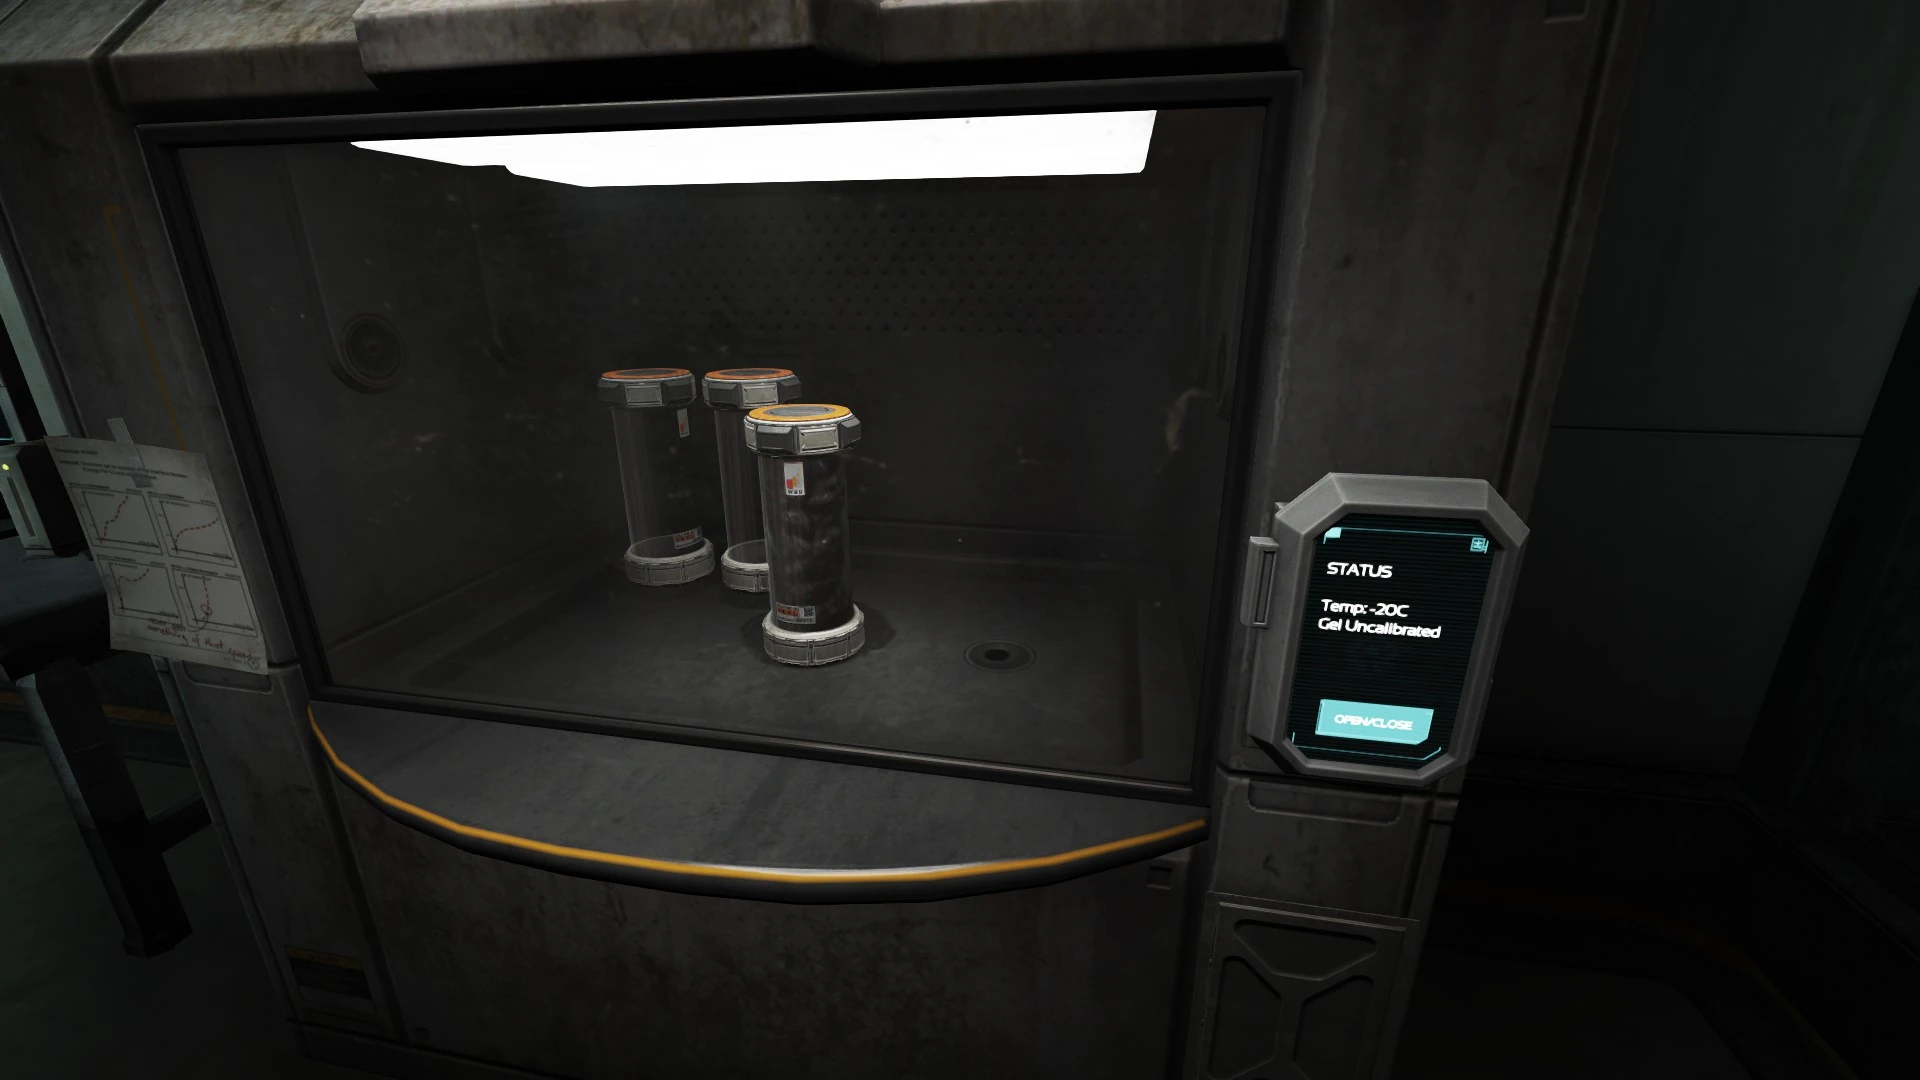
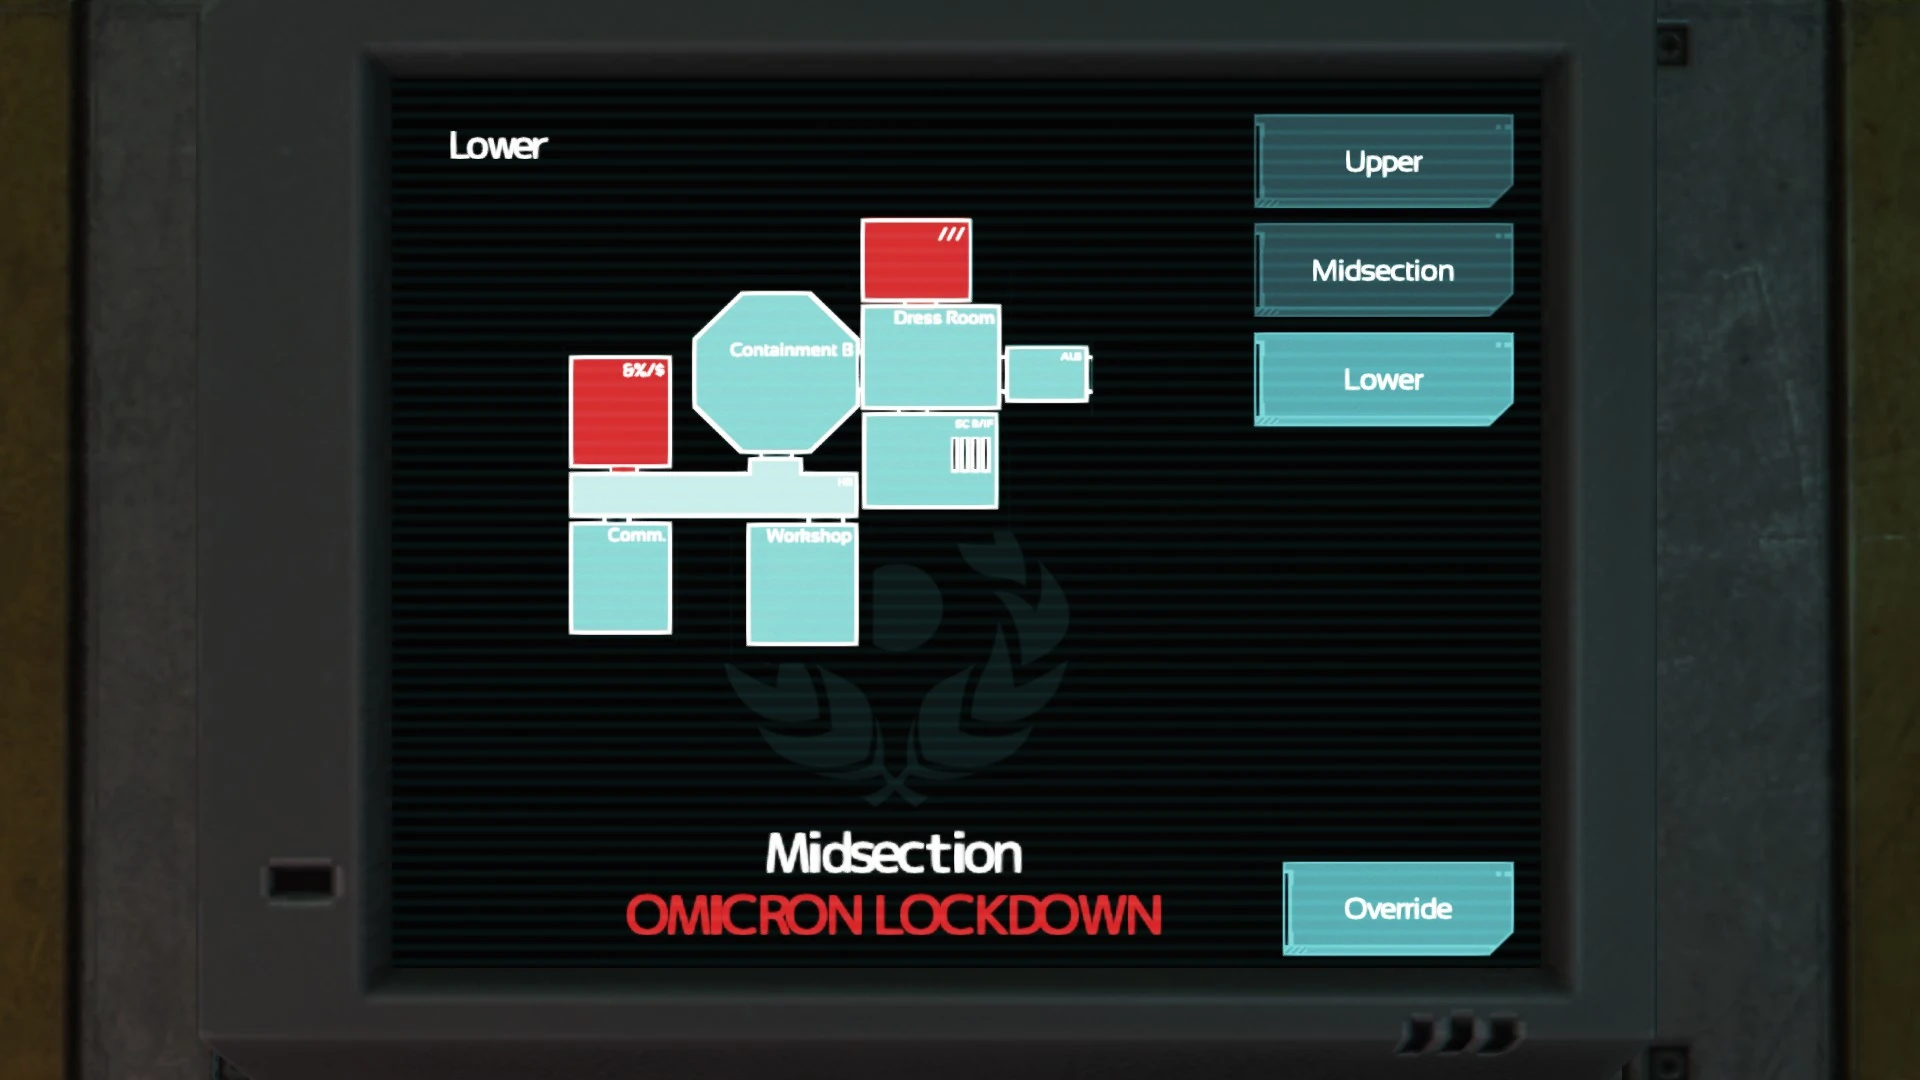
Map of Omicron midsection
- When the airlock cycles, go inside.
- There is nothing to do in "Containment FB" yet, so head through the door to the left.
- Go up the stairs and through the door at the top.
- Go into Containment F1 to the right.
- Head across into North Hall F1.
- There is nothing to do in the storage room at the end of the hall, so go into the Medical Bay.
- Take a right, proceed through the Medical Bay into the hallway and go through the door at the end.
- The door will suddenly close and lock.
Inside the dive room[]

Terminal inside the dive room
- Head to the consoles ahead and place the omnitool in the receptacles.
- After the conversation, look back to the right and open locker D. Interact with the power suit inside.
- Walk around the console here and push the orange "Activate Terminal" button.
- Select "HPS Activation" and then "POD D". The other two options are purely informational.
Back to Containment F1[]

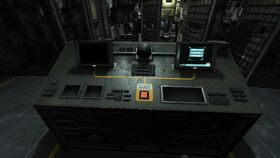
Solution for power rerouting allowing override on each floor
- The door back to the medical bay is unlocked again, so return there.
- Take either door to the right back into North Hall F2.
- Return to Containment F1.
- There is a console across from the door to the Cleanroom. Go there.
- Press the "Override" button. Wait for it to find the fault and show a screen with red and blue squares.
- This is a fairly simple puzzle:
- Upon clicking on a blue square, a red dot will appear in the middle and all of the blue squares not adjacent to it, whether horizontally, vertically, or diagonally, will become gray.
- From now on, clicking more blue square will connect that square and the previous square with a line. Now gray squares will become blue if they are adjacent to this new square. Blue squares not already connected to the line may become gray if they are no longer adjacent to the last square.
- The goal is to run the line through all of the blue and gray squares.
- Start with one of the top two blue squares and check the image to the right for a valid solution.
- Optionally check out the console to the right for some information.
Into the cleanroom[]

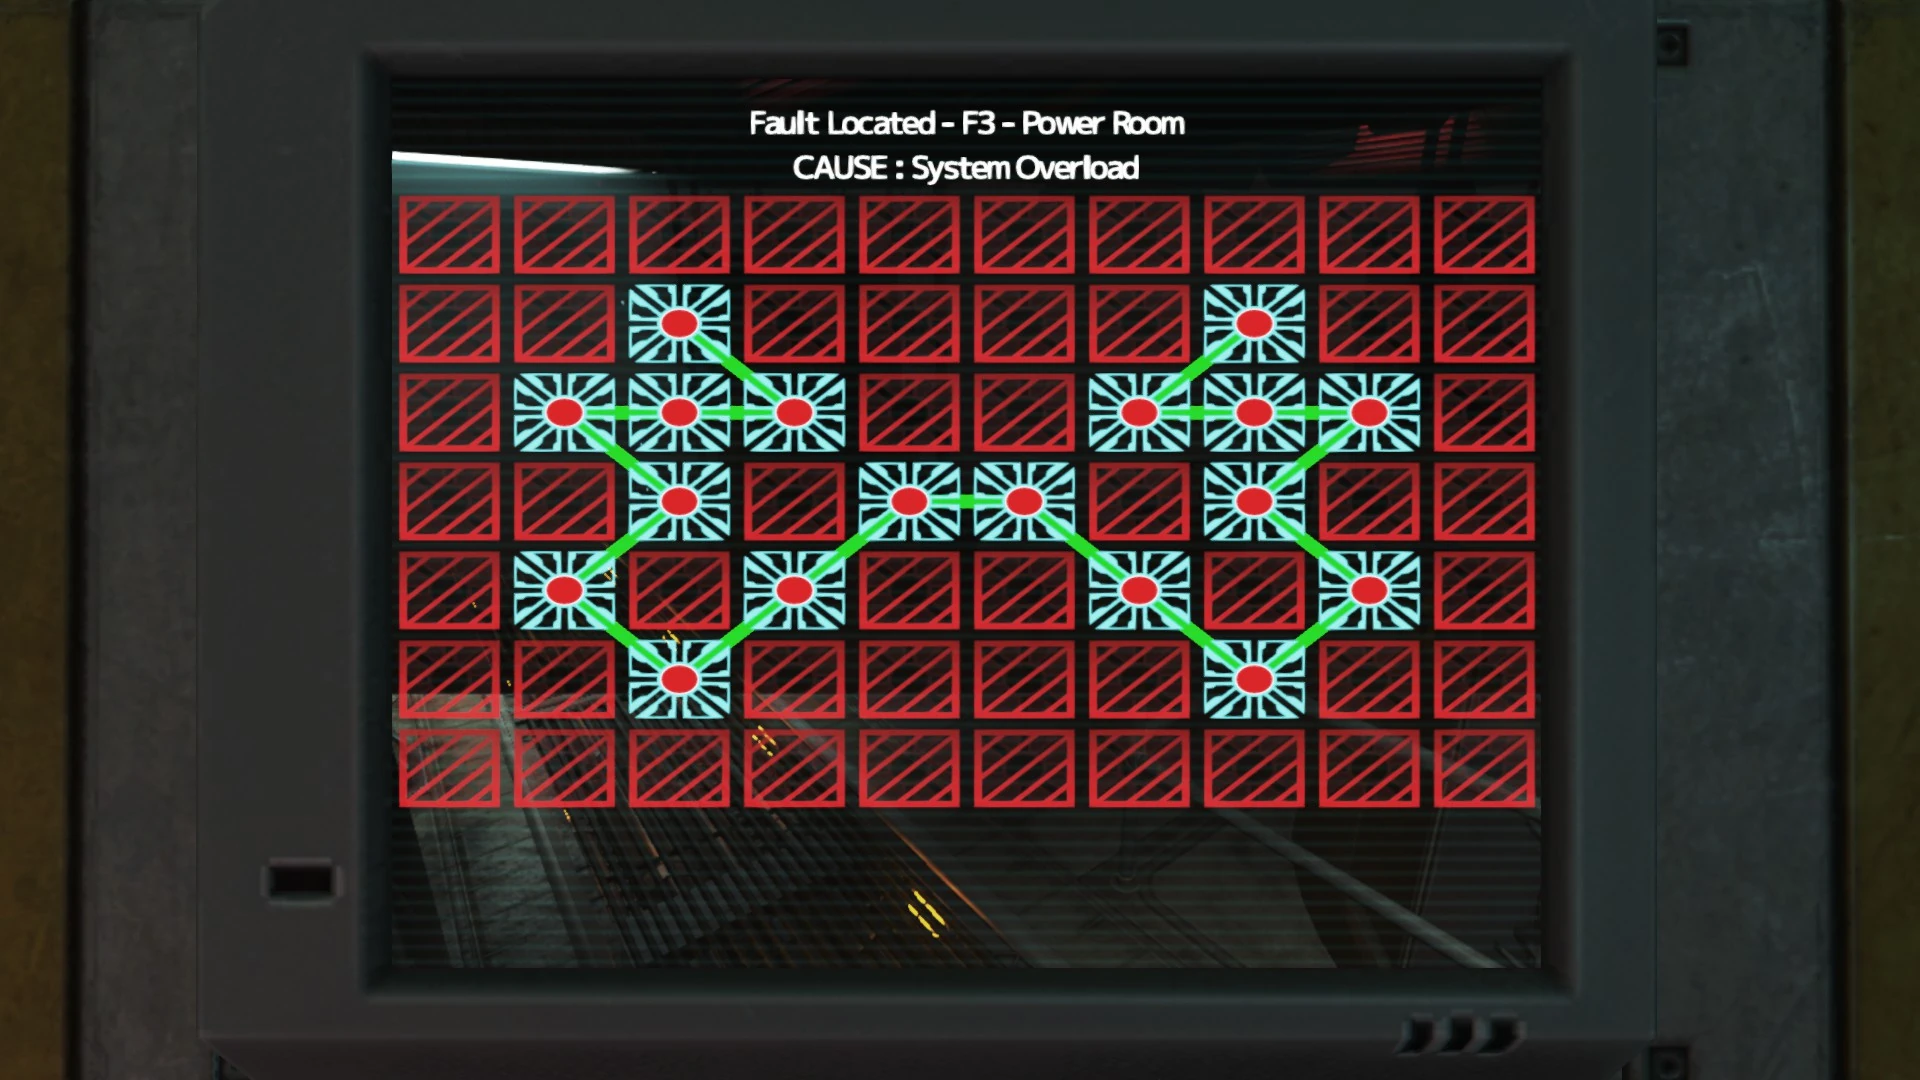
Vial of structure gel in the cleanroom


Repairing the control chip
- Go into the Cleanroom through the short hallway and decontamination chamber.
- Optionally visit the computer terminal across the room.
- Press the "OPEN/CLOSE" button on the cabinet containing vials of gel.
- A panel underneath should have popped open. Open it further and retrieve the control chip.
- Proceed into the side room.
- Go to the middle drawer on the far wall.
- Hit the red button next to it to unlock it.
- Pull out the drawer and place the control chip within it.
- Close the drawer. Locking it is optional.
- Walk around the table and turn back toward the drawer.
- Hold the switch above the "DISPENSE GEL" button to the right until the laser is hitting the control chip in "CELL 2".
- Press the "DISPENSE GEL" button.
- Return to the drawer. Unlock it, pull it out, and retrieve the control chip.
- Return to the gel cabinet and replace the control chip.
- Press the open/close button again. Get the vial of gel inside.
- Return to Containment F1 just outside the cleanroom.
To the power room[]

Map of upper Omicron

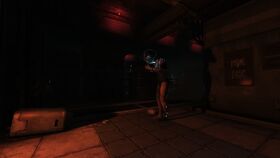
The monster encountered in the Omicron power room

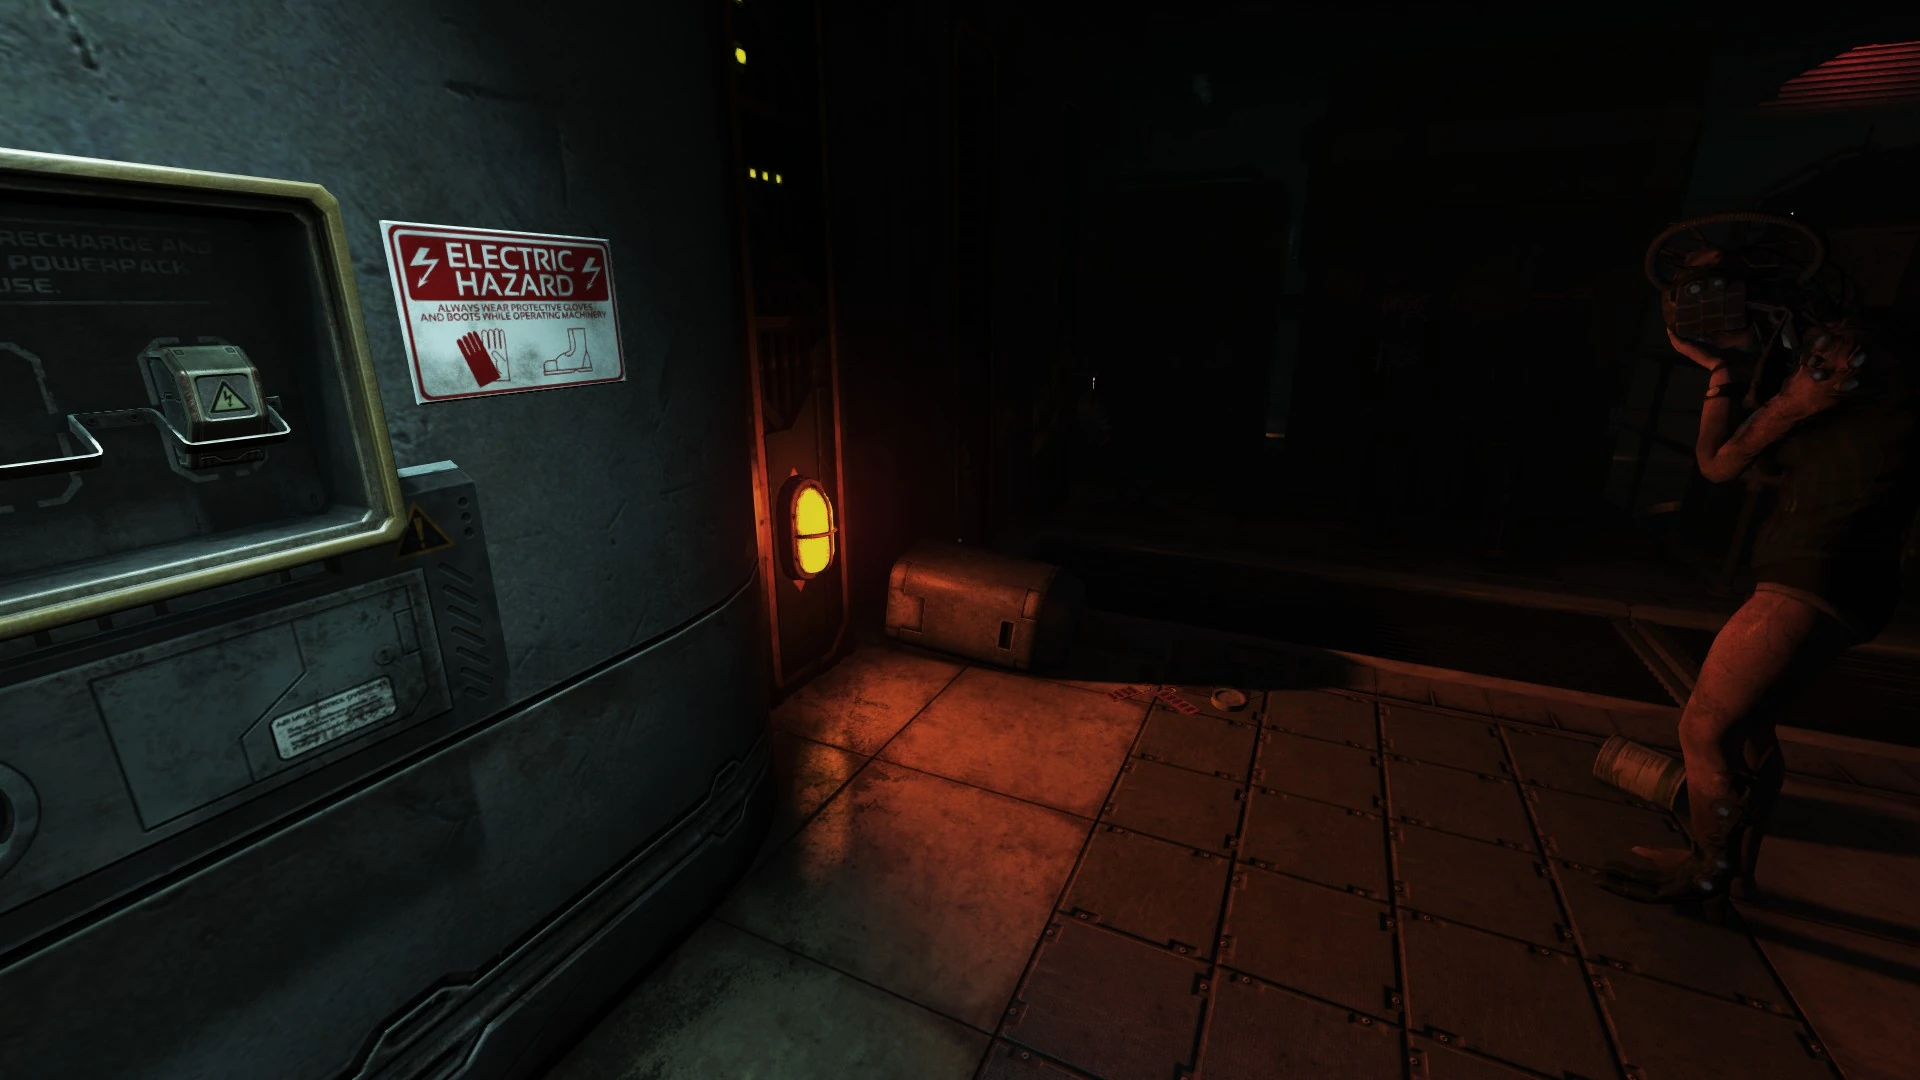
The opened storage locker containing the only remaining power pack
- Optionally visit the laboratory across the room. It has a healing node and a recorder with a recorded conversation.
- Go into South Hall F1.
- Optionally visit the hydroponics room. In the middle drawer in a filing cabinet on the left side of the room, there is another recorder with a recorded conversation.
- Go into South Stairwell at the end of the hallway near the corpse. There is a lot of visual distortion near the door, but no threat.
- Go up to the next level and into South Hall F2.
- Take a right and go into Containment F2.
- At the console, select "Upper" and then "Override".
- Optionally head left into West Hall F2 and then into the Dining Hall. There is a computer on the table with some audio messages.
- Go right into East Stairwell F2.
- There is nothing meaningful in the storage room.
Warning: There is a new monster ahead in the power room. Simon seems to be able to survive three hits from this monster. It appears to be able to shake the nearby environment. It does not seem to patrol, staying in one location and only changing position after hitting Simon. Its awareness seems to increase whenever it lights up, which seems to happen whenever Simon moves more than very small steps in its general vicinity.
Avoiding a hit from it is generally a matter of taking very slow steps when it's nearby and waiting whenever it lights up. Loud noises may prompt it to chase and attack even when it is dark, so mind the debris in the room while moving. Be very careful when in front of it or to its side, and don't get closer than necessary. If it lifts its head and throws up its arms, it is going to pursue and attack. If the path out of the power room is clear, it can be possible to escape by sprinting and getting far away from it. Unfortunately, it returns to the power room, ruling this out as an alternate strategy to get around it.
- Go into the power room.
- Follow the only path through the room to the left. When the path turns right, the monster should now be visible.
- The lights will shut down will when Simon gets close enough to the monster.
- Head through the center path here and go left around to the back corner of the room. This is still far enough away that even sprinting can be safe as long as nothing particularly loud is knocked over and the sprints are short.
- Turn right. Walk carefully until the monster can be seen. At this point, start making small steps toward the panel labeled "POWERPACK STORAGE", watching to see if it starts to light up. If it does, wait it out. Be extra careful when at its side.
- It is best to try to do this without being hit. While getting hit causes the creature to reposition, it will usually chose a location that makes it very hard to avoid another hit coming out of the power room without extraordinary patience and care.
- Once close enough to open the panel, do so slowly. Retrieve the power pack from inside.
- Leave the power room by reversing the route used to get here, still moving very slowly while close to the monster.
To the robot repair bay[]

Map of lower Omicron

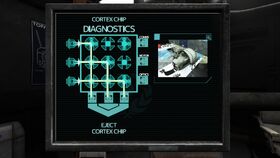
A solution for the cortex chip puzzle
- Return to South Hall F2
- There are bodies in Main Entrance, but none of them have any message to listen to.
- Continue back to South Stairwell and descend back to South Hall F1.
- Return to East Stairwell F1 and descend to Sec. Entrance.
- Enter Containment FB.
- At the console, make sure "Lower" is selected and then hit "Override".
- Proceed into South Hall FB.
- Optionally visit Dispatch down the hall for a healing node, some audio files on a computer, and a lot of papers.
- Go into the Robot Repair Bay.
- Head to the console.
- This is a fairly simple puzzle:
- Power is supplied to the middle nodes by clicking the ones on the left outside of the box.
- If the node's slots are all open, power will flow straight through it.
- Otherwise, power coming in is directed out through the open slot.
- The goal is to direct power flow to all three spots at the bottom.
- One valid solution is:
- Click the lower left node to clear the squares.
- Click the lower right node until only the bottom slot is open.
- Click the middle node until only the bottom slot is open.
- Click the upper left node until only the bottom slot is open.
- Click the three icons at the left of the box.
- Now leave the console and retrieve the cortex chip from the front of the robot.
Back to the dive room[]
Monster in the dark medical bay

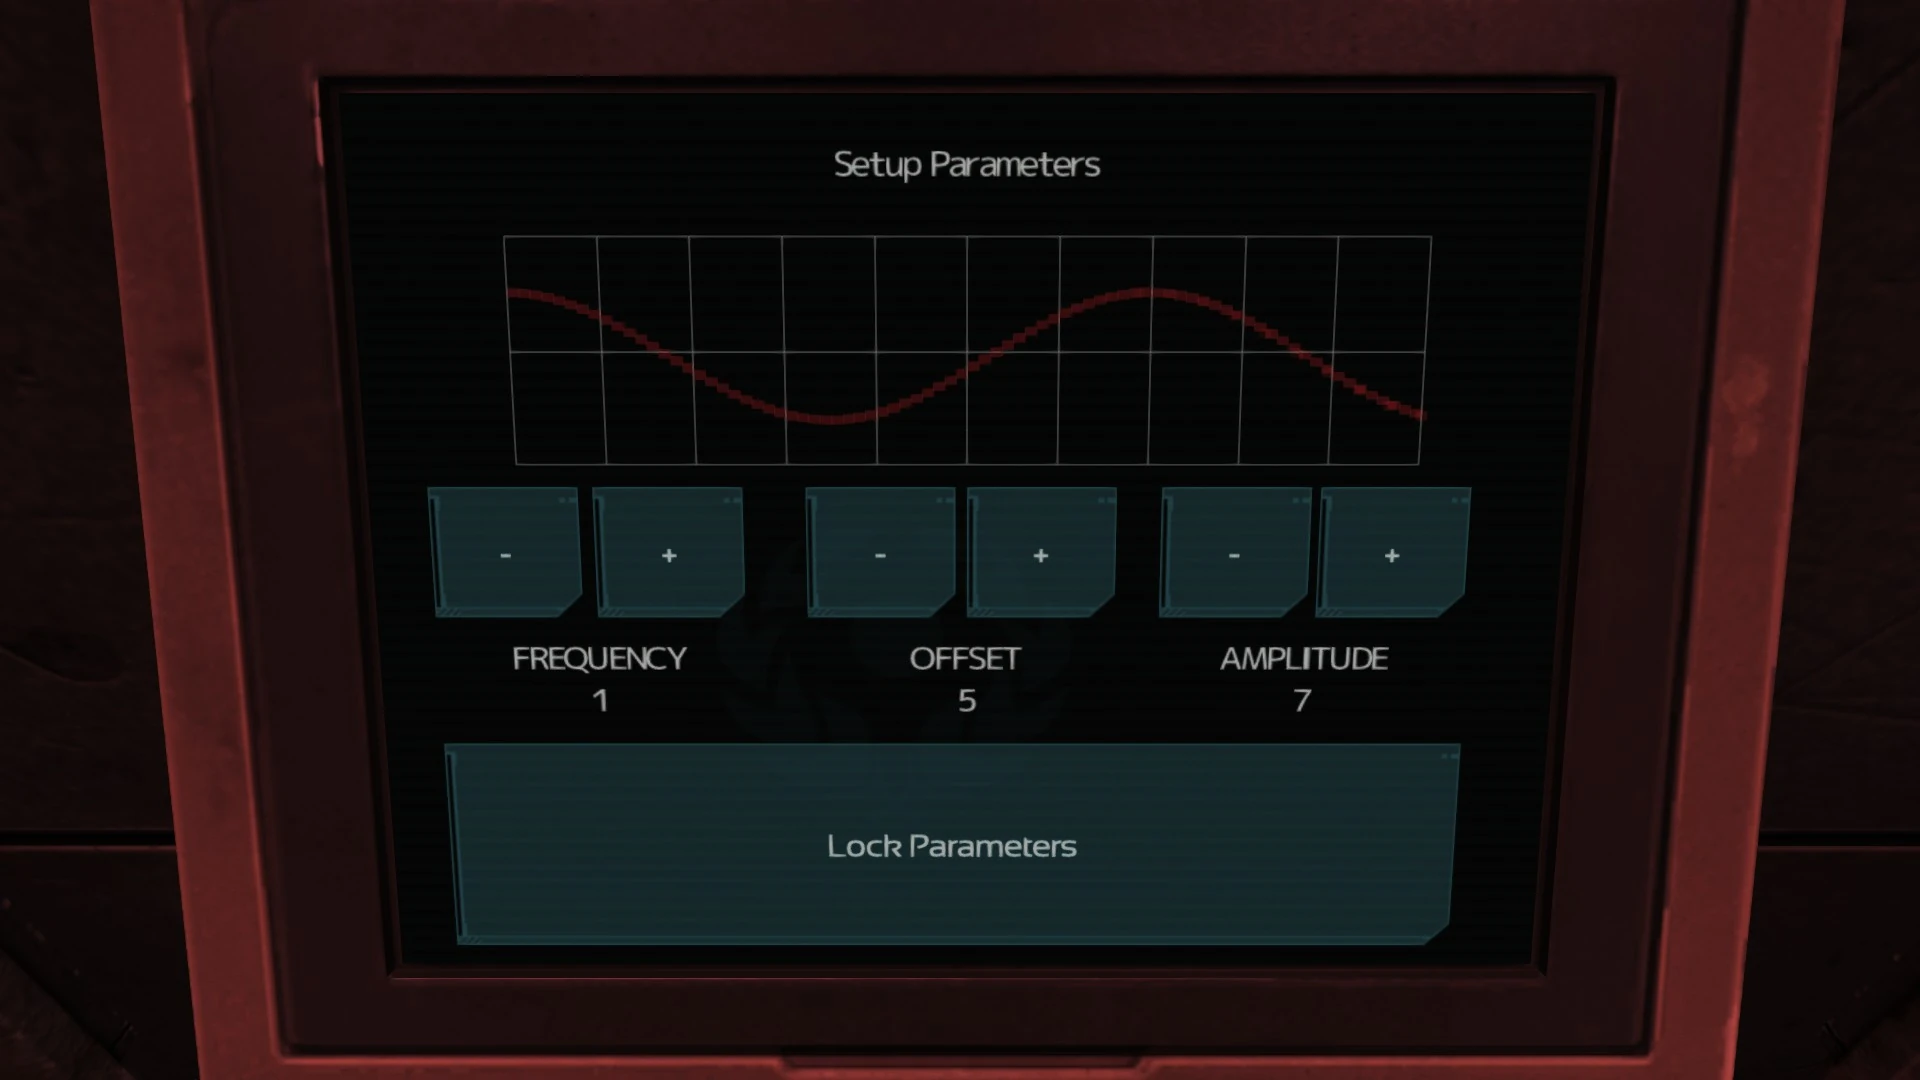
Aligning the waves in order to activate the pilot seat
- Head back to Containment FB and then Sec. Entrance.
- Head through the door to the right, up the stairs, and through the door.
- Go into Containment F1.
- After the short event, go into North Hall F1.
Warning: the monster is now in the Medical Bay. Even one hit from it now will kill Simon outright.
- Go past the first Medical Bay door to the second.
- Go inside. Walk straight to the hallway leading to the dive room.
- The monster will charge when Simon is halfway through. At that point, sprint into the dive room.
- Head to Pod D where the body awaits in the suit.
- Put the cortex chip, power pack, and structure gel into the body.
- Return to the terminal. Click "Retry" if that button is on the screen. Otherwise select "HPS Activation" and "POD D".
- After the conversation, leave the terminal, turn left, and walk to the pilot seat.
- Go to the console to the right for another puzzle:
- The "FREQUENCY", "OFFSET", and "AMPLITUDE" values affect the solid red line.
- Increasing frequency makes the waves smaller horizontally.
- Increasing offset moves the waves to the left.
- Increasing amplitude makes the waves taller.
- They need to be adjusted until the solid wave matches the path of the dotted red line.
- Once this is the case, hit "Lock Parameters".
- Sit down in the pilot seat.
- Optionally, go back to the pilot seat, then to the terminal at the right, and hit the "Execute: drain_battery" button.
- Retrieve the omnitool and enter the airlock.
To the climber[]

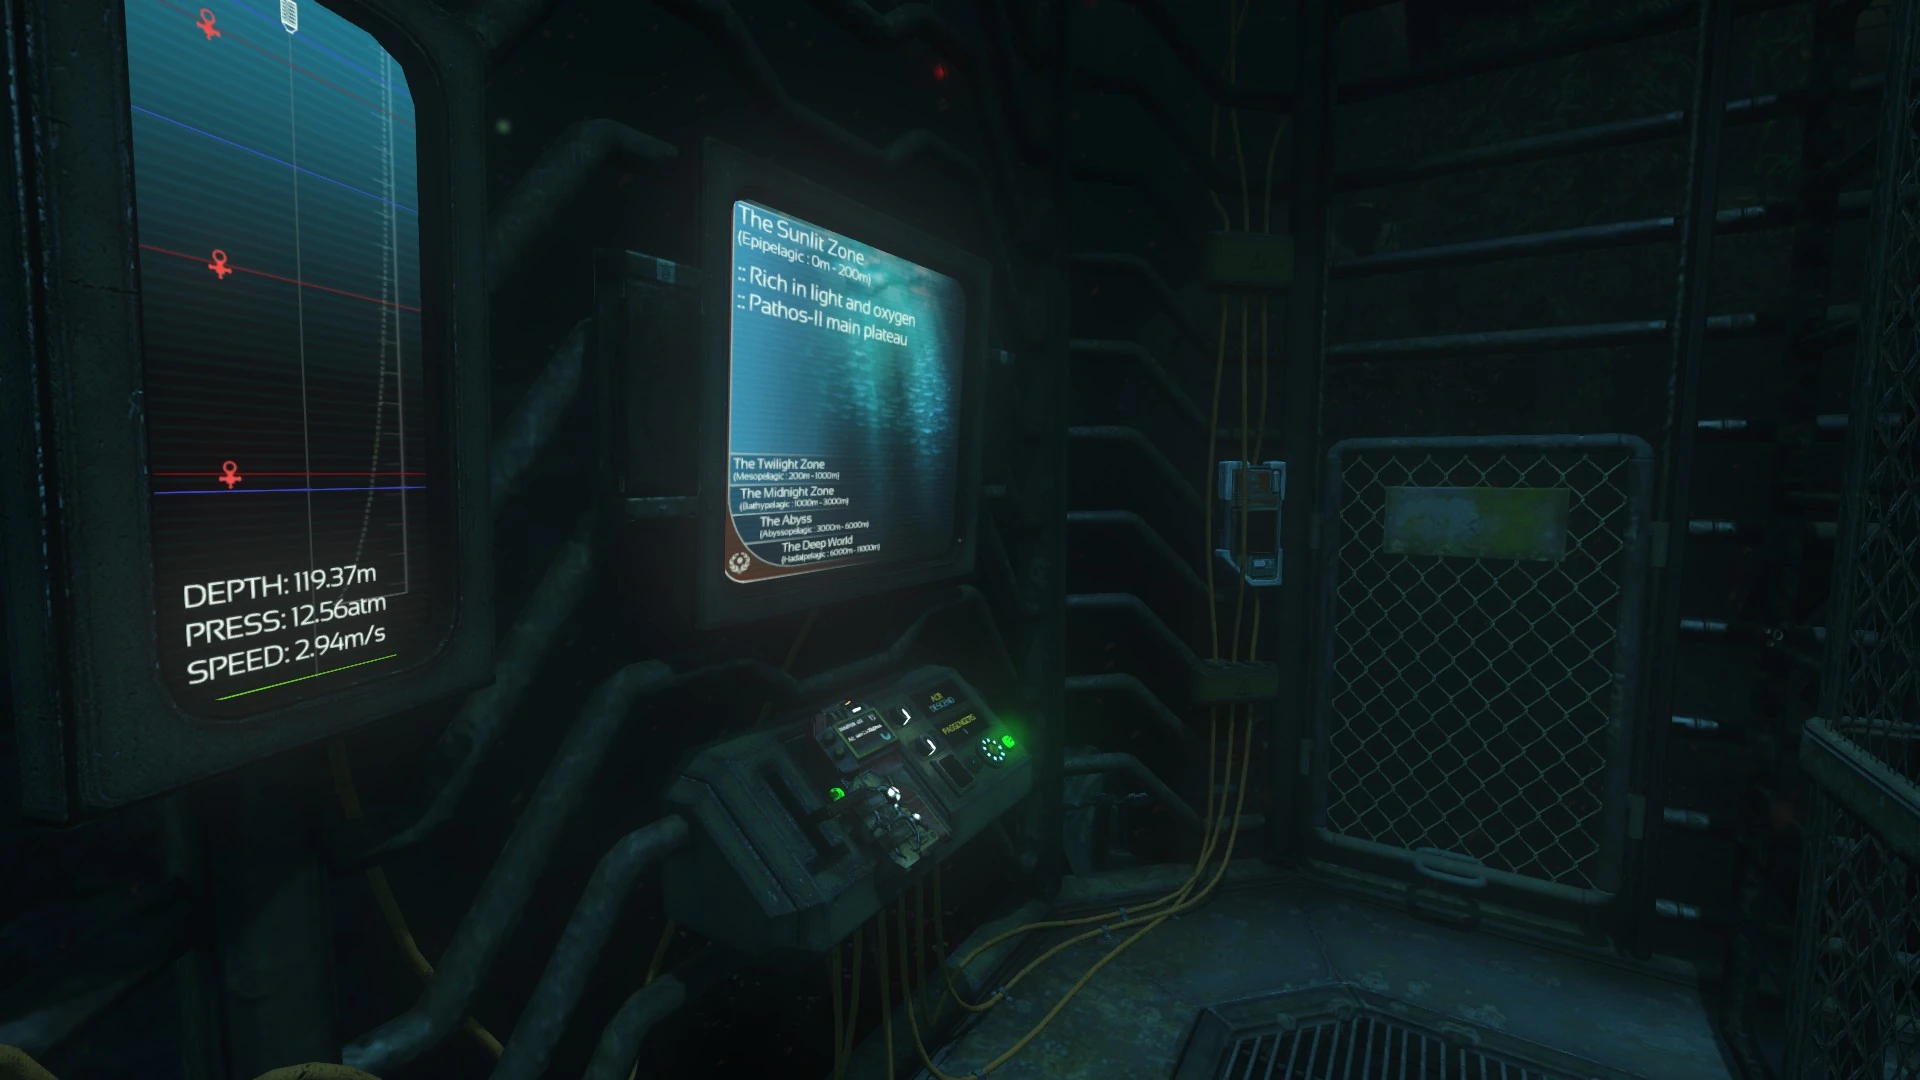
Omicron climber on the way down
- Swipe the omnitool where indicated and wait for the airlock to cycle.
- Step out onto the grating and turn right. Follow the grating around to the climber.
- Descend the ladder into the climber.
- Place the omnitool into the receptacle.
- Slide the lever for "PASSENGERS" to the left until it reads "1".
- Slide the lever for "ACR" to the left until it reads "DESCEND".
- Pull the lever to the left of the omnitool.
- Sit down in the seat just to the left.
The long ride down[]


The button that restores power to the Omicron climber
- After a time, the climber will stop suddenly. Get up and climb the ladder to the top.
- Pull open the panel at the box on the top of the climber.
- Push the button that is popped up next to the red light.
- Take the ladder back into the climber and sit back down.
| Game walkthrough |
|---|
|
Omicron
|