
Awakening[]
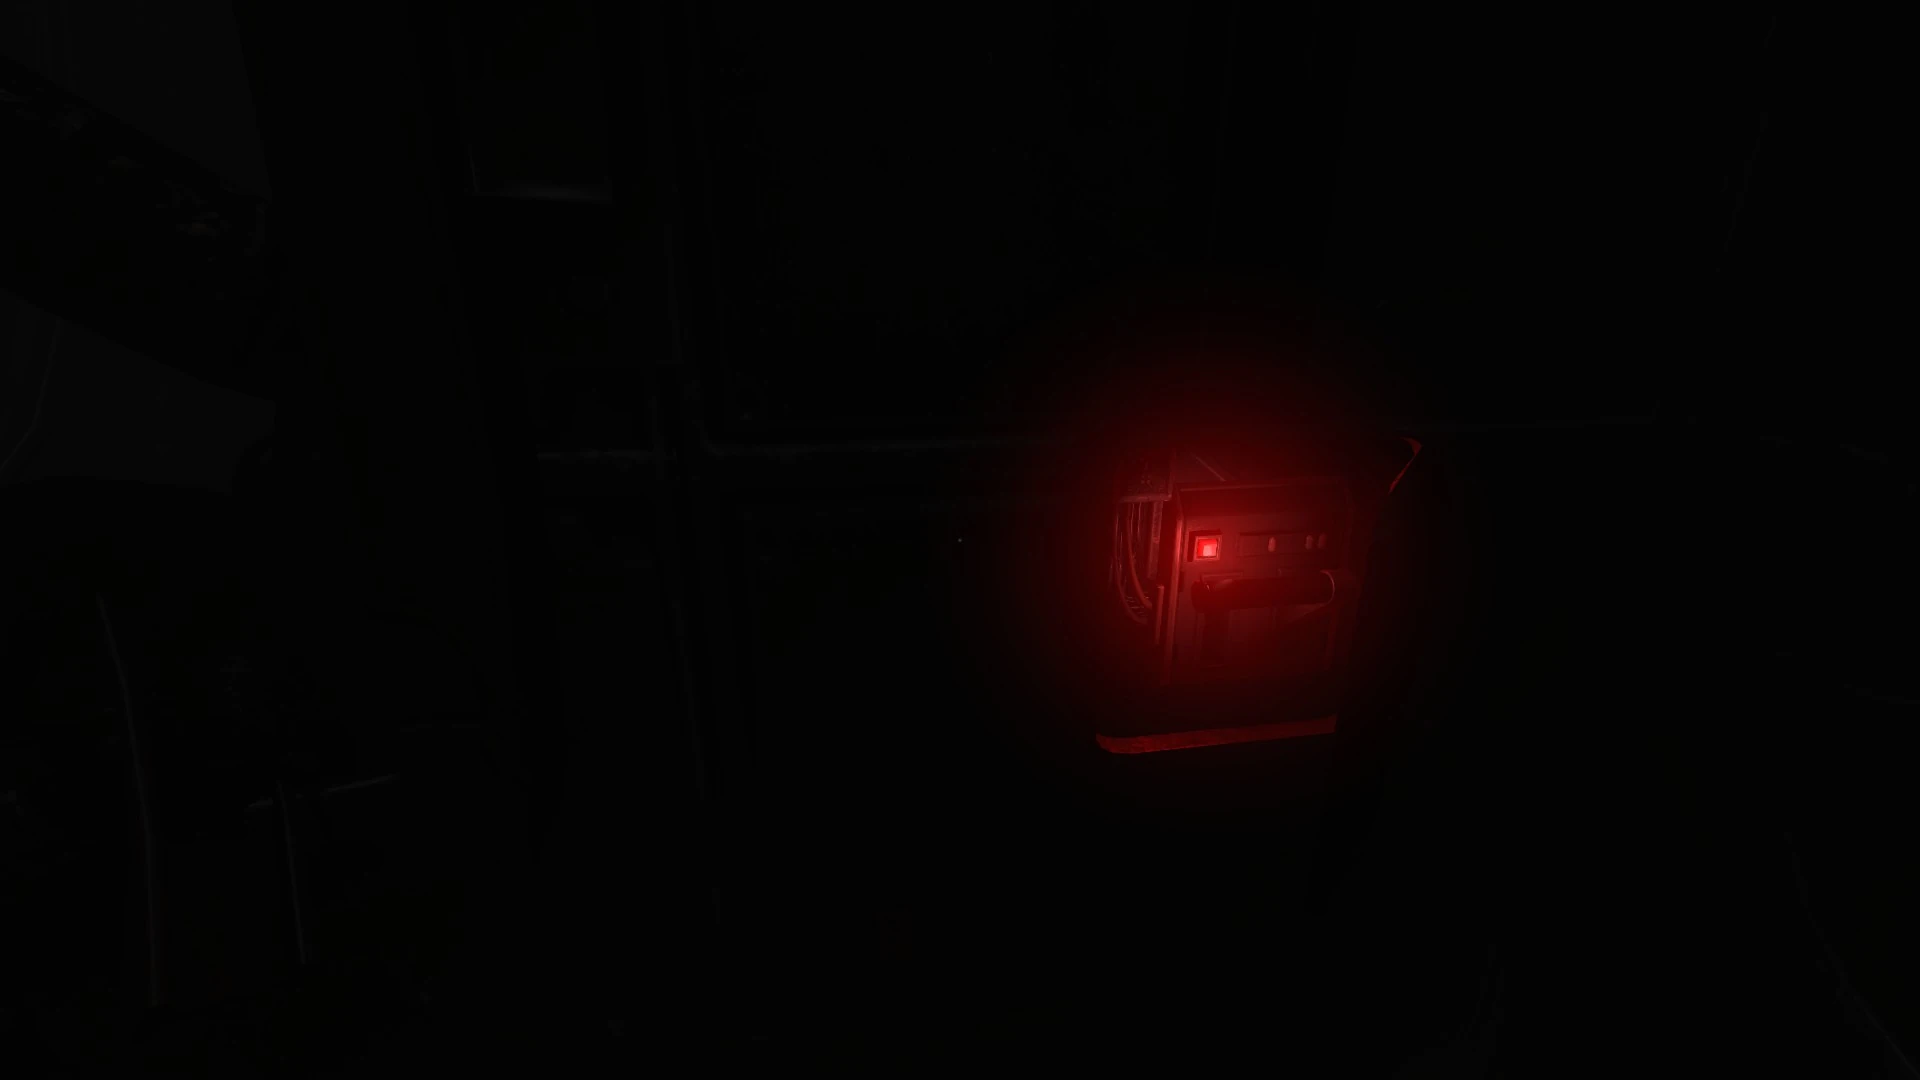
Power switch in the tech depot
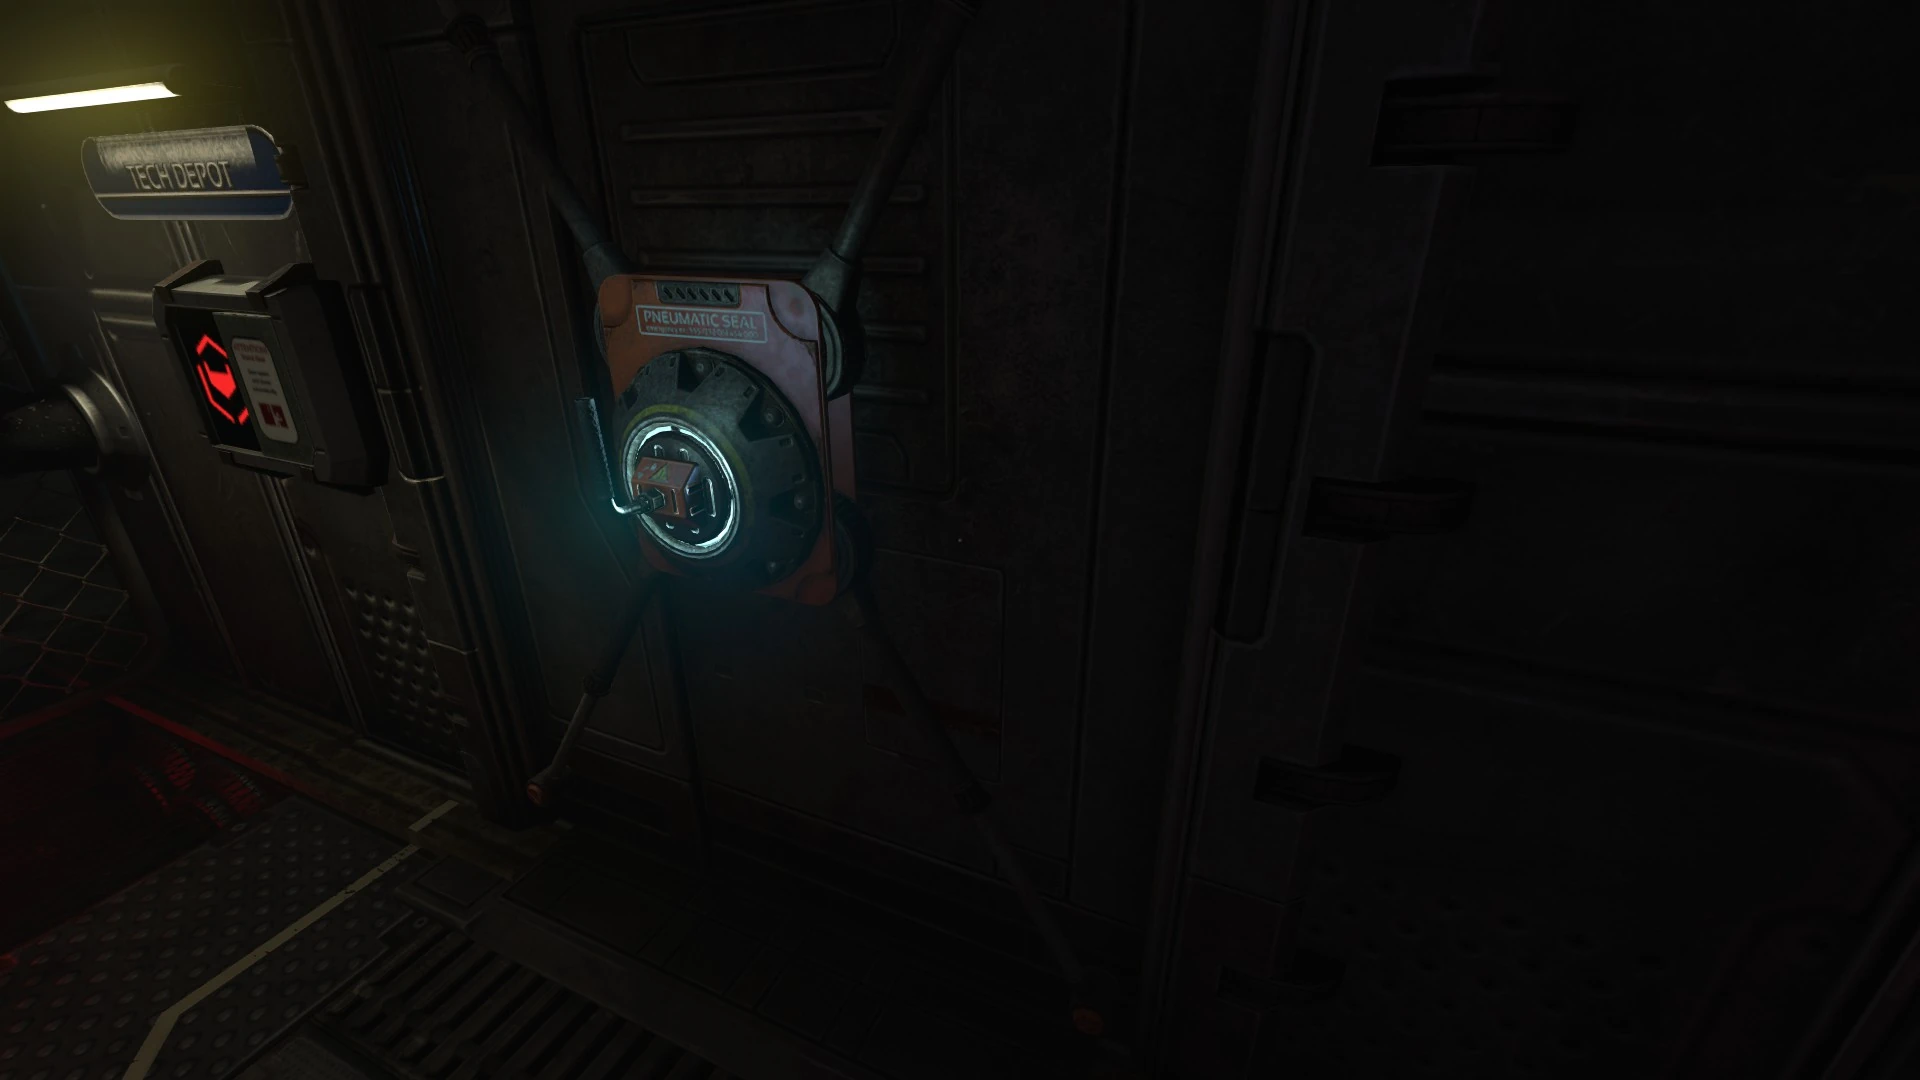
Pneumatic seal on the tech depot door

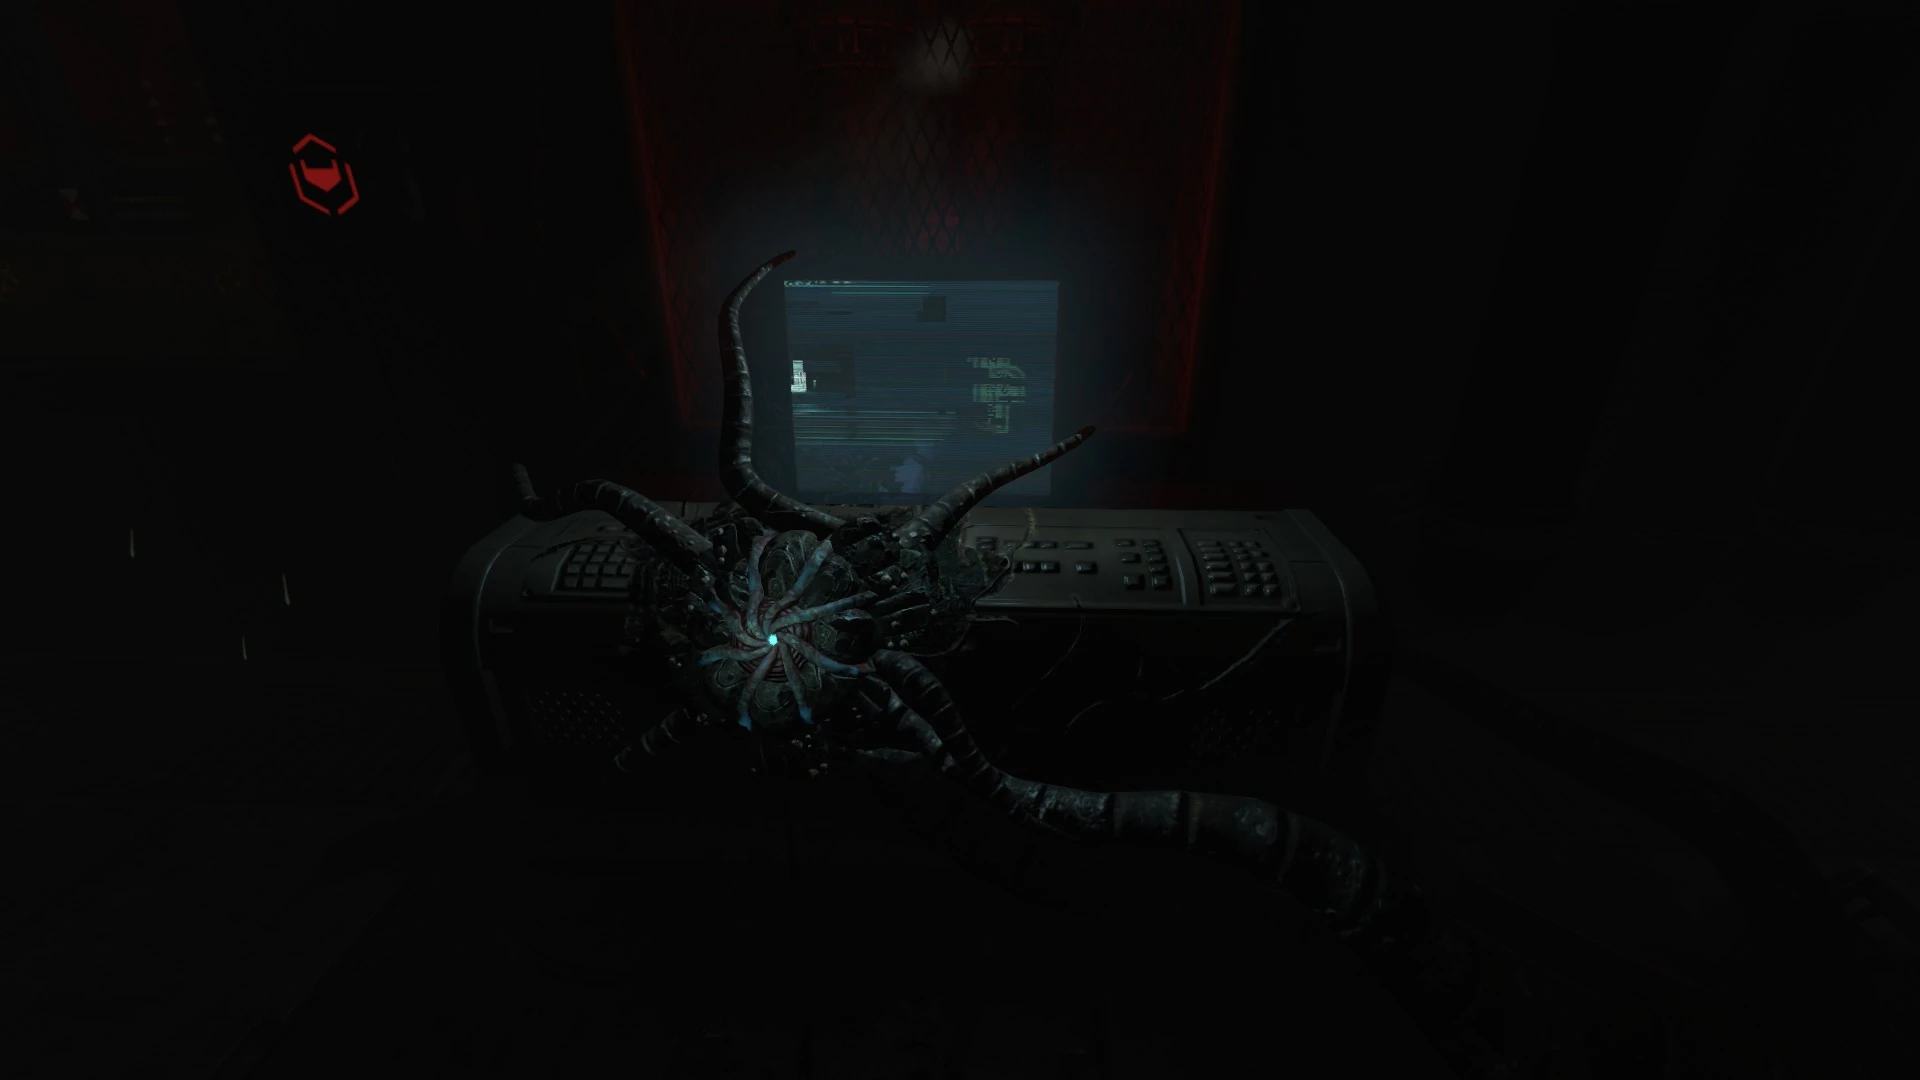
Robot in the machine hangar with a recording

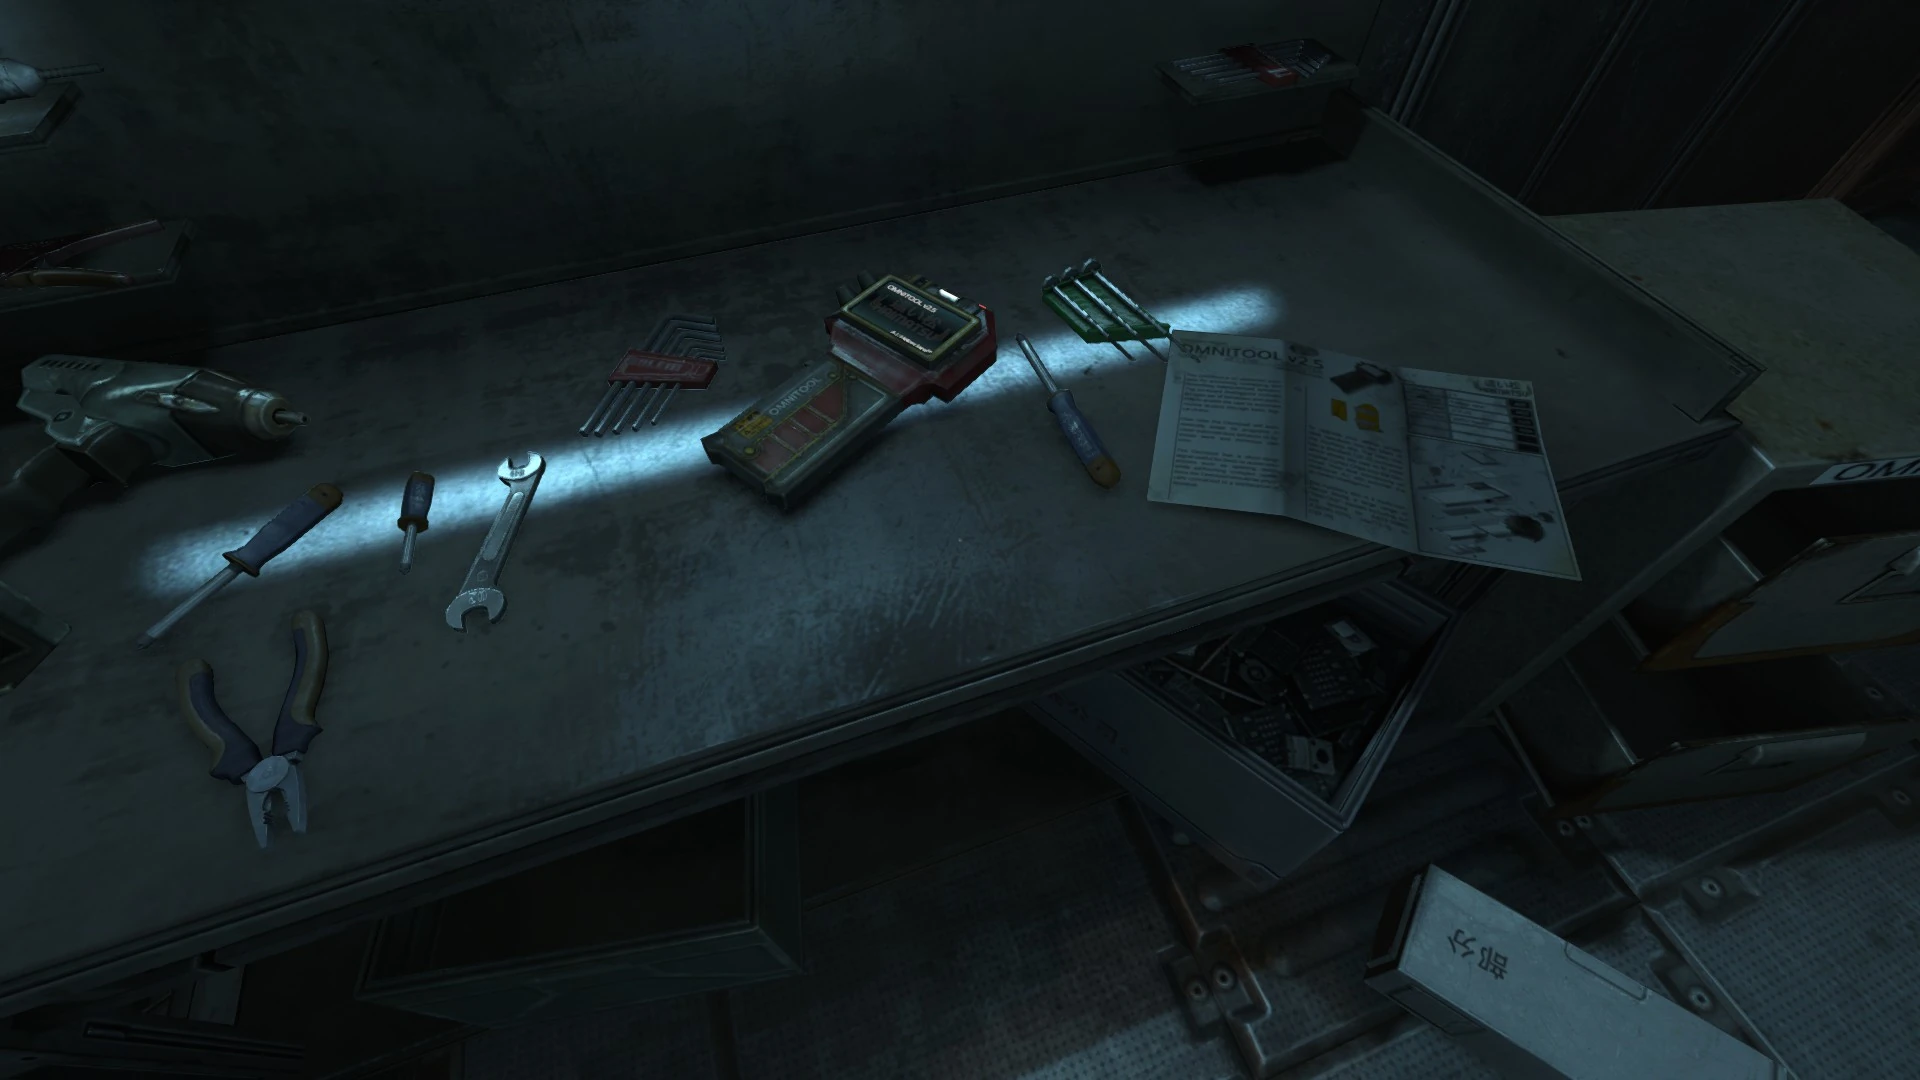
Omnitool on the desk in the storage room
- Tech depot
- Stand up from the chair and walk to the red light.
- Pull the lever inside the electrical box to reactivate the power.
- The window must be broken in order to leave the room. The fire extinguisher by the door can be used for this by throwing it against the window a couple times.
- Corridors
- The pneumatic seal on the door outside can be released by pulling the lever. The door control will function afterward, allowing easier access to the tech depot.
- By the break room, there is a device on the wall reading "Data buffer available." A recording will play upon interacting with it.
- Machine hangar
- Release the seal on the door to the machine hangar and go inside. Simon's vision will begin to distort.
- Head to the left into the other side of the room and interact with the robot in the middle to hear another recording.
- Corridors
- Leave the machine hangar and turn right. The door ahead has been forced open.
- Continue through and follow the only available path up to another sealed door. This leads to storage.
- Storage
- Release the seal and head inside. There is no danger.
- Pick up the omnitool on the desk at the right side of the room.
- Tech depot
- Return to the tech depot.
- Place the omnitool in the service console.
- Optionally, head to the pilot seat to read information on the console to its right.
- Click on "Omnitool".
- Click on "Unlock Tool Box".
- Look to the left of the omnitool and retrieve one of the tool chips.
- Connect it to the omnitool.
- Return to the screen and click "Manage Tool Chip" and then "Update".
- Retrieve the omnitool.
- Corridors
- Leave the tech depot and head left down the hall.
- The chain link gate here has been knocked off its hinges. Continue through past the corridor on the right.
- Take the left on the end of the hall and continue through the next chain link gate, which has also been knocked off its hinges.
- Head down the short staircase to the circular hatch.
- Swipe the omnitool where indicated to open the hatch.
- Observation tunnel
- Another recording can be heard by interacting with the intercom reading "Data buffer available" in the middle of the observation tunnel.
- Continue through to the other side.
After the observation tunnel[]

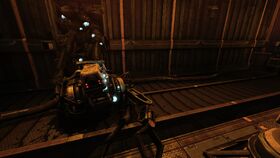
A peculiar mechanical node
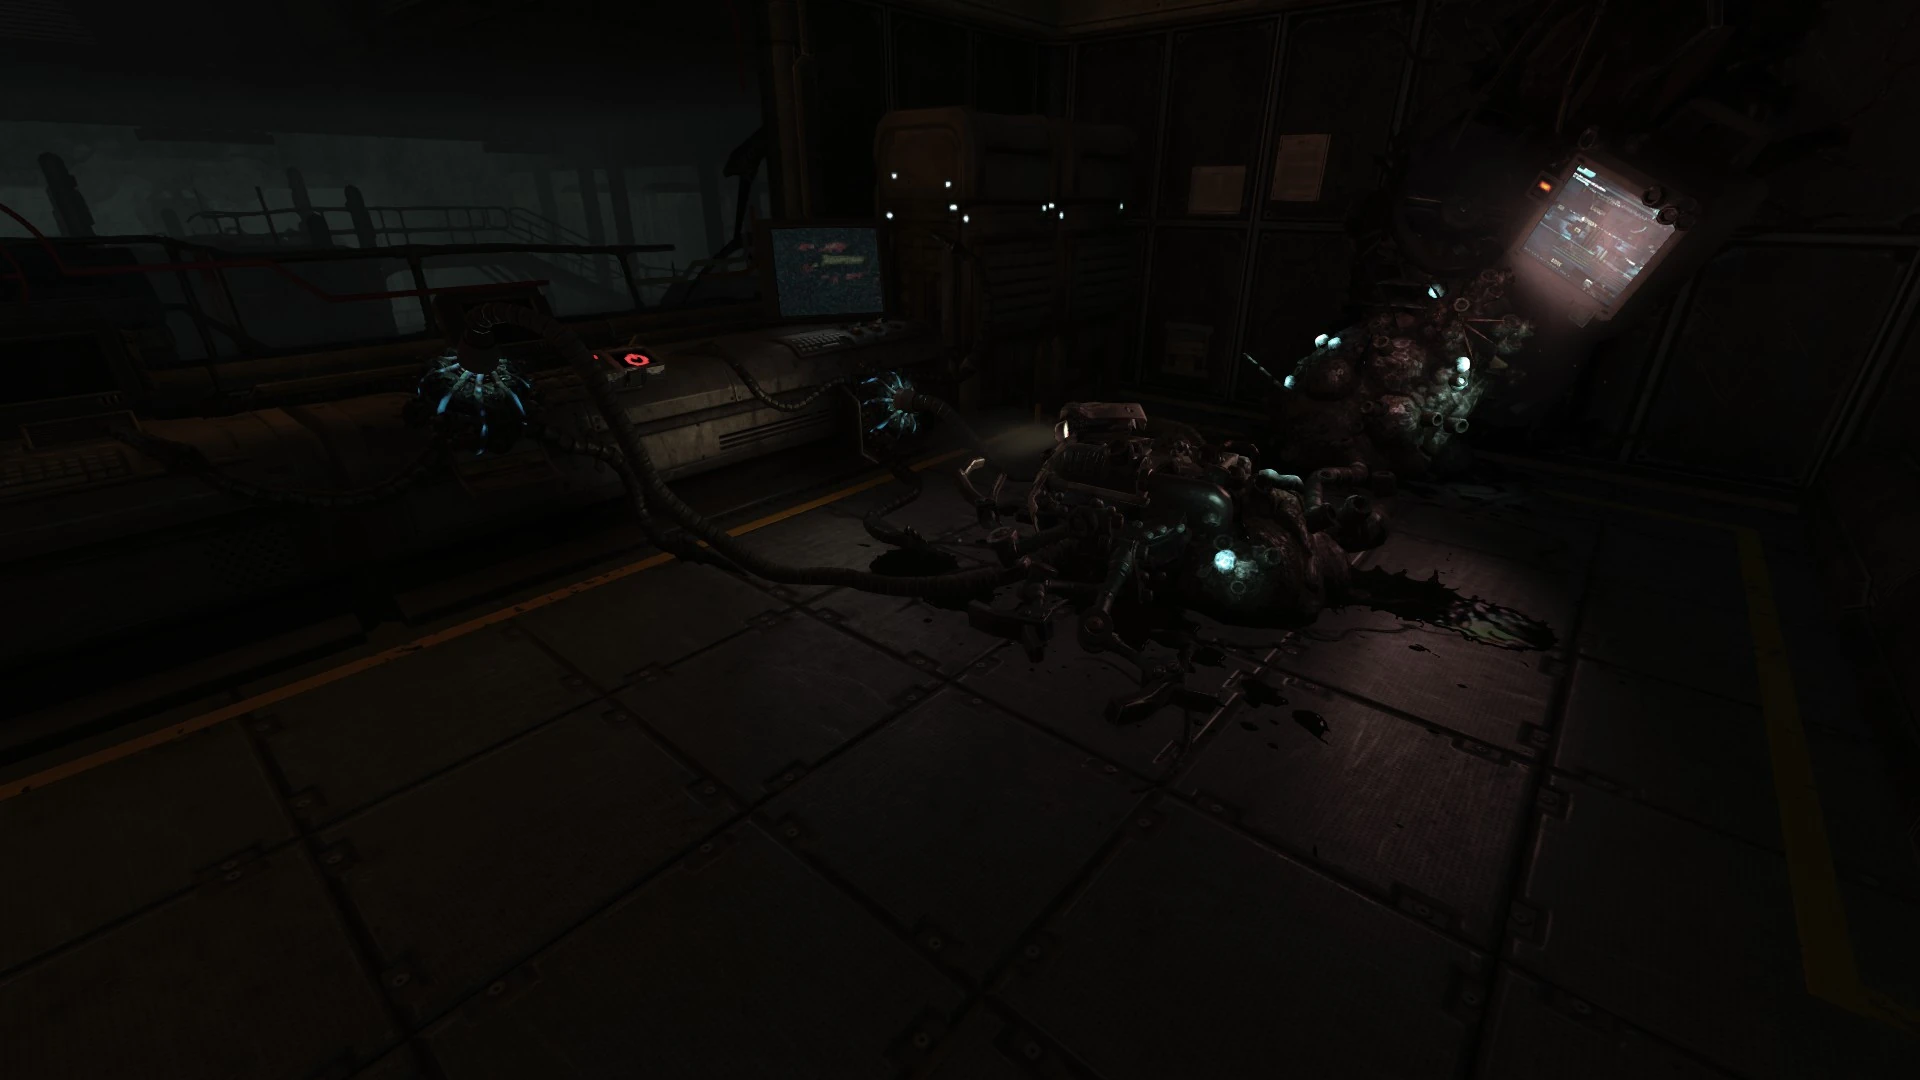
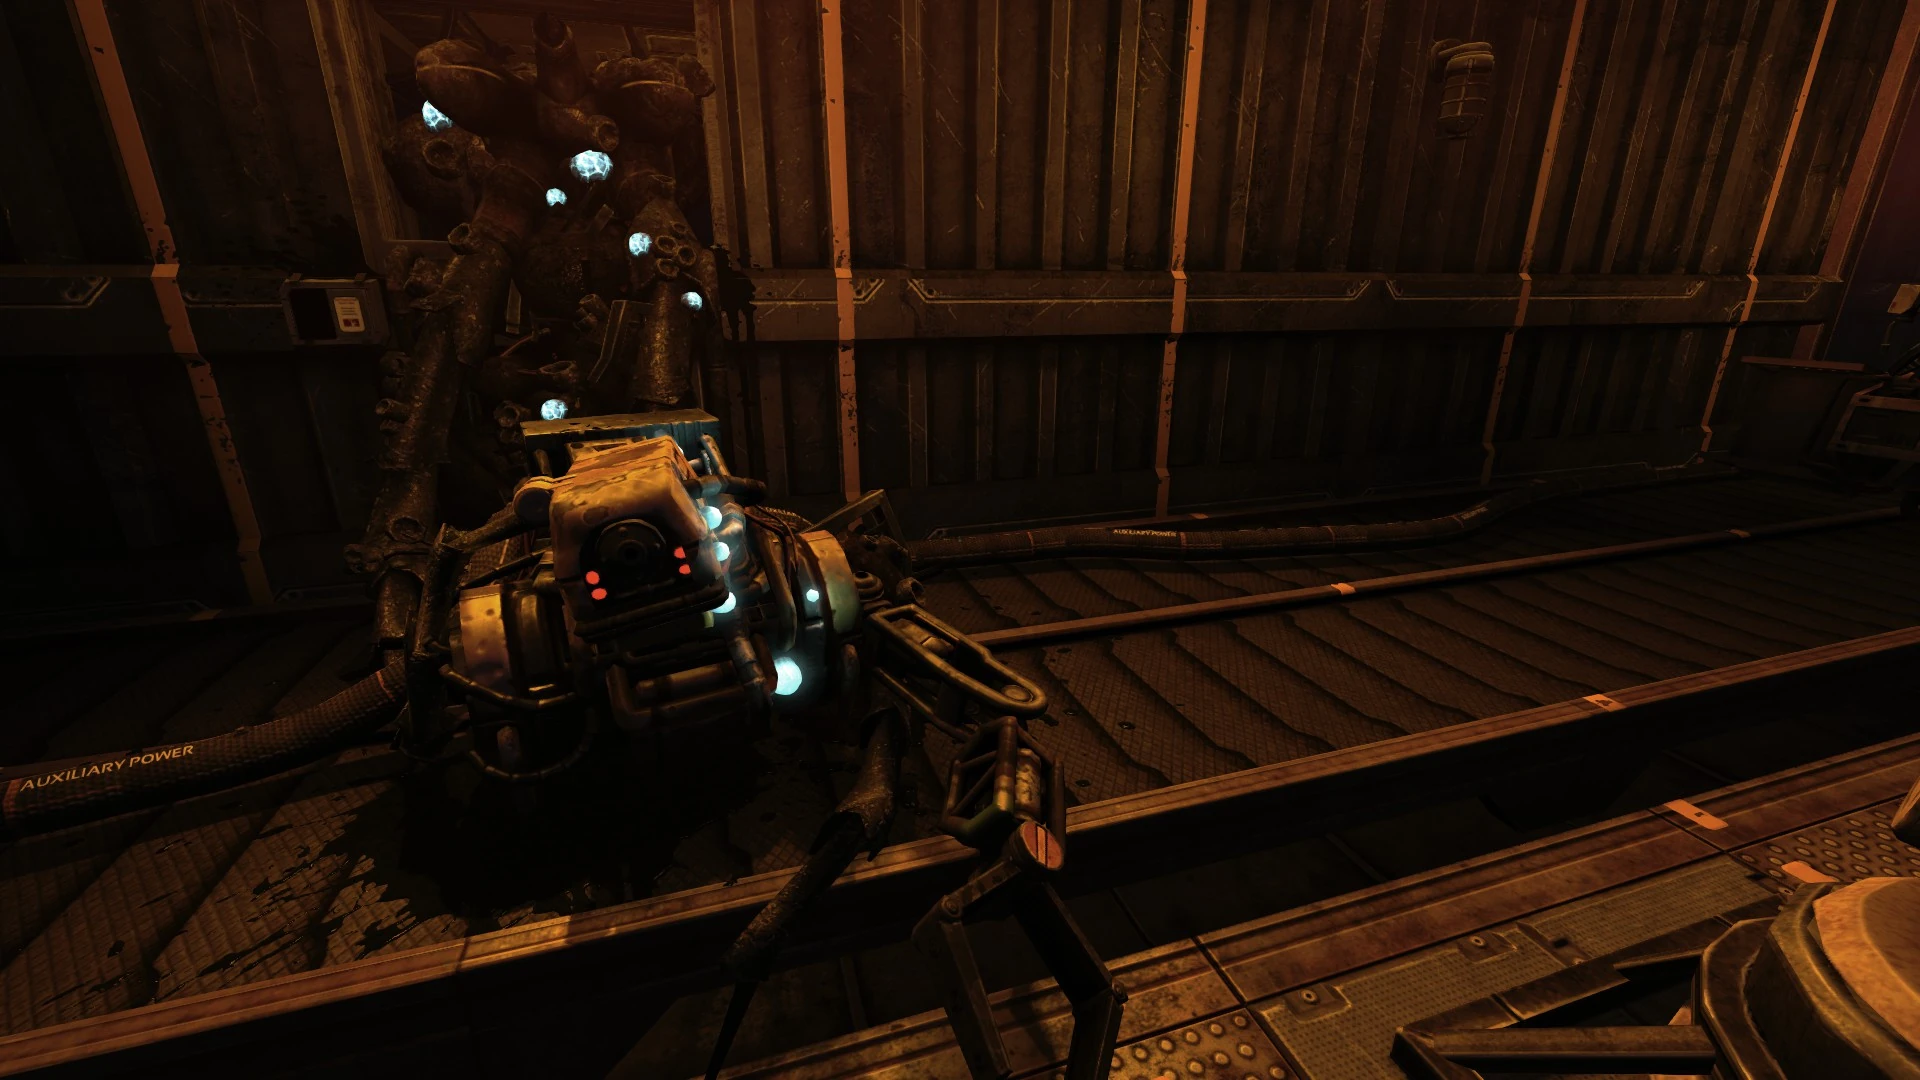
This robot needs to be disconnected from those peculiar nodes

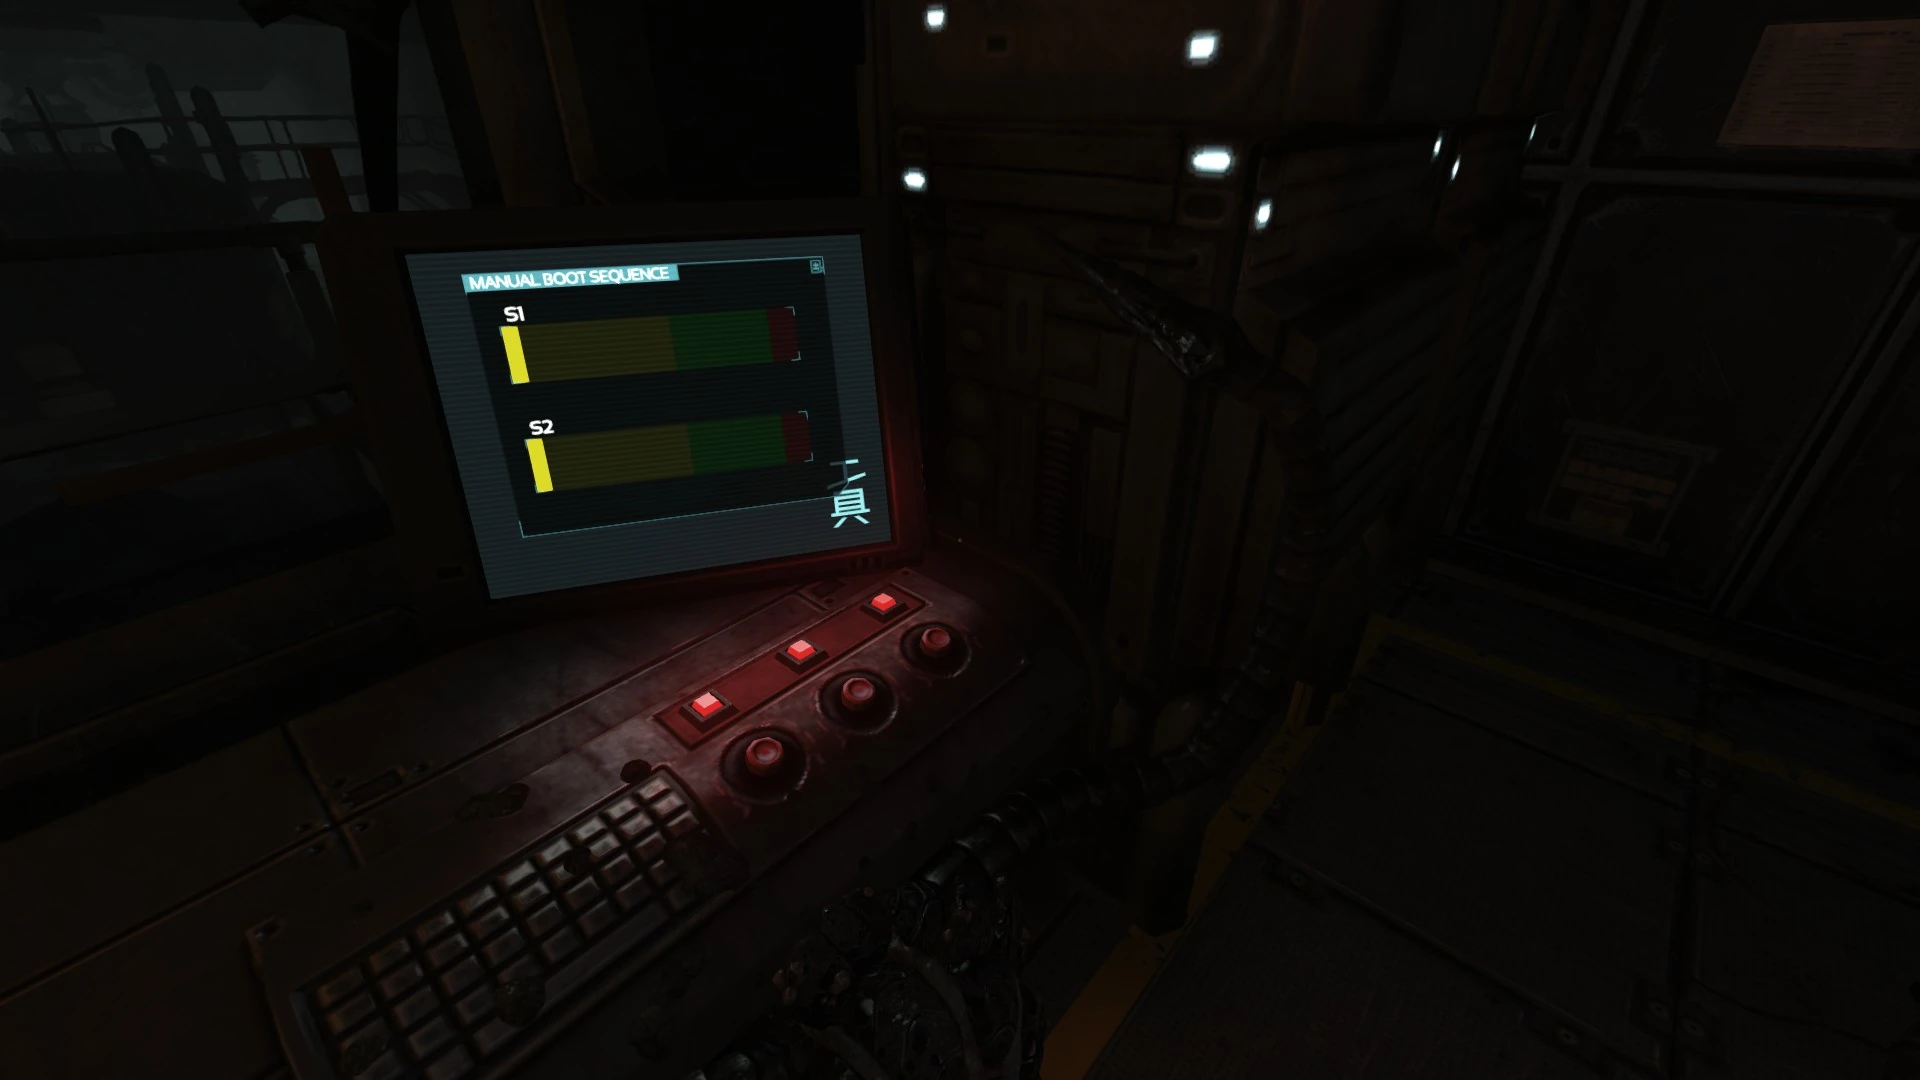
These bars need to be filled to green to boot the power systems
Note: once inside the maintenance room, it is not possible to return to the observation tunnel.
- Maintenance room
- Continue through to the maintenance room, where you will be locked in.
- Interact with the odd node in the middle of a mass of a black tendrils.
- Interacting with these nodes is typically optional, this case being an exception. They heal Simon if he's been damaged, but can only do so once.
- Maintenance tunnels
- Open the hatch to a maintenance tunnel and climb inside.
- Continue through until reaching an intersection. Take either the first or second left; it doesn't matter.
- Take a right at the next intersection and continue on to Station control.
- Station control
- Pull the twitching cable from the node to the left of the red power button by the robot ahead on the floor.
- Pull the other cable from the other node.
- The power button should now be yellow. Press it.
- There are three red buttons to the right of the power button by a screen showing two multicolored bars:
- Press the leftmost button. The top bar will begin to fill.
- When it reaches the middle green section, press the middle button. The bottom bar will begin to fill.
- When that reaches the middle green section, press the right button.
- After the conversation, continue through the door into the generator room.
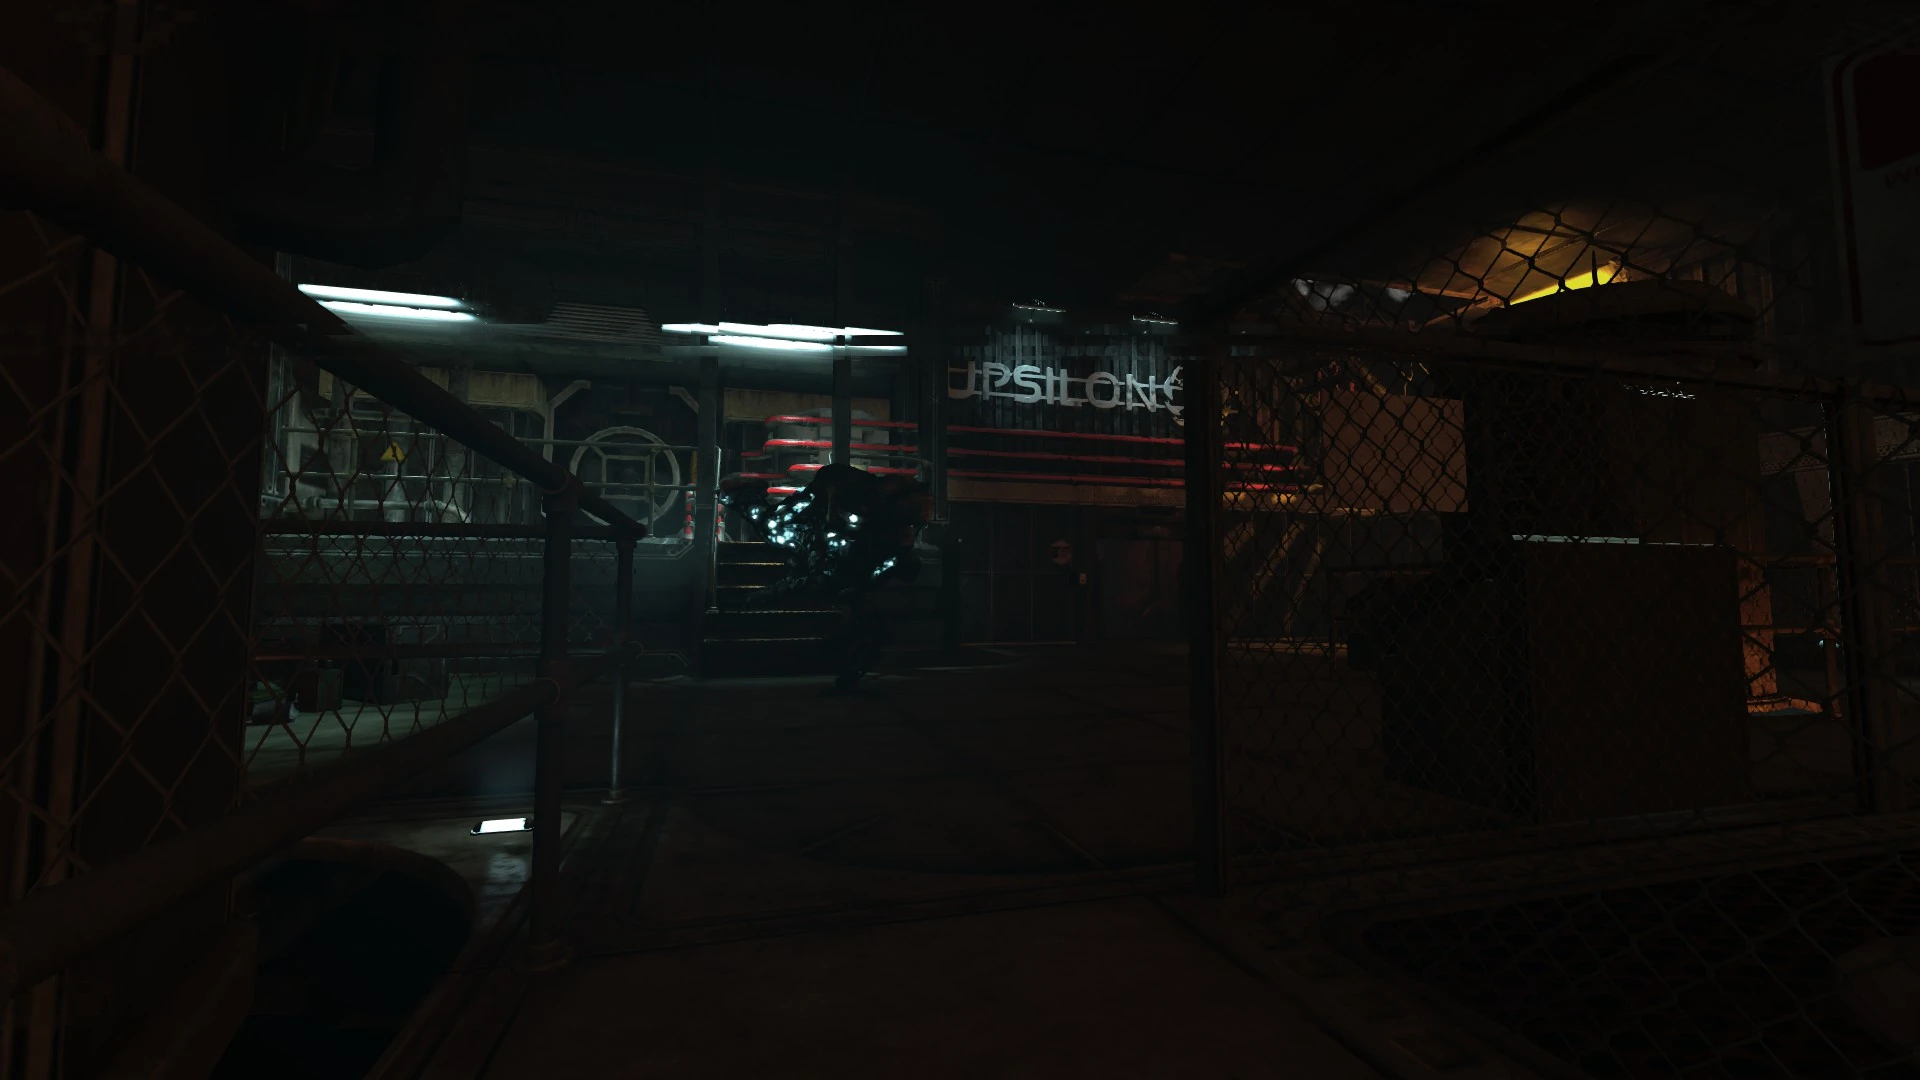

Hostile robot encountered in the Upsilon generator room
Warning: the first monster of the game will be encountered shortly. Stealth, evasion, and speed are the only defenses against it.
If a monster catches Simon, he may only be rendered unconscious for a time. After coming to, it will be clear he's hurt due to blurring and color separation in his vision as well as an unsteady gait, but he will otherwise be completely functional. Other times, he will be killed outright, which is more likely if he has already been hurt. This seems to depend on the monster in question.
The monsters in Upsilon tend to move in slow patrols, though they periodically sprint. Their vision seems highly limited and they do not generally notice Simon unless he is directly in front of them, making them fairly easy to evade with a minimum of good timing as long as Simon doesn't end up in a place with no escape. Running also seems to alert them, however, so stealth tends to be the safer option.
- Generator room
- Enter the generator room. Also note the staircase nearby to the right of the door
- Look right and note the door beneath "Upsilon" on the wall. This is where the monster will enter.
- A little further right, there is a metal staircase. The goal is to ascend the first flight, pull the lever there, and then quickly ascend the next flight and pull the lever at the top. But also note the flow of steam over the second flight.
- Move forward several steps and look to the left of the door beneath "Upsilon". The steam flow can be interrupted with a valve just up the steps there, but this is optional.
- Simon will usually survive a hit from this monster, though one-hit kills appear to be possible. It doesn't seem he'll survive a second hit.
- Turn around and proceed along the catwalk. Either head all the way to other side of the room and try to use the ladder, or take the left before that and proceed to the end of broken catwalk.
- Either way, Simon will be dumped onto the lower level due to a structural failure. The monster will now enter. Take cover behind the rightmost of three toolboxes nearby. Any farther right risks the monster sighting Simon. Wait for the monster to turn left and move out of sight.
- Generally speaking, there are two options:
- The safer, if more painful way, is simply to endure the steam. Simon can simply quietly slip behind the monster to the staircase, use the lever to open the door, and quickly run through the steam, closing the door with the other lever at the top.
- The more dangerous but less painful way is to interrupt the steam flow first. Carefully hug the fence to the right, move around the corner and to the corner beyond that. Let the monster reach the opposite end of the room. Staying crouched, ascend the small staircase and twist the valve there until it pops off, which will alert the monster. So run quickly to the other staircase, pull the lever, and run through the door as soon as possible, closing it with the lever at the top.
- Either way, ascend the next flight of stairs.
- Enter the generator room. Also note the staircase nearby to the right of the door
Control station B area[]
This robot wants to talk

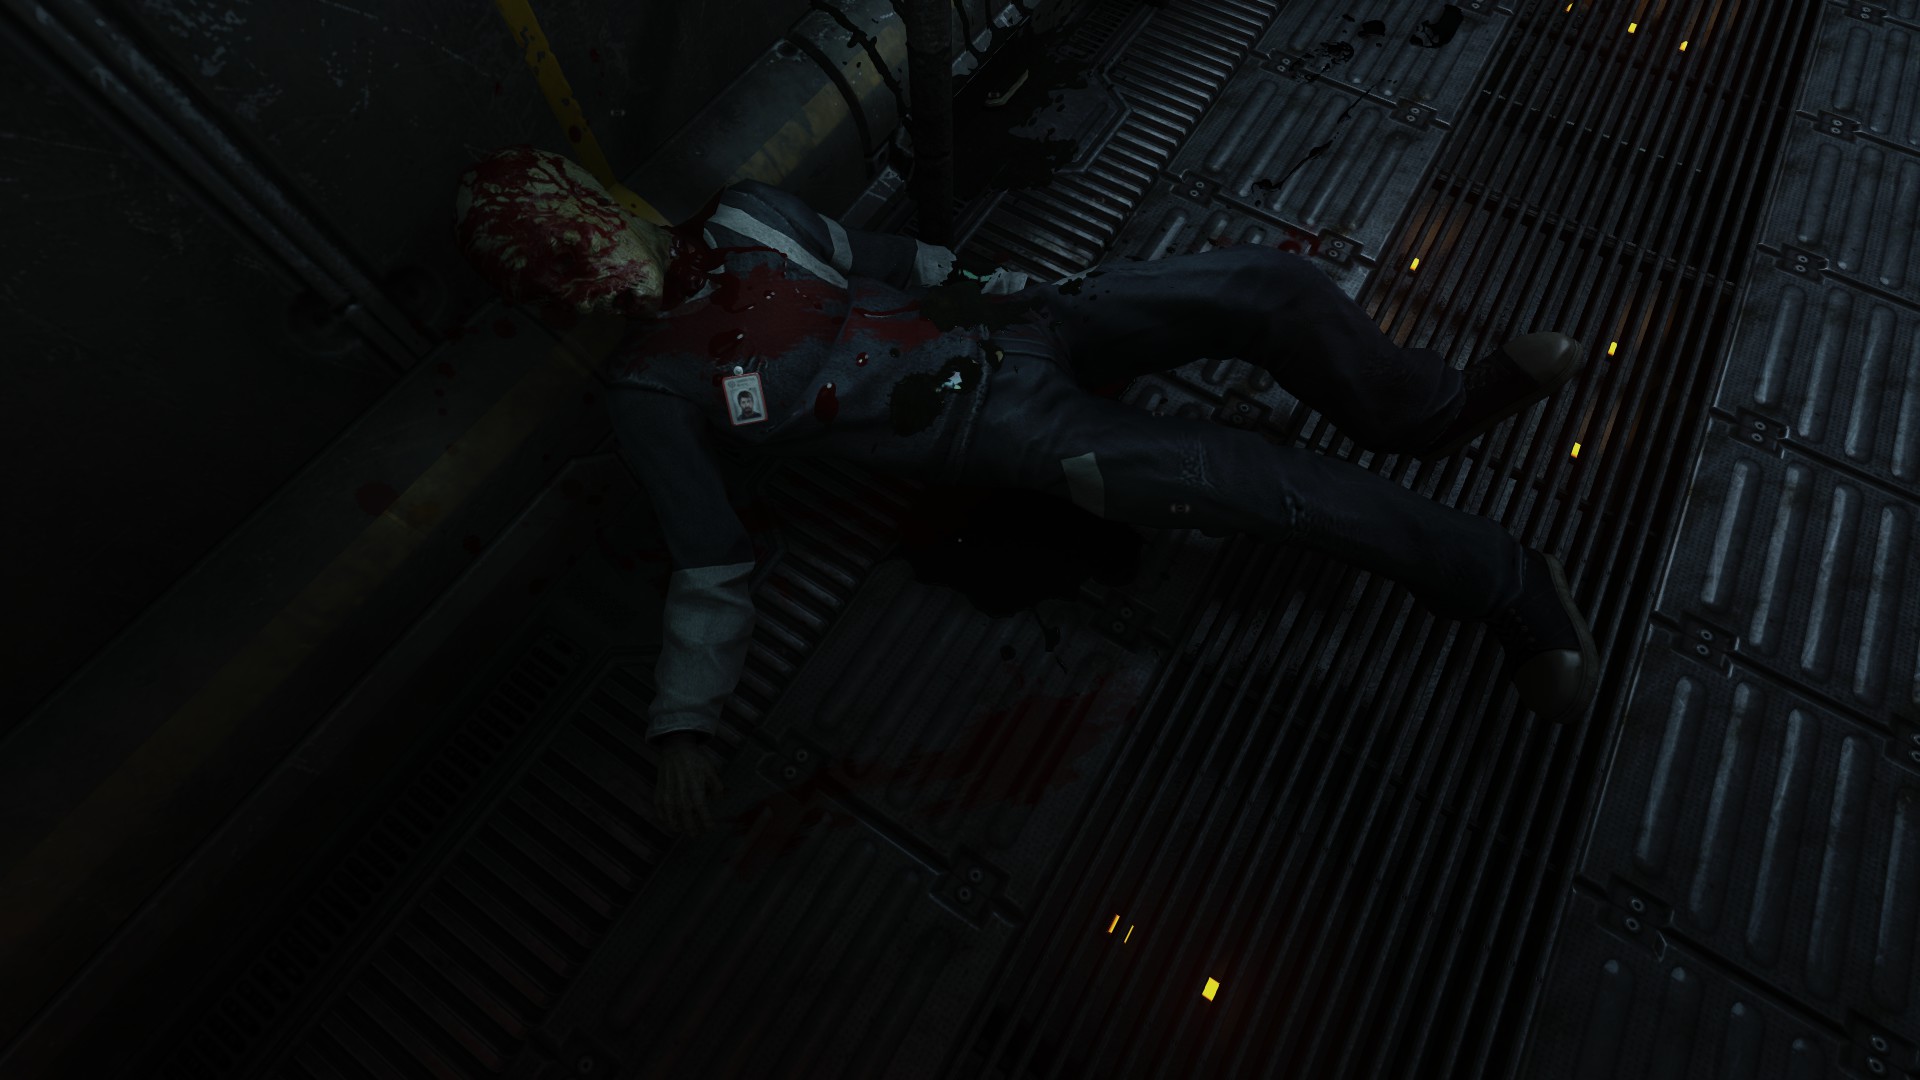
The corpse of Carl Semken, ID #0722
- Control station B
- Optionally, head into Assembly B to the right and talk with the robot on the ground.
- Optionally, head into the workshop and interact with the dead robot to hear a recording.
- There isn't much of significance in the storage room back to the left except a device and description paper to check out.
- Head to the unmarked door at the right side of the room. Open it and enter the corridor.
- Corridor
- Examine the badge on the body of Carl Semken. Note the ID number.
- Optionally, continue past his body, turn right, and head up the stairs. Open the lockers to find a jumpsuit with Amy Azzaro's badge.
- Control Station B
- Return to the control station and head to the far side.
- Semken's and Azzaro's ID can be used at both computers, but the one by the chain link fence is the only one with an essential function. Enter the ID "0722" or "0735" to log on.
- The only difference between the IDs is the mail at the center workstation.
- Click "Power Manager".
- Optionally turn on power for "Storage" and "Flow Control".
- The power for the Comm center can be activated in one of two ways:
- The safe, shortcut method: shut off Assembly B power. (Be warned, this method, though safer, has distasteful consequences.)
- Head into Assembly B and to the lever at the far end of the room. Pull it.
- It is still possible to switch to the other method by pulling the lever again.
- Head back to the workstation with the Power Manager and turn on power for the Comm Center.
- Pull the lever to open the door to the Comm center and enter.
- Head into Assembly B and to the lever at the far end of the room. Pull it.
- The longer, riskier method: shut off Flow Control power.
- For this approach, Flow Control power needs to be on in Power Manager.
- Head through the unmarked door to the end of the hallway.
- Turn left and enter Flow Control.
- Warning: pulling the lever will shut off Flow Control power and allow you to activate the Comm center, but also releases a monster into Control Station B via the same staircase Simon used to enter. Completing any desired exploration is recommended first.
- After pulling the lever, head back into the corridor and hide in the alcove on the way back to Control Station B where Simon can still lean over to see the room.
- Wait for the monster to head to the workshop. It will head to Assembly B first to the right of the door, but wait for it to come back and head to the left.
- Sneak past to head back to the workstation with the Power Manager. Quickly turn on Comm Center power.
- Move to the Comm Center lever and pull it. It may be necessary to move quickly now as the monster may be coming back out of the workshop.
- Quickly enter the Comm Center and pull the lever at the top to close the door.
- The safe, shortcut method: shut off Assembly B power. (Be warned, this method, though safer, has distasteful consequences.)
Comm center[]
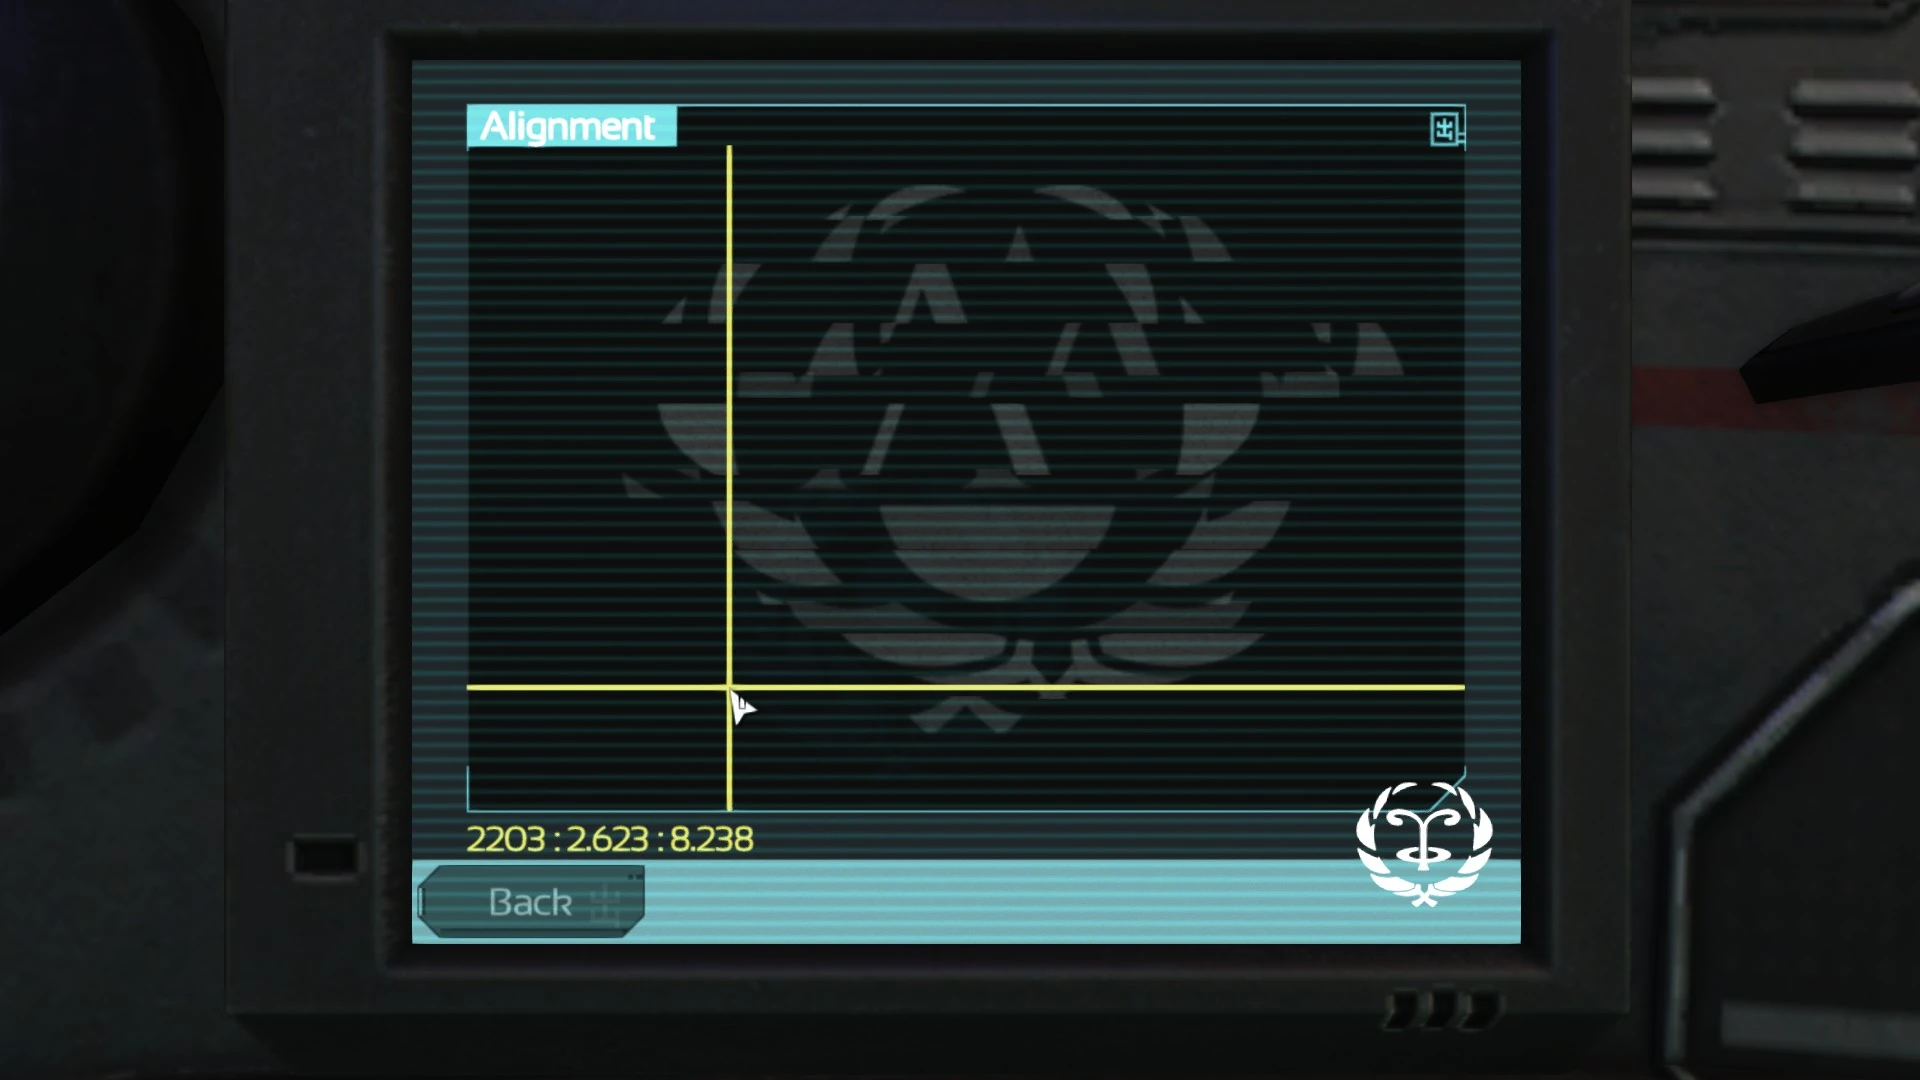
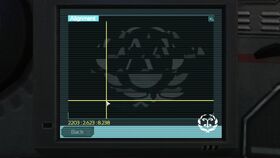
Comm center alignment screen showing a nearly aligned signal
- Completing any desired exploration of the room is recommended before interacting with the large console.
- When ready, press the yellow power button to activate the communication console.
- To contact any site, it is necessary to dial the indicated code and set proper alignment. At the alignment screen, move the mouse until you begin to see a broken, distorted symbol. The brighter the symbol and the less it distorts, the closer the mouse is to the correct position. Once moved to the correct spot, it will automatically make contact if possible.
- Site Lambda is the only one that needs to be contacted, but once this is done, there will be no opportunity to try contacting the other sites or return to previous areas.
- When ready, dial 2203 and align the signal to continue.
| Game walkthrough |
|---|
|
Upsilon interior
|