
ACR Landing[]

Map of the path to Tau
- At the bottom, stand up and retrieve the omnitool.
- Swipe the omnitool where indicated and open the grate.
- Leave the climber, go down the stairs to the right, and turn left.
- Optionally go inside the room with a green light over the door to investigate the terminal.
- Optionally go through the door with a yellow light overhead for an intercom with a data buffer.
- Continue ahead to the next pair of buildings.
- The lever next to the door on the right will activate lights in the area, so flip it. There is nothing of import inside.
- Optionally visit the building to the right to view a map to Tau.
Path to Tau[]
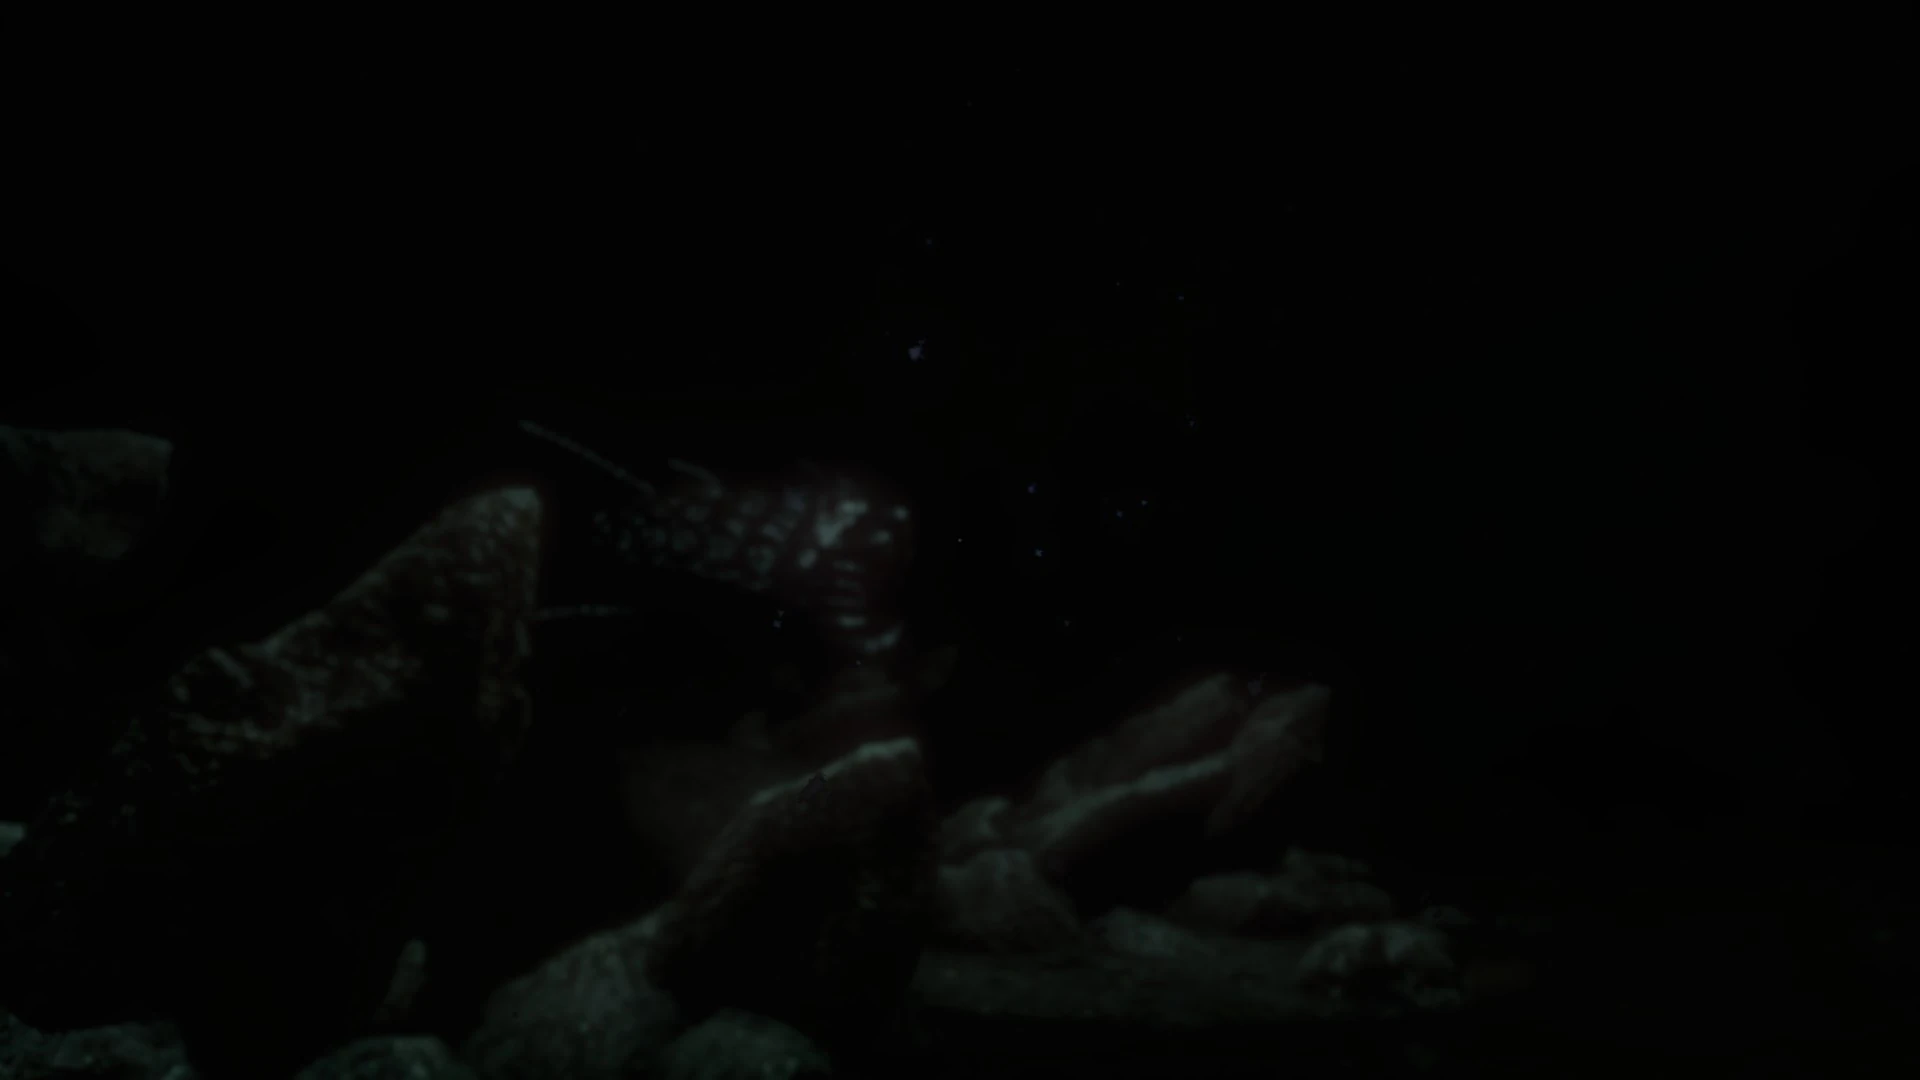
A creature encountered on the path to Tau
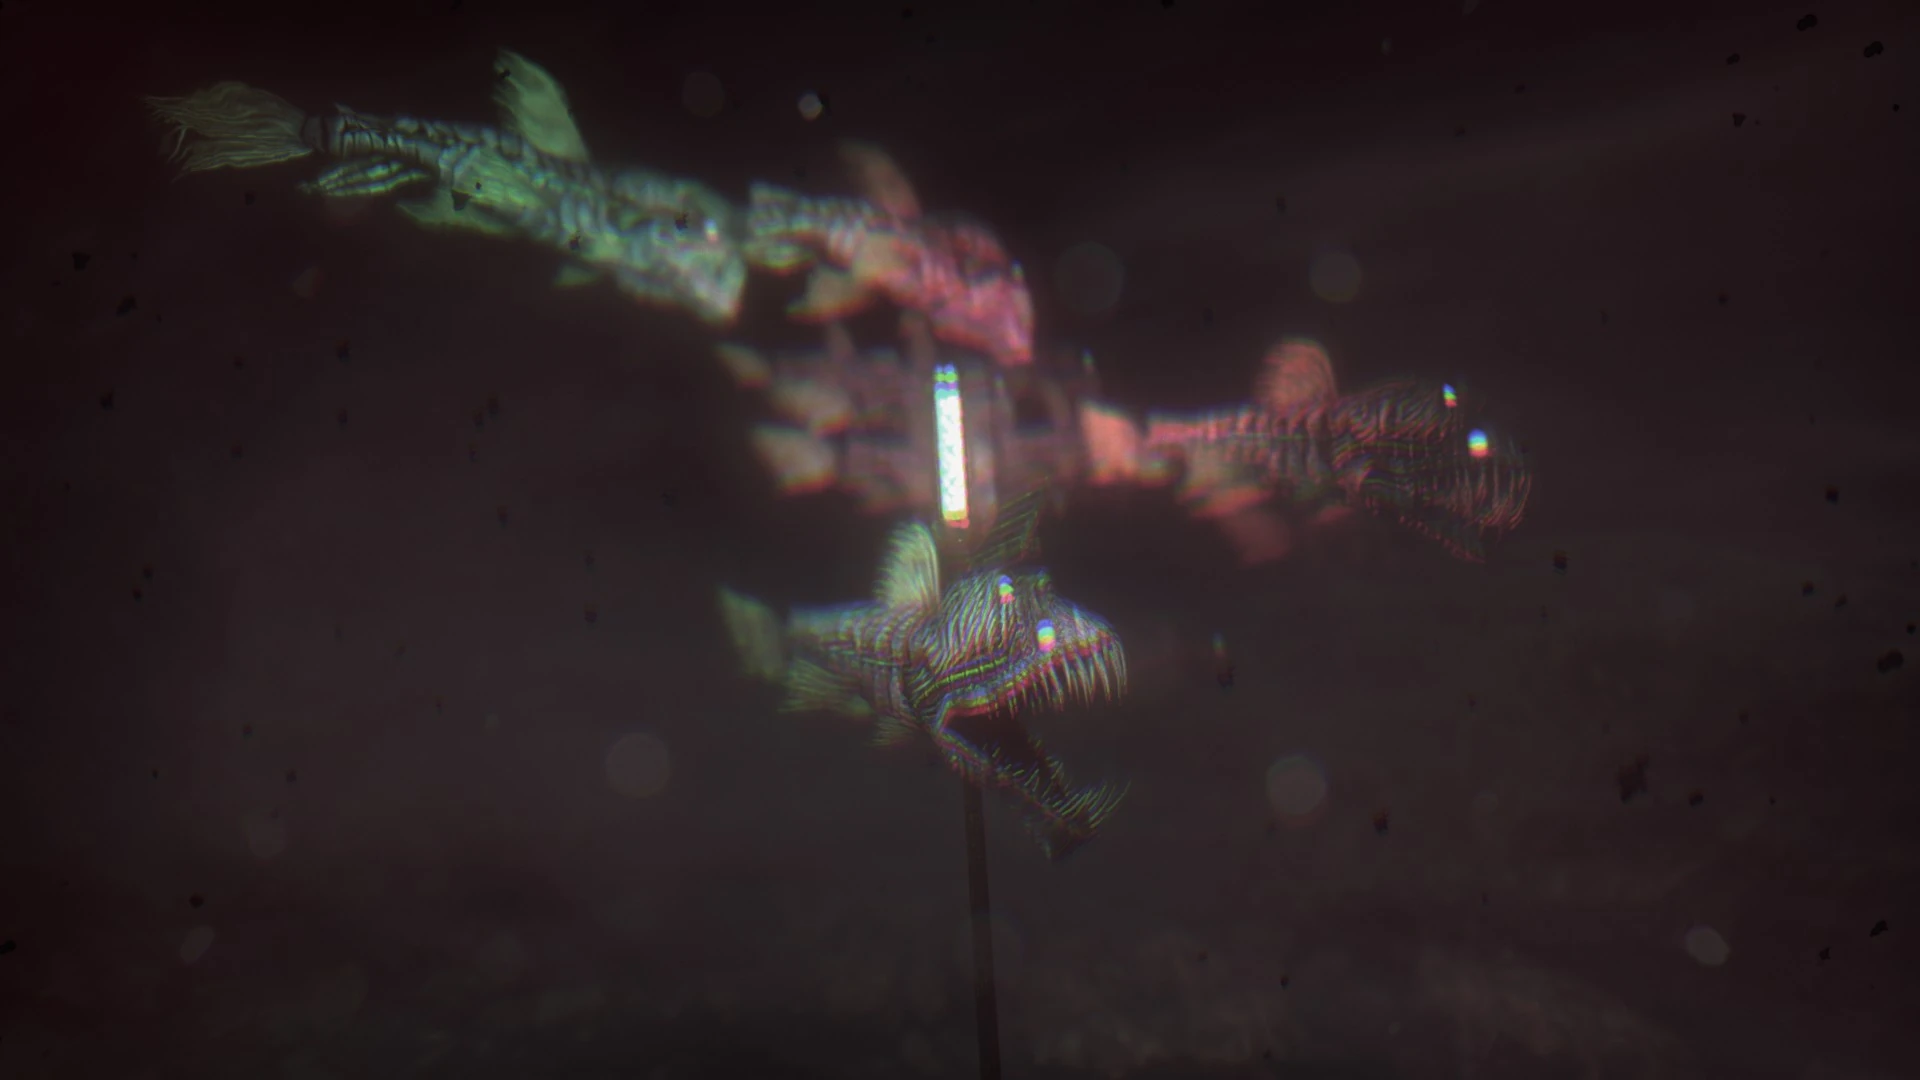
School of monster fish

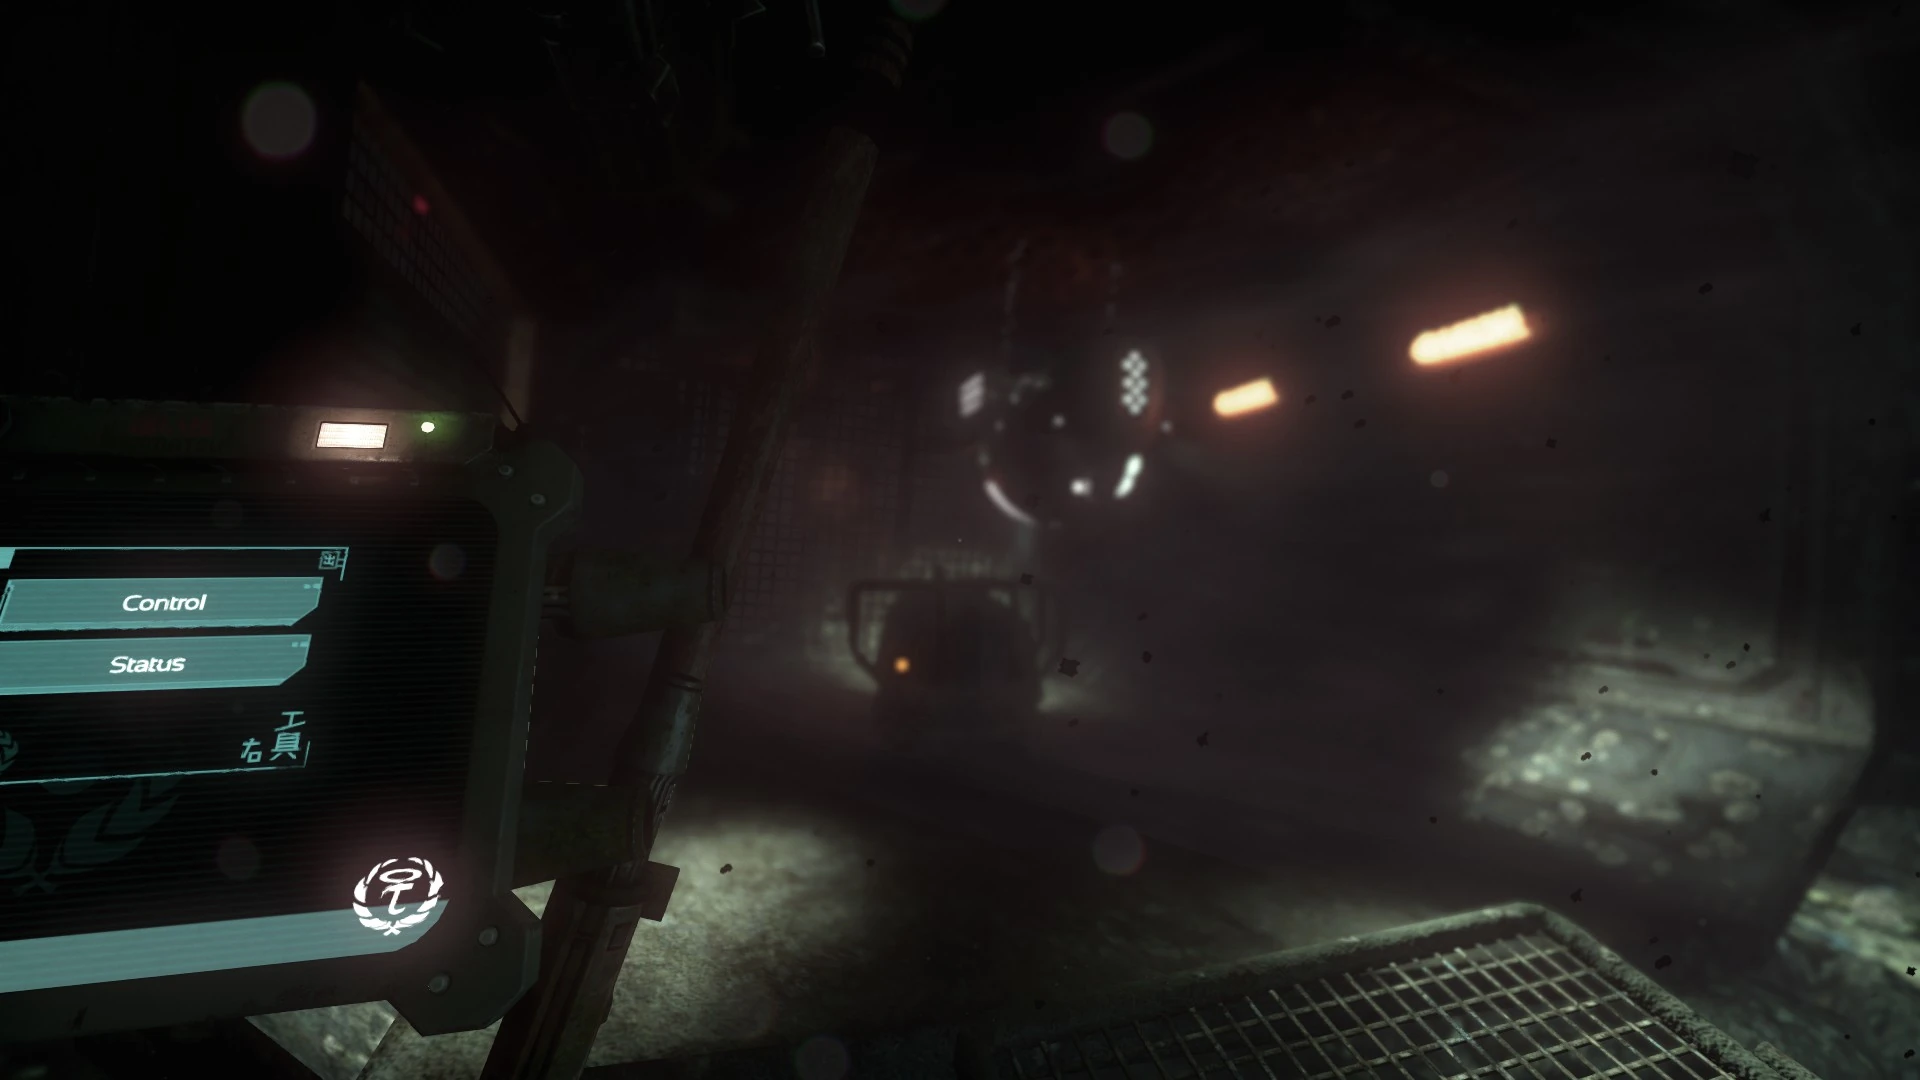
This robot serves as a guide through a dark stretch of the path
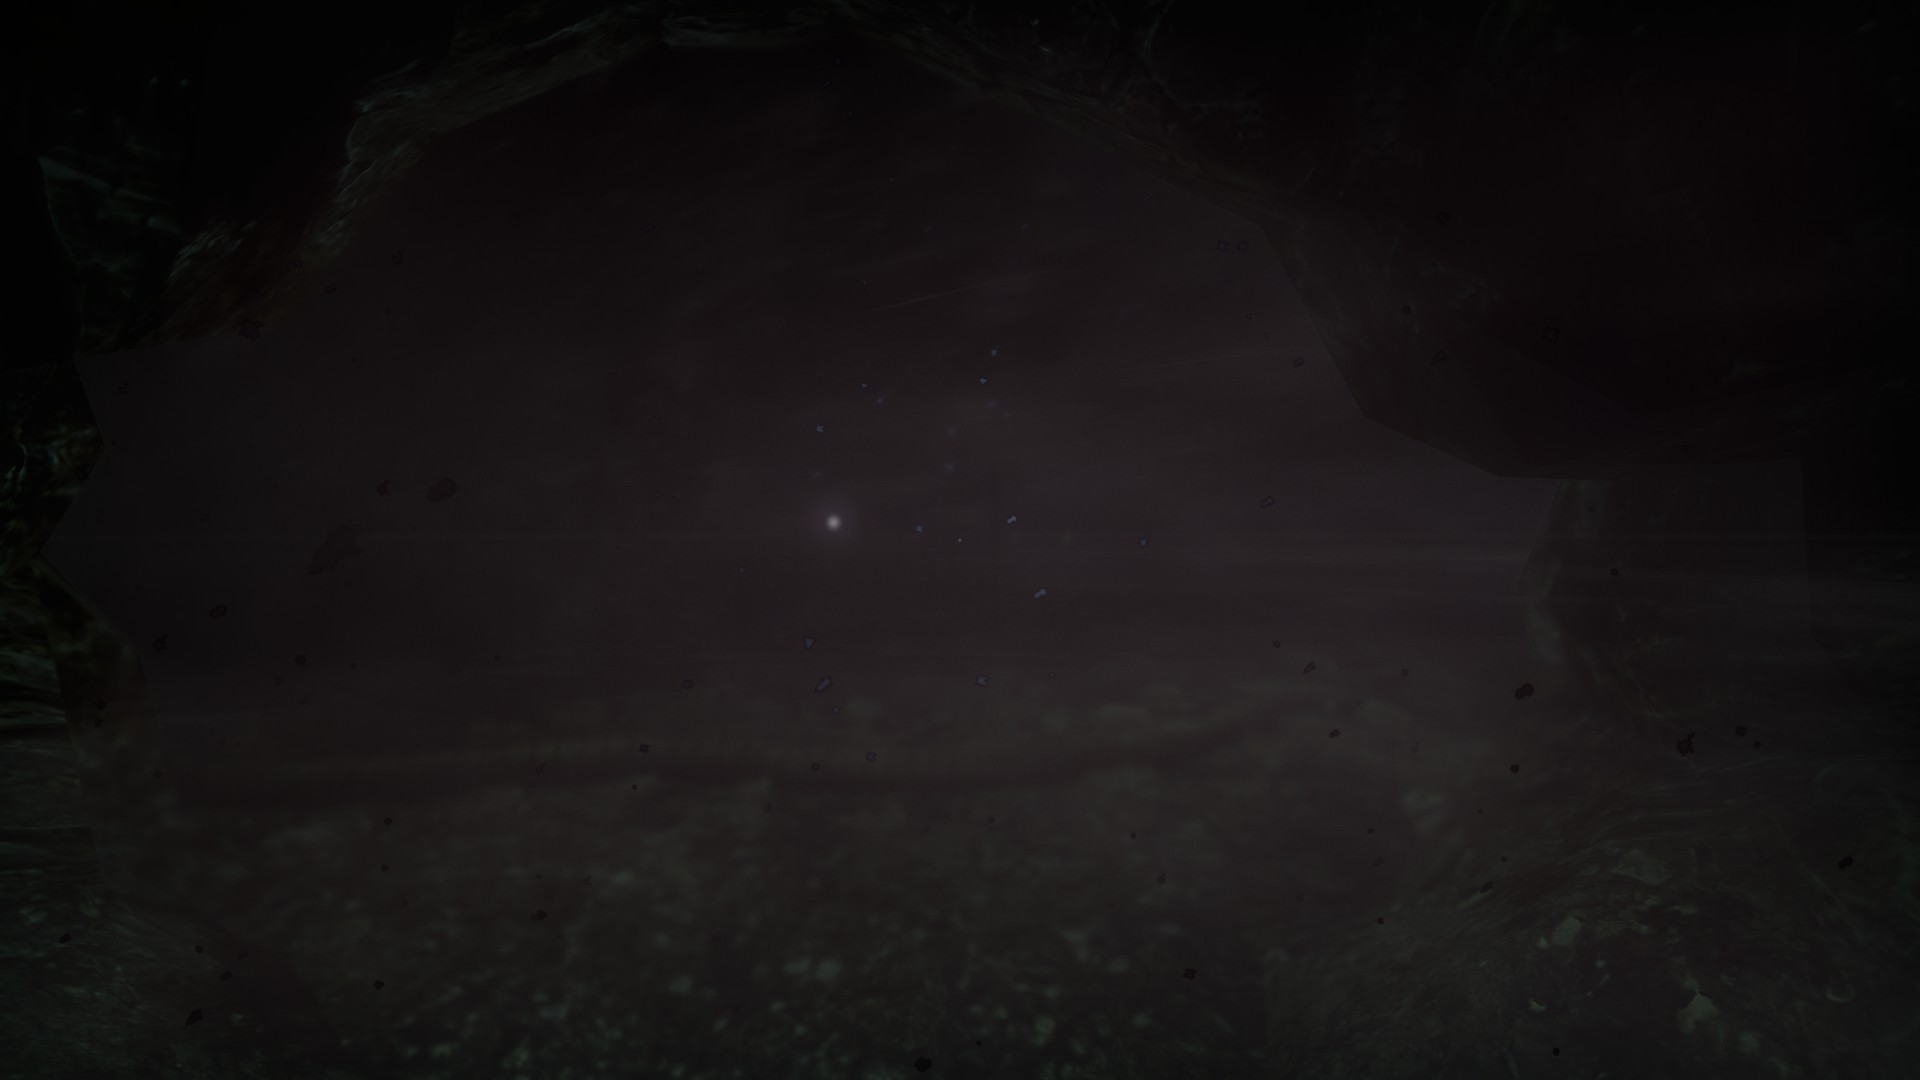
The white light in the distance ahead is the monster pictured below
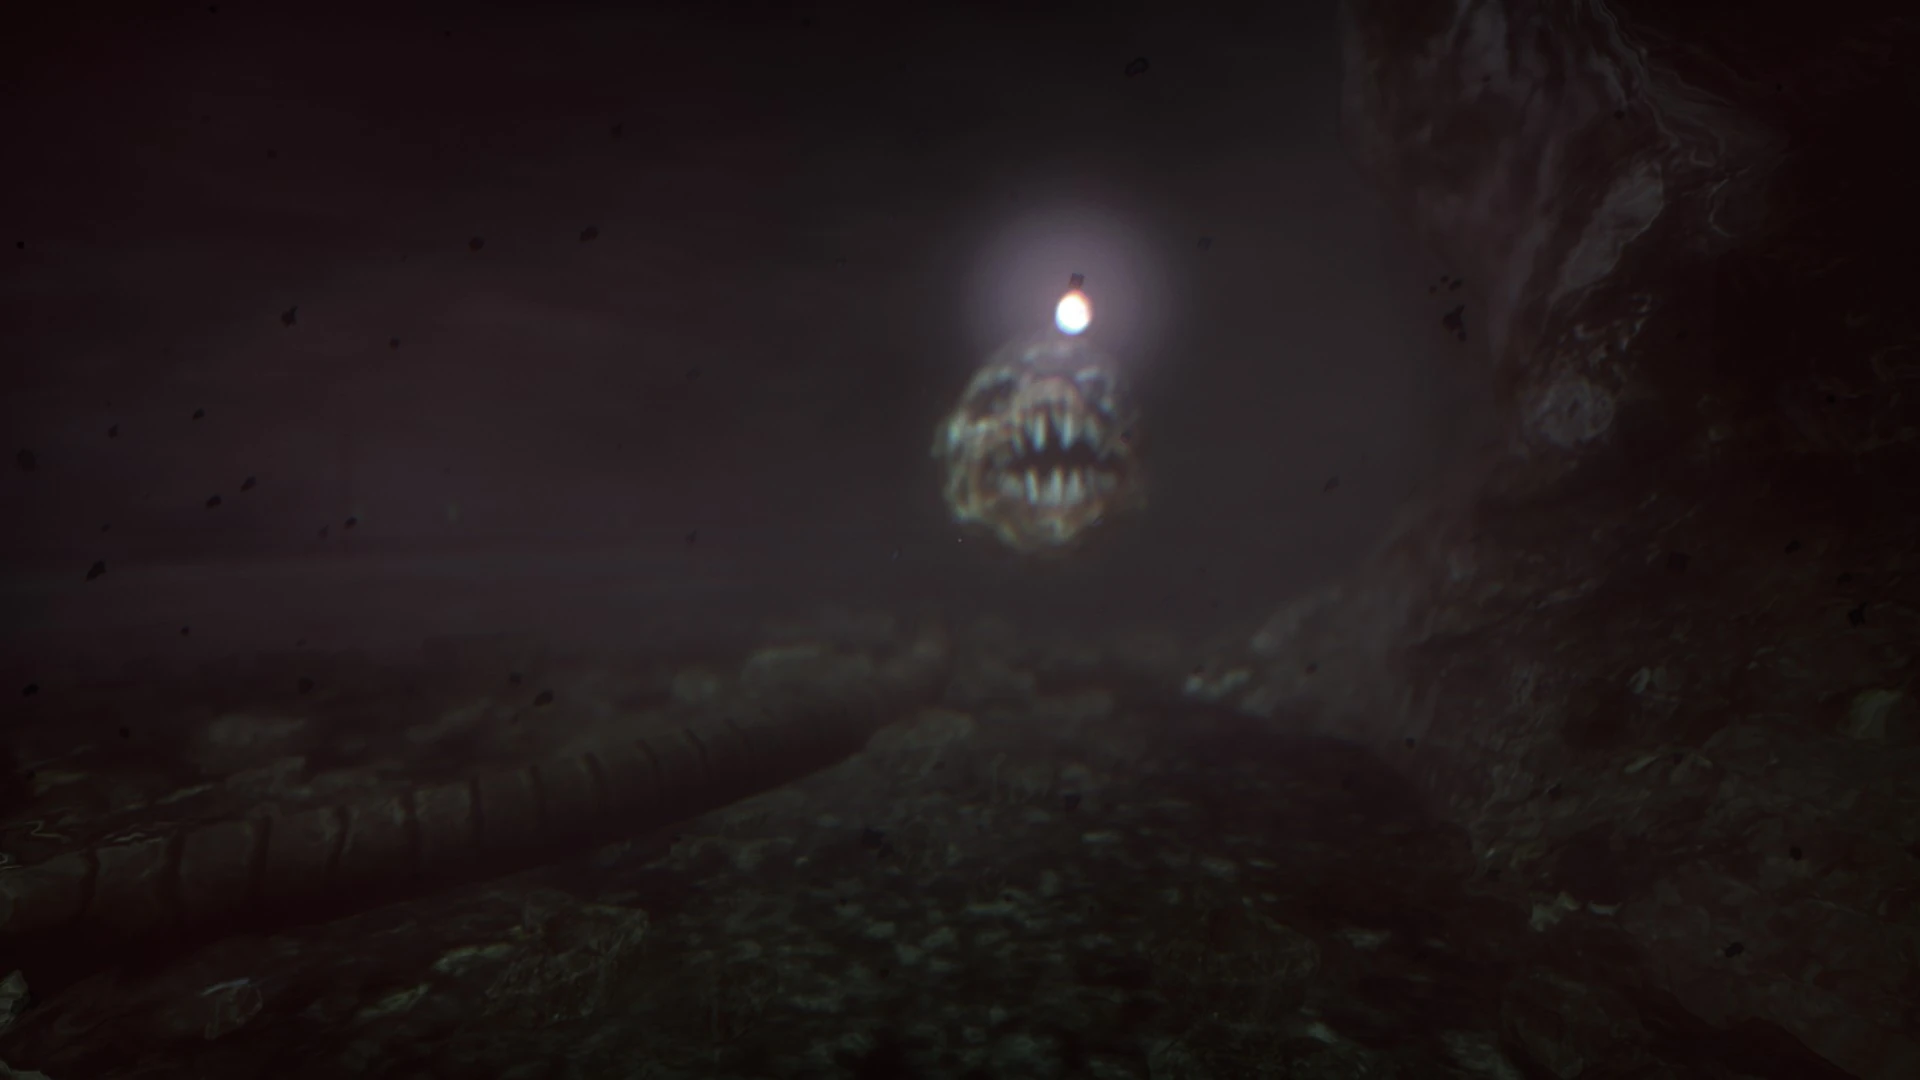
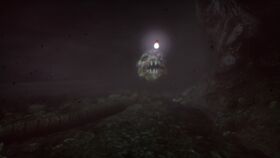
A slow moving monstrous fish with a white light
- Continue ahead to a green-lit sign saying "700m".
- Pull the switch here to activate the lights along the path. This isn't required, but it's easier to accidentally stray from the path without the lights.
- As per the sign above the switch, the lights serve as a directional indicator. The blue side indicates the heading to Tau while the red sign indicates the heading back to the climber.
Note: There is a new monster ahead: some kind of very large fish. It attacks only if Simon Jarrett goes too far off the intended path. In this case, Simon will be brought back to the path and will awaken there. This can be done several times without Simon dying.
- Continue into the abyss between the blue lights.
- Upon reaching an area with round red lights to the right of the blue lights, the new monster will emerge briefly from the left, but will turn away quickly even if Simon sprints up to it.
- Continue to the next sign reading "525m".
- Head into the building.
- Optionally check out the console and use the healing node behind it. Note that the switch here will break and shut off the lights inside.
- Exit through the door to the right of the console.
Warning: Up ahead, there is an extremely hostile school of fish with extremely large teeth. It takes many hits from them to knock Simon out. Once he has been knocked out, though, each subsequent hit will knock him out again and eventually kill him.
Stealth appears to be useless as a way to avoid them, as is staying near the lights. The optimal evasion strategy seems to be simply sprinting through their patrol area. Even waiting for the signs of their presence, the static sounds and visual distortion, will likely mean Simon takes a few hits when sprinting away as they swim faster than he can run.
- Out the door in the distance, there is an another group of blue lights. After this, there will be a large gap where dimmer green lights will be instead. These indicate the correct path. There will then be more blue lights before a building is reached.
- To avoid taking hits, just sprint along this path the moment the first blue light is reached until the exterior of the next building is reached.
- Go inside through the open doorway where the door has fallen off its hinges. Continue through to the second room.
- Optionally listen to the data buffer on the intercom to the left and use the healing node.
- Flip the lever to the right.
- Go back outside the building.
- Turn left and go to the console outside the garage.
- Select "Control" and then "Tau", and then follow the robot to a flickering blue light. Sprint if needed to keep up, but stay a few steps away.
- Turn right from the flickering blue light and follow the smaller green lights into a tunnel and continue through until reaching an intersection.
- The tunnel network here is safe to explore, but doesn't seem to have anything to interest or any alternative exits. Simon either ends up where he entered or at the exit along the intended path.
- For the most straightforward way to the exist, just take a left at each intersection.
Warning: A white round light outside the tunnel is attached to a new monster. This one moves very slowly, and avoiding it is as simple as staying several steps away.
- Giving the white light a wide berth, continue to the blue lights ahead.
- Walk from light to light until a red-orange light can be seen in the distance.
- Continue toward this light to find a hatch.
- Press the button to the left to open it.
Entry to Tau[]
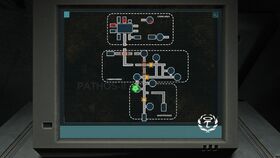
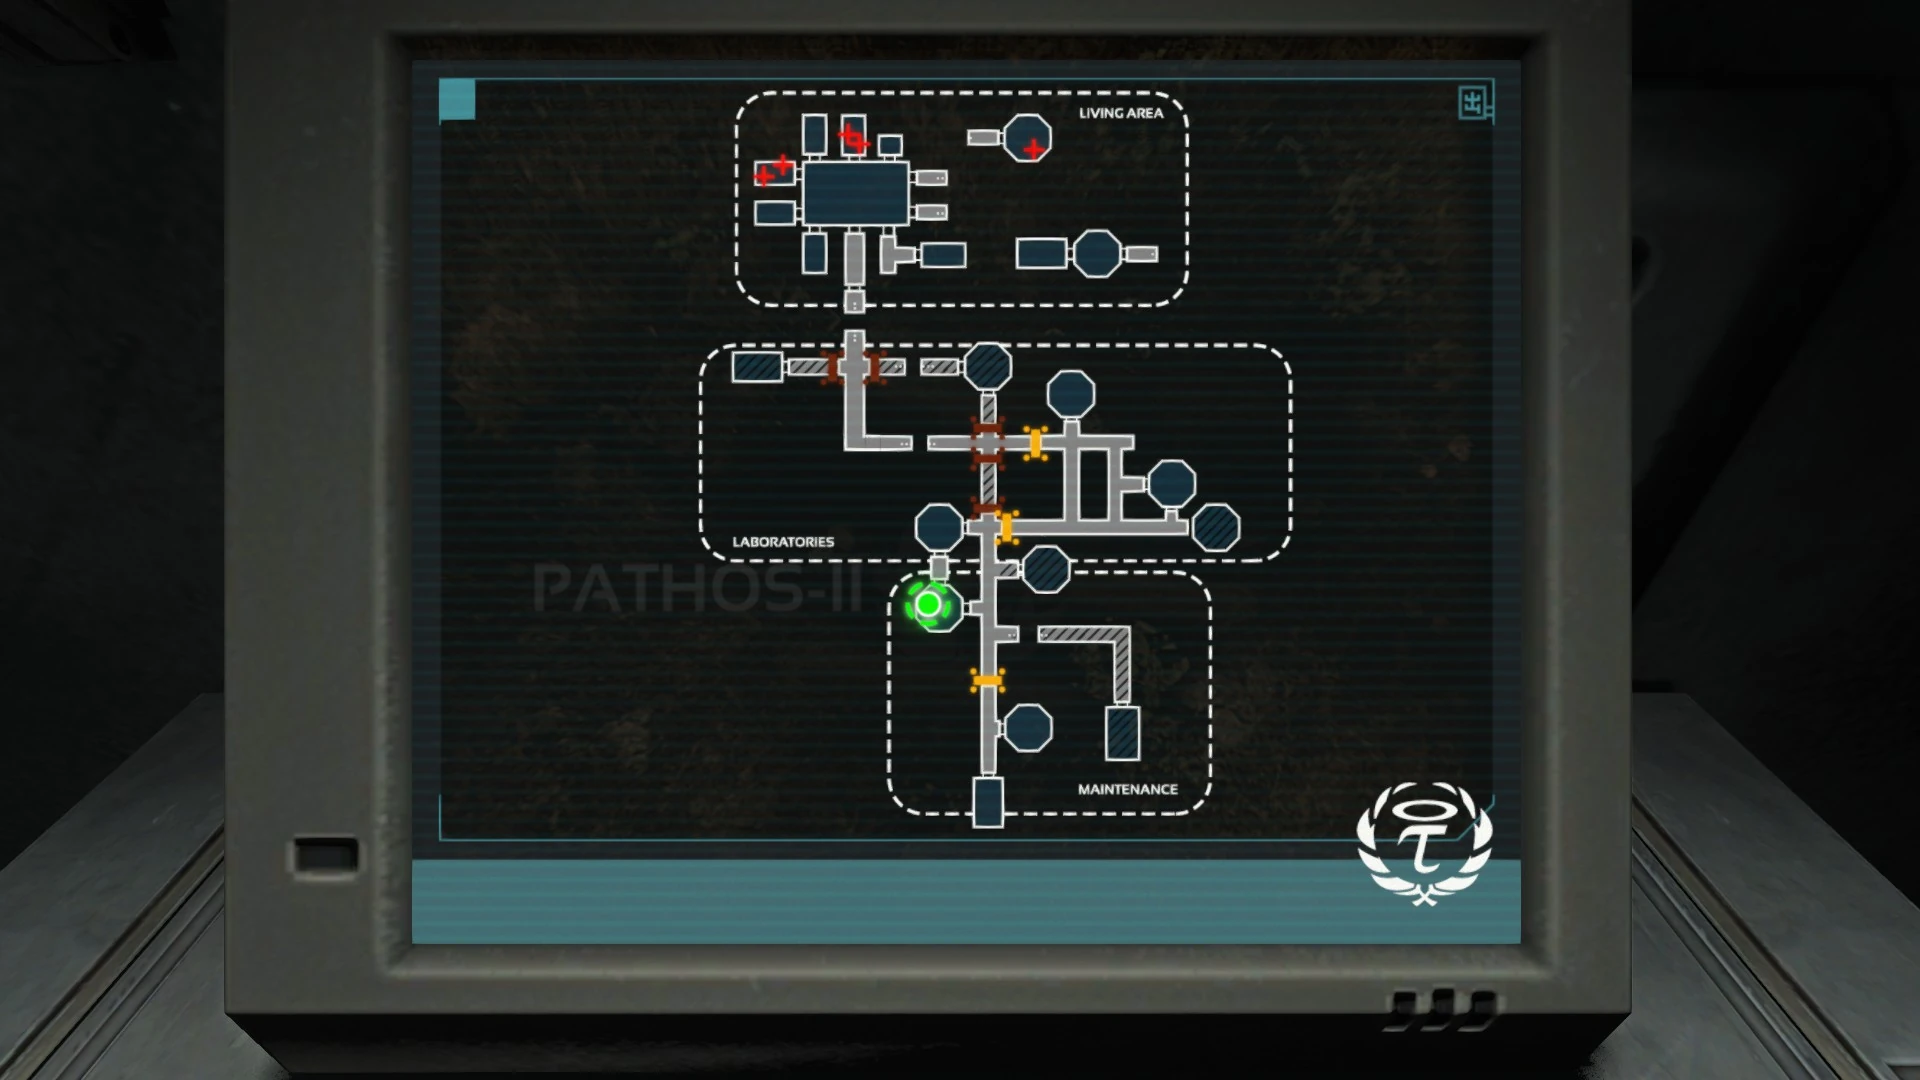
Map of Tau
- Go through a well-lit corridor into an airlock.
- Swipe the omnitool where indicated and wait for the airlock to cycle.
- Head inside to the first intersection. Optionally check out the first room to the right for an intercom with a data buffer and a computer.
- Continue deeper into Tau to the next intersection. An alarm will sound.
- Optionally use the healing node to the left.
- Continue to the next intersection.
- Though nothing needs to be done in the rooms to the left, taking this route through and leaving all four doors open is recommended. It will be helpful in a moment.
Through the first hatch[]

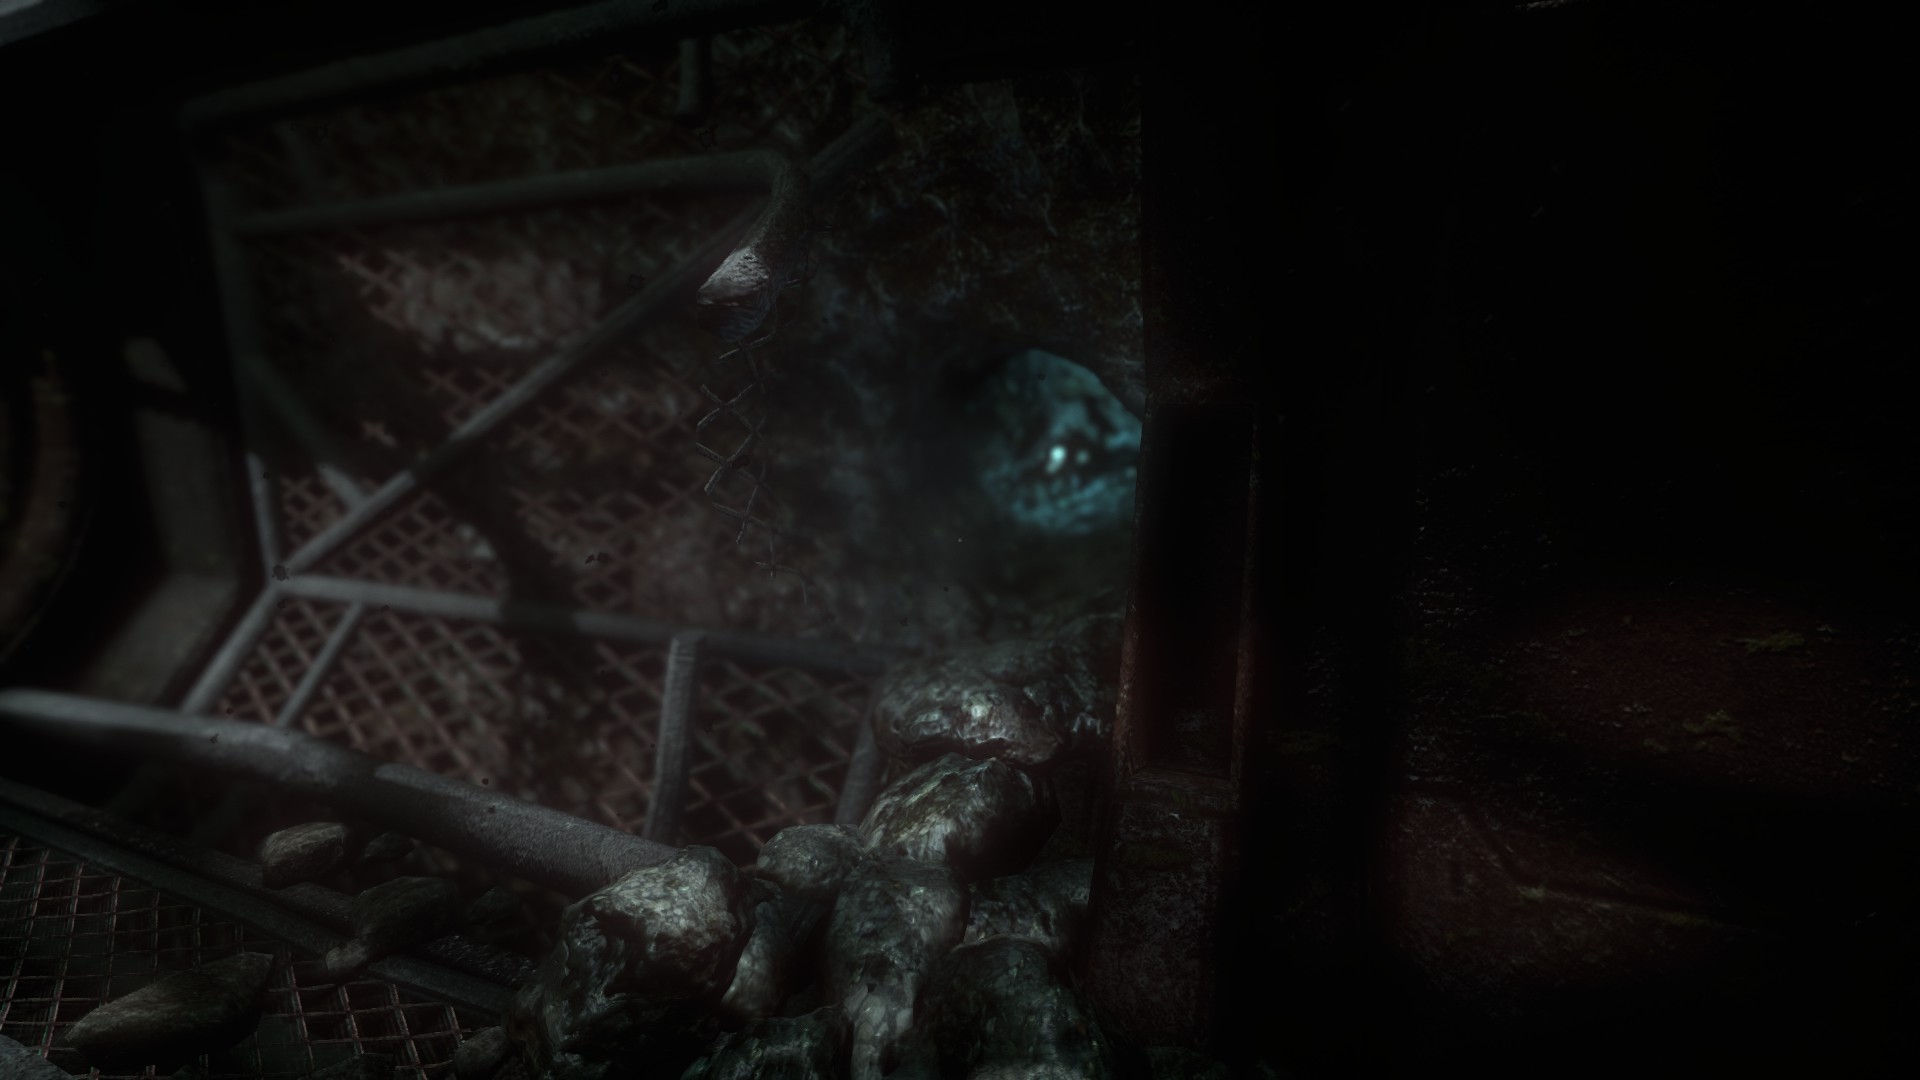
The monster inside Tau
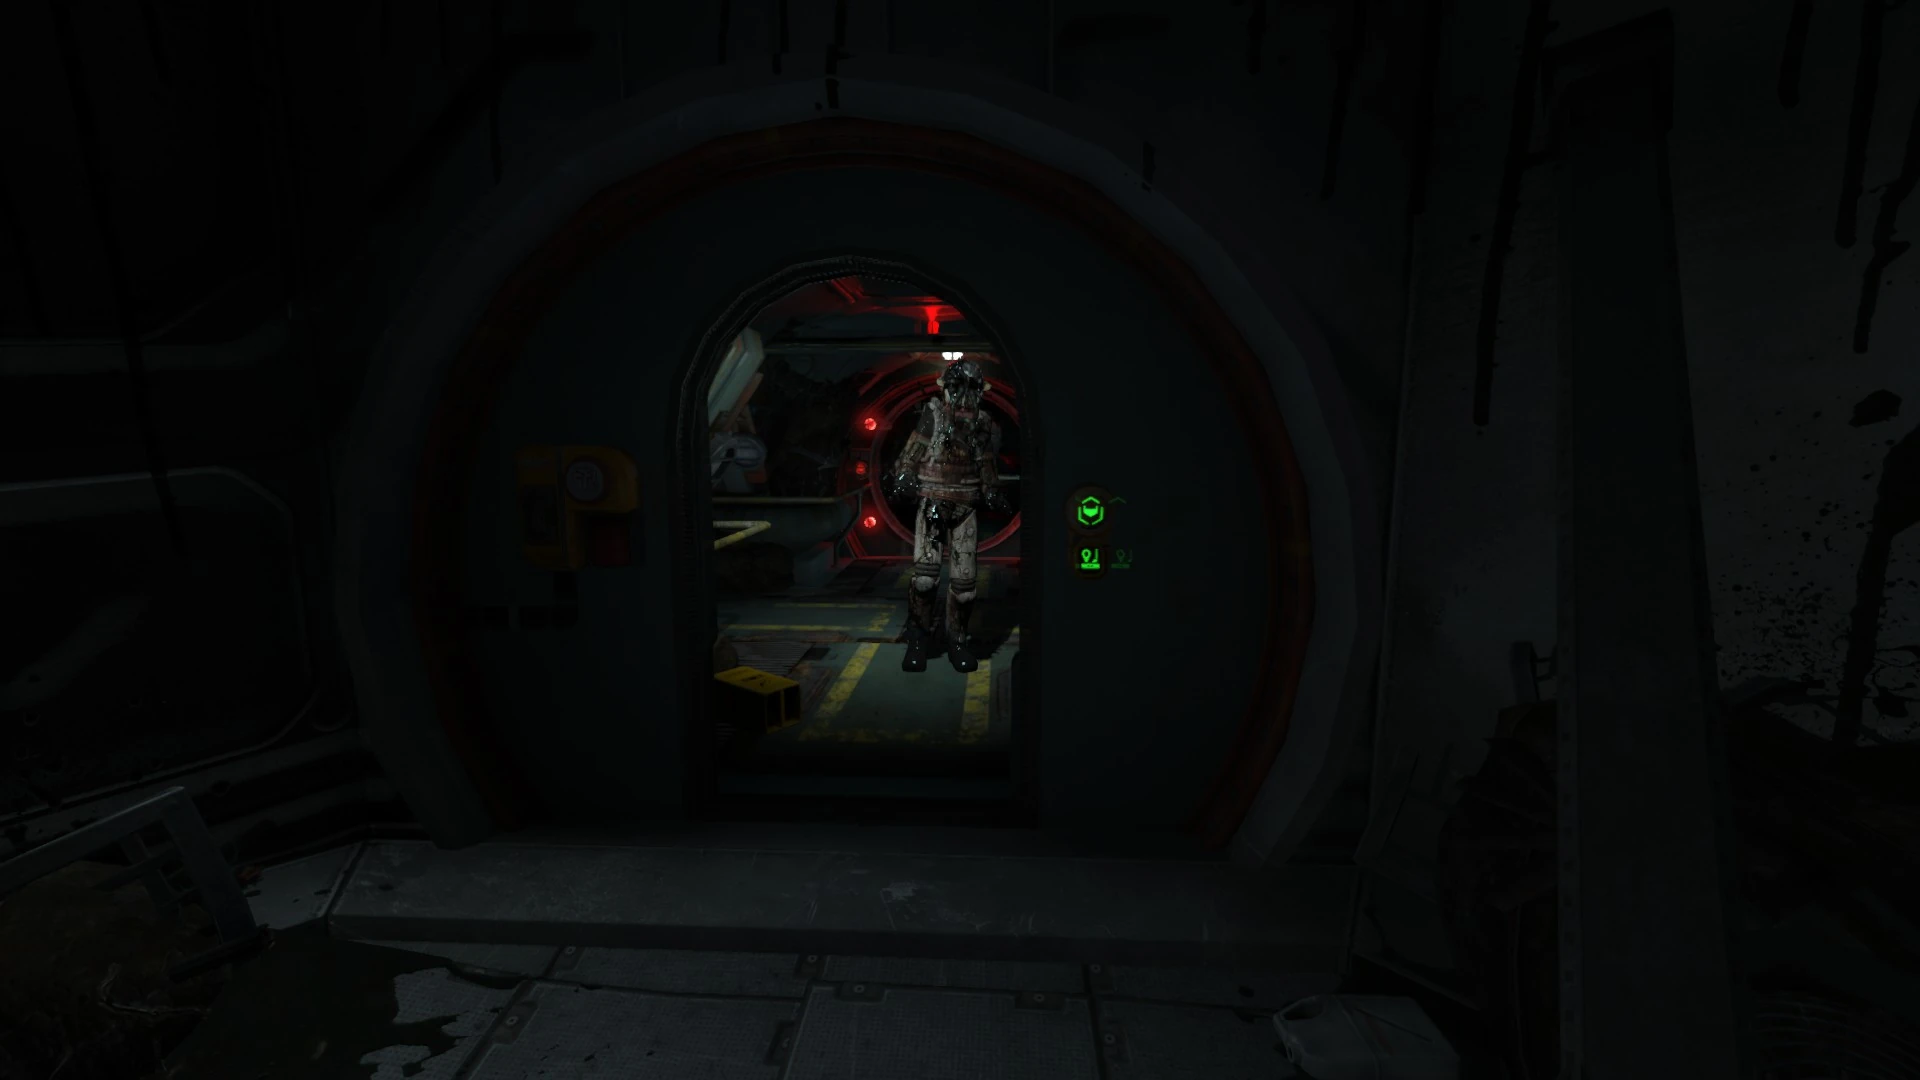
Warning: A new monster will be encountered on the other side of the large hatch by the rotating red light. Simon can survive only one hit from this creature. Like most monsters, it will attack Simon immediately if he's within reach, but if he's out of reach, this monster will hesitate for several seconds before charging forth and attacking. If Simon keeps moving back, this monster will make short sprints toward him, but then stop and hesitate again. It seems to be possible to just keep backing away endlessly without getting hit. There are even some cases where it will simply stop and keep watching if Simon doesn't move, but this only keeps to work if Simon is a certain minimum distance away
Ultimately, when detected, avoiding a hit seems to be a matter of getting both out of sight and far enough away that it loses interest. This makes any looping or circular paths very useful. They don't even have to be very large, as Simon just needs to remain about a minimum of ten steps away. Due to its patrol, it's necessary to stay constantly alert and always keep an alternate path open in case it's necessary to lure the creature down one and take the other.
It can be possible to sprint right by it, even in the corridors and sometimes without it even noticing as long as there is enough room to get by, but this is only recommended if there isn't another option. If Simon is close to it for more than a half second, he will probably be knocked out or killed.
- Either way, once under the rotating red light, hit the button to open the large heavy hatch.
- There are two options here:
- One is to head back down the dark corridor to the right. There is a short corridor leading left into a dark room. Wait in that corridor until the monster walks straight through the intersection. Give it time to start wandering down the hall
- Alternatively, just turn around and go into the room ahead, and turn back around and wait. Let the monster get into the intersection. Take the corridor to the corridor to the right. Once the monster is lured into the room, take the path around it back to the hatch, but not too quickly.
- Get through the hatch and to the first intersection.
- Take the left and continue on to the next left. Open the hatch there.
- There will probably not be time to wait for it to open. If the creature comes, turn around, take the corridor to the first right, open and head through the door, and take the next two rights to loop around it back to the hatch.
- If exploring this area is desired, it's best to do it now. After climbing the ladder past the hatch, there is a chance the monster will never stray far enough to allow a safe return to this area. Soon, it won't be possible to return at all.
- To find the control room, turn around from the second hatch, head to the next intersection, then take a left through the door and another left through that door. Opening the other door is recommended before checking out the terminal or using the healing node so an escape route is immediately available. It will likely be necessary to lure the creature away a few times in order to get enough time to investigate everything
- The laboratory near the second hatch doesn't really have anything of interest.
- After any optional exploration, go straight through the hatch and open the door at the end.
- Climb the ladder ahead.
The common area[]

Control for the door locks inside the dispatch room

One of the flow pipes to break in the dive room

The tunnel out of the cargo tube
- When ready, follow this corridor around to the next ladder. Press the button to close and lock the door. Descend down the broken ladder.
- Go through the next two doors.
- Optionally explore the rooms on this level with the exception of the Infirmary, Dive Room, and Dispatch. There are some messages to hear from bodies.
- There is a strange creature in one that will cause a lot of visual distortion, but it does not attack.
- Optionally use the healing node in the common area.
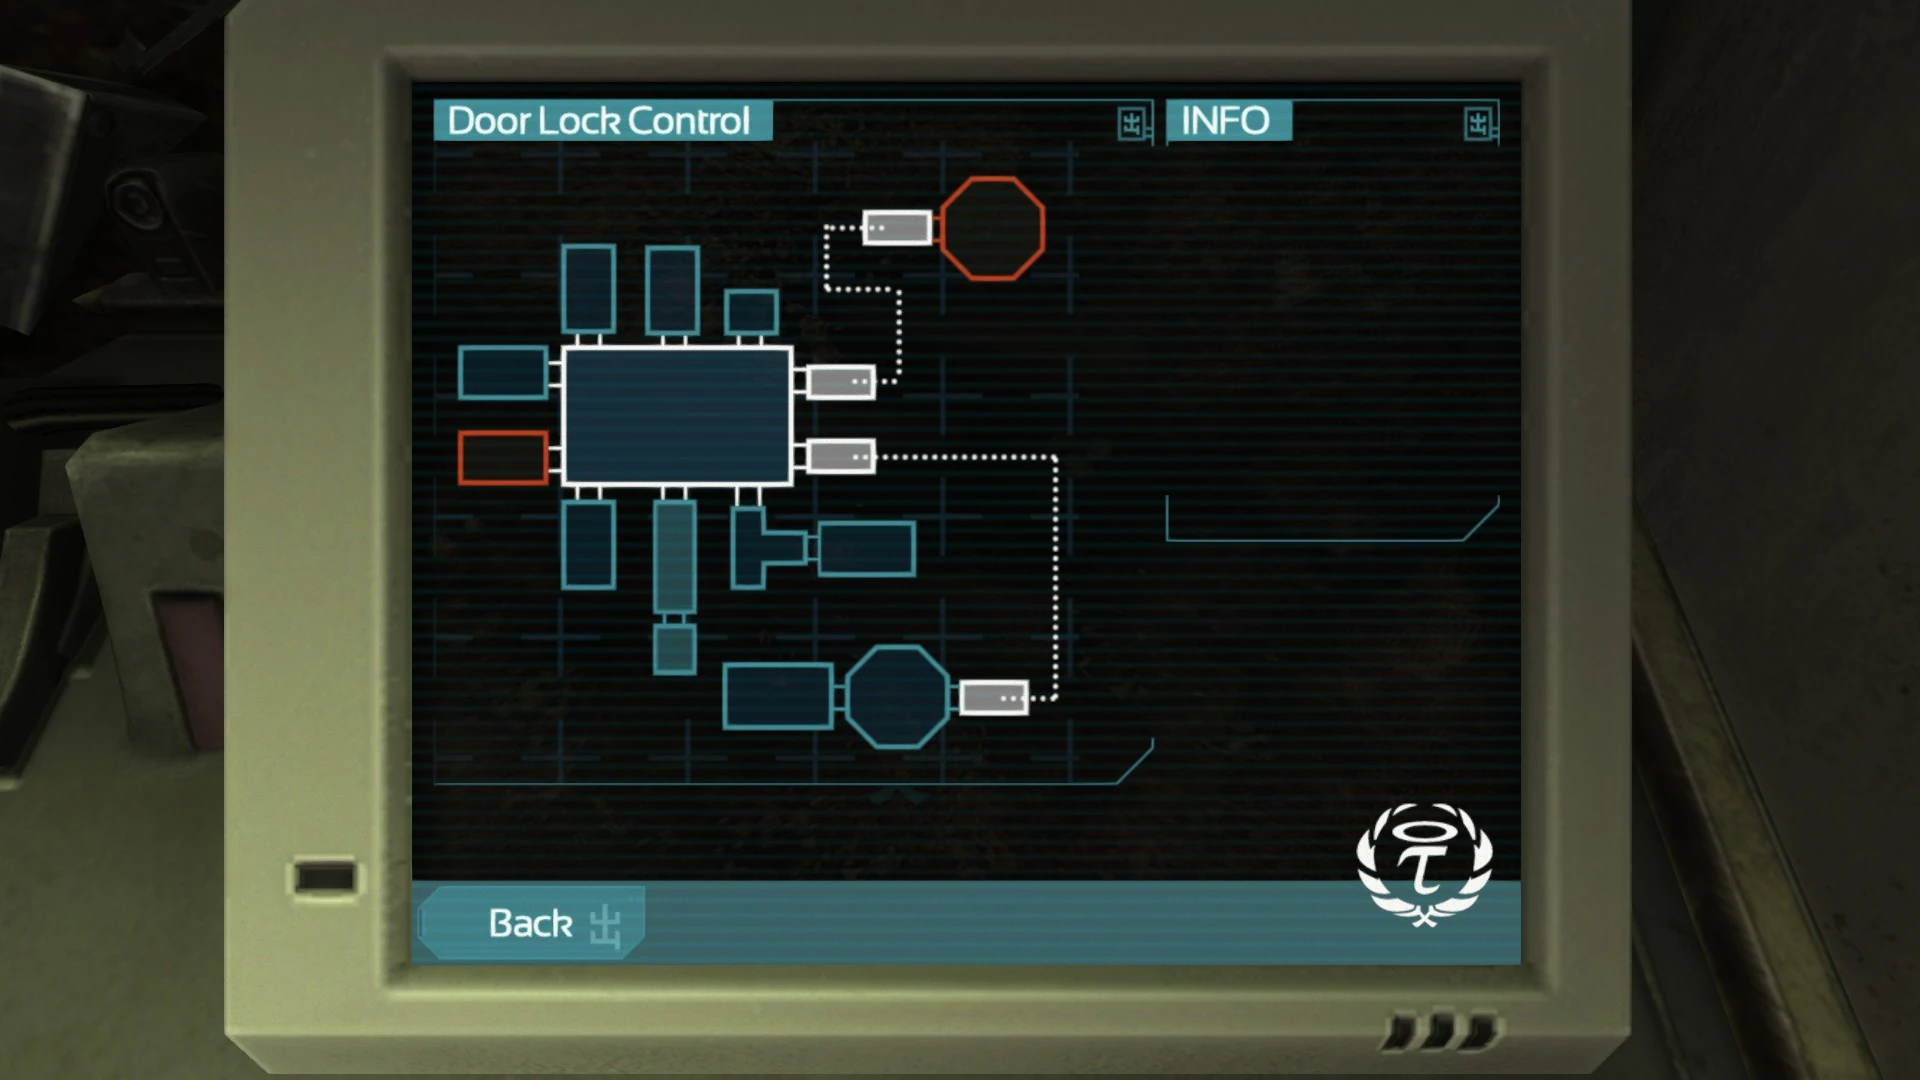
- Go into Dispatch and to the terminal.
- Press "DOOR LOCKS" and, at a minimum, click the red octagon at the upper right of the map to unlock the upper room of the Infirmary.
- Optionally click the red rectangle at the left of the map as well to unlock Johan Ross's room. Press any four random numbers and then "OK".
- Optionally explore Johan Ross's room if it is unlocked.
- Go into the infirmary, climb the ladder, and open the door at the top.
- Speak to the person there. Optionally speak to her more.
- Optionally check out the terminal to the left.
- Optionally press the "Disable" button on the unit left of the woman.
- Pick up the ARK sitting to the left of her.
- Back at the door, press the "INFIRMARY" button to the right.
- When it opens, put the ARK in the freight lift.
- Then press the "DIVE ROOM" button.
- Return down the ladder to the common room.
- Go into the dive room and down the ladder.
- Open the door, go in, and open the next door. This one takes some time to open, and some water will come in.
- Retrieve the ARK from the lift back to the right.
- Go into the next room and place the ARK where it says "PLACE CARGO HERE".
- At the terminal back to the right, press the "ATTACH" button.
- Swipe the omnitool where indicated.
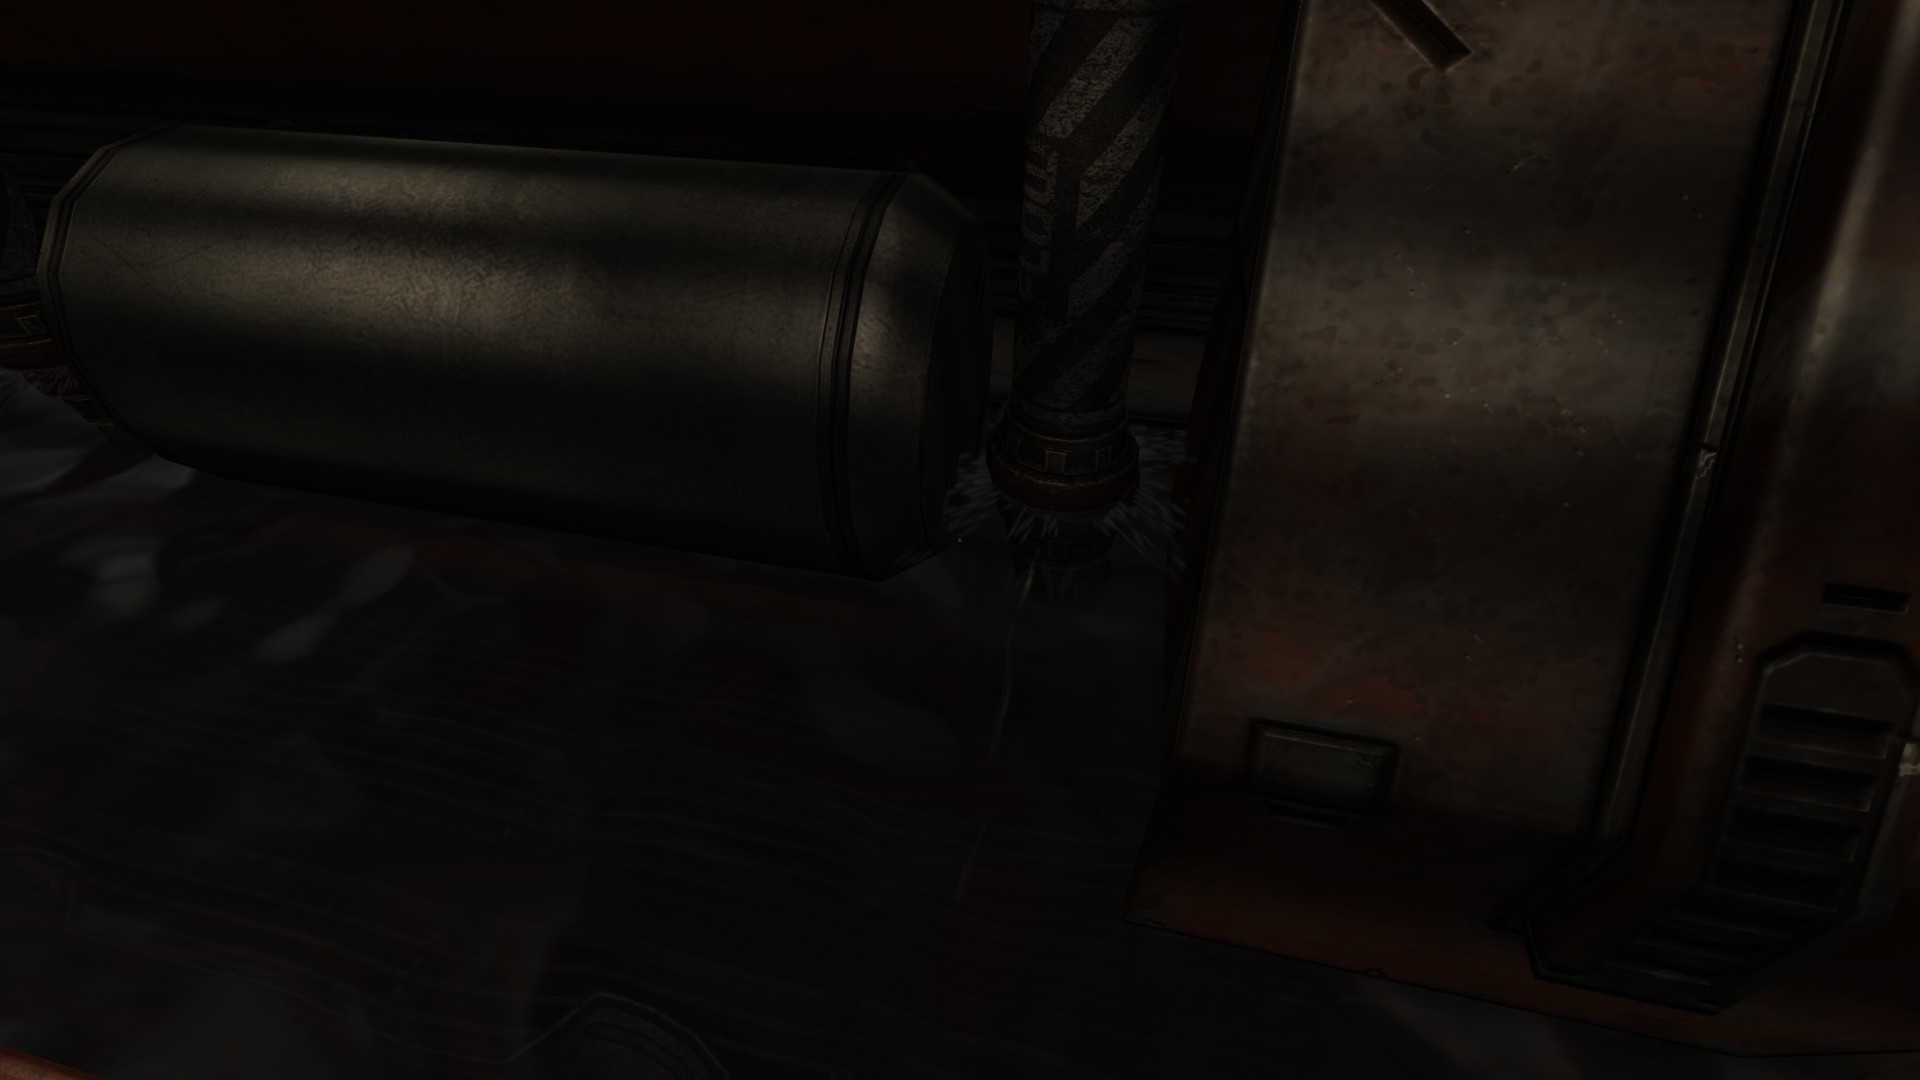
- Pull out the three pipes labeled "FLOW".
The cargo tube[]
- After Simon recovers, follow the ARK as long as possible, pulling debris out of the way or crouching under obstacles when necessary.
- It isn't necessary to keep up with it. Just keep going in the same direction until reaching an impassible blockage.
- Turn around and start walking back, keeping an eye to the right.
- On finding the opening, crouch and head through.
| Game walkthrough |
|---|
|
Tau
|